Login / Signup
Cart
Your cart is empty
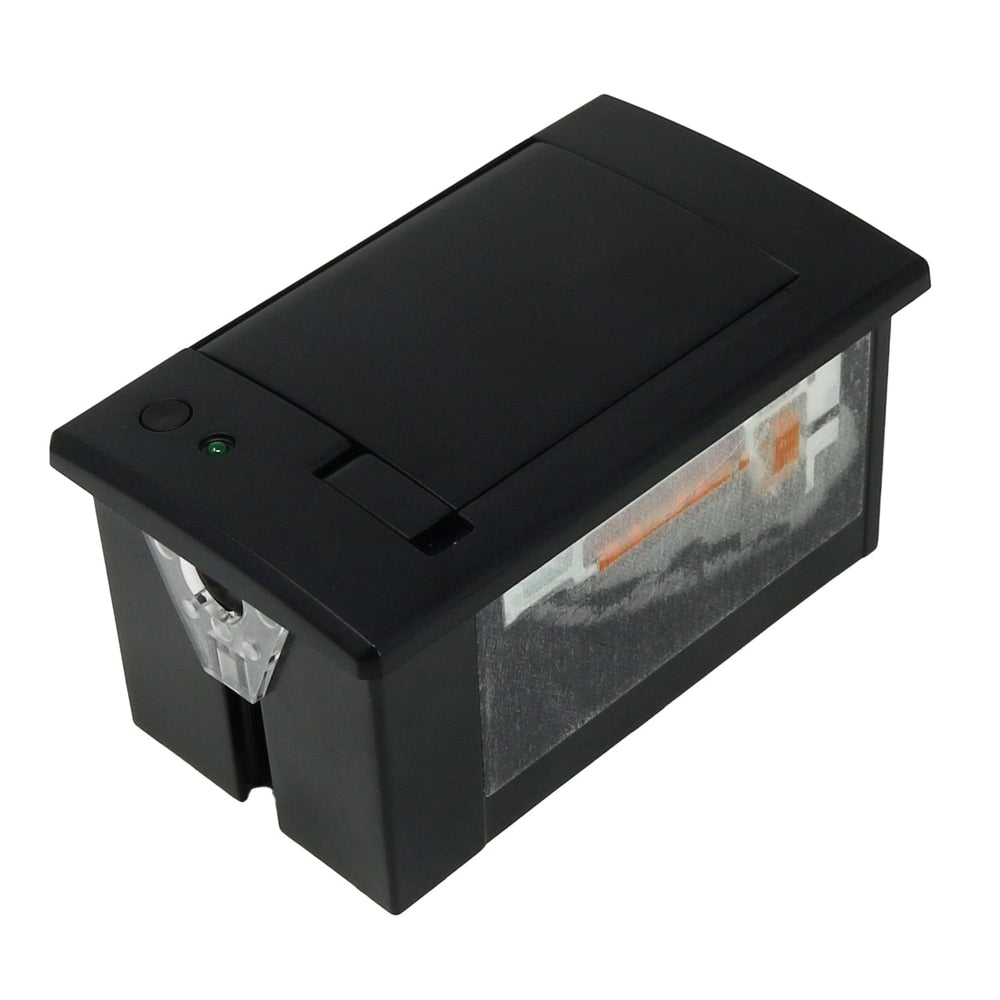
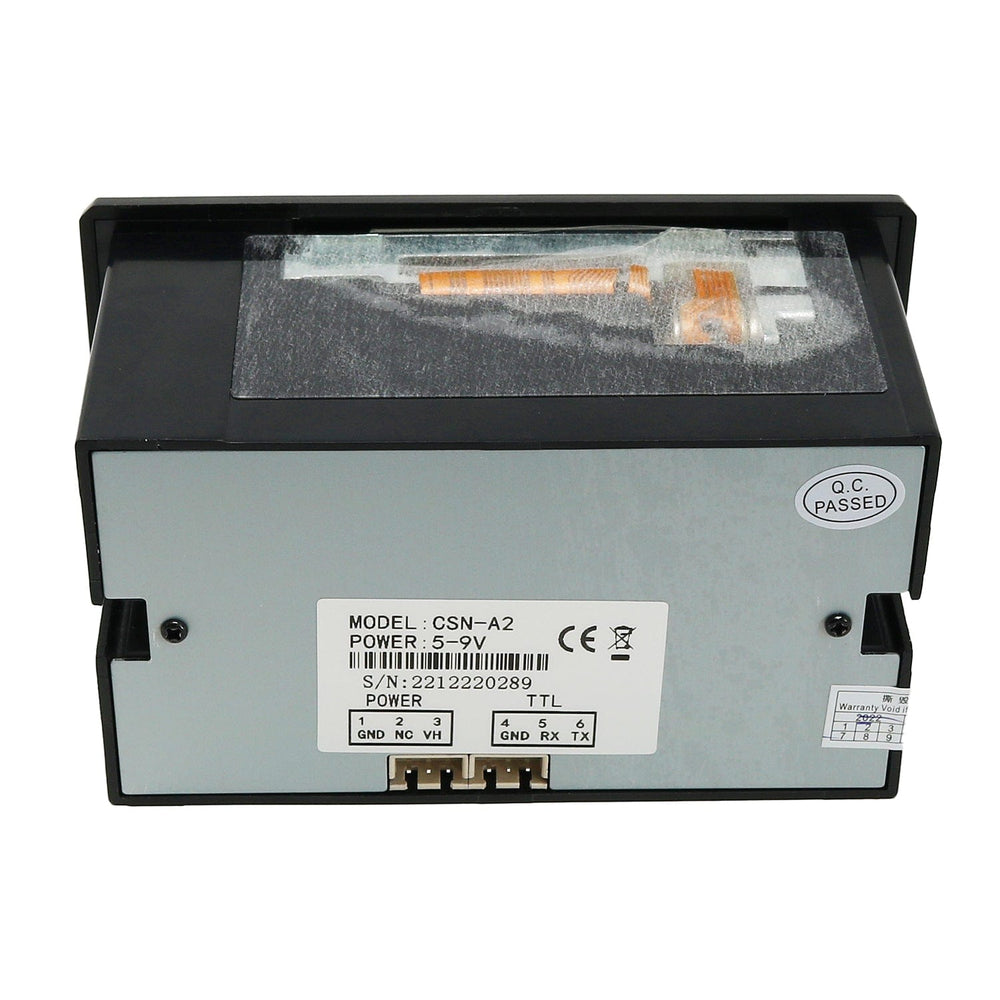
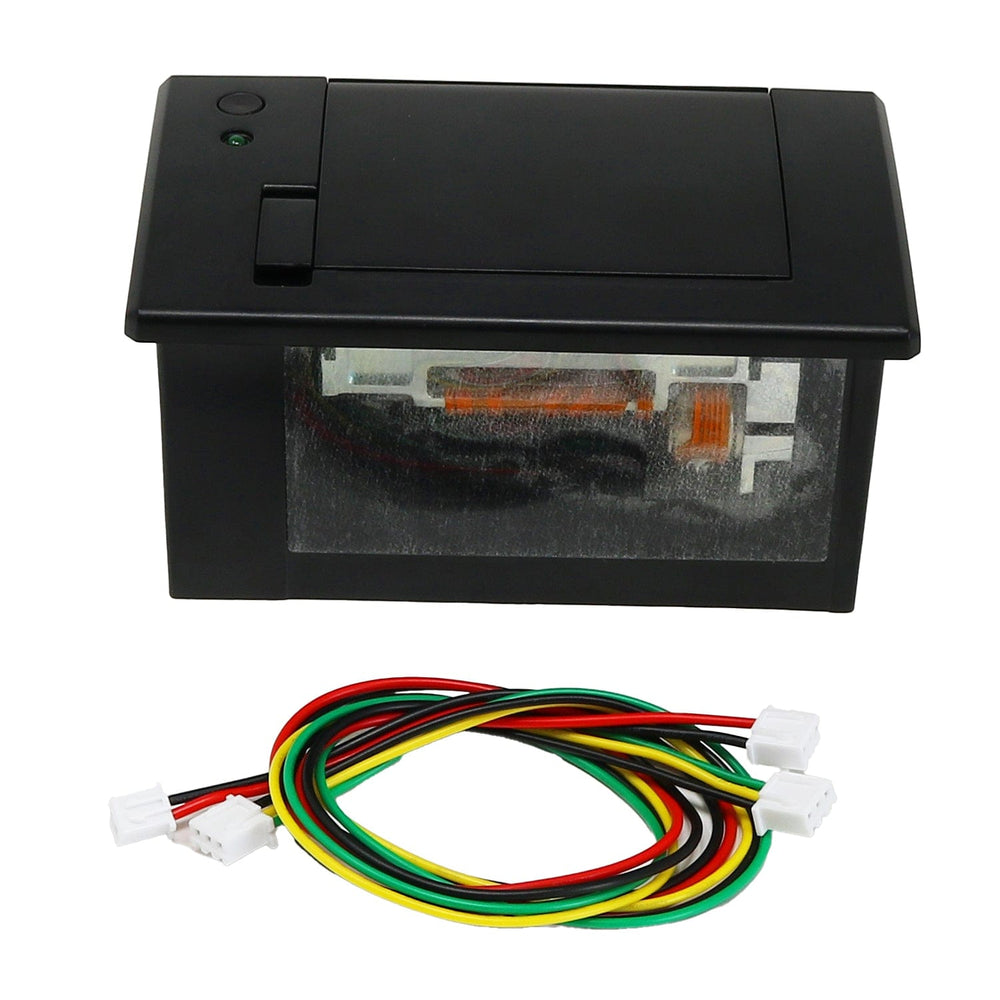
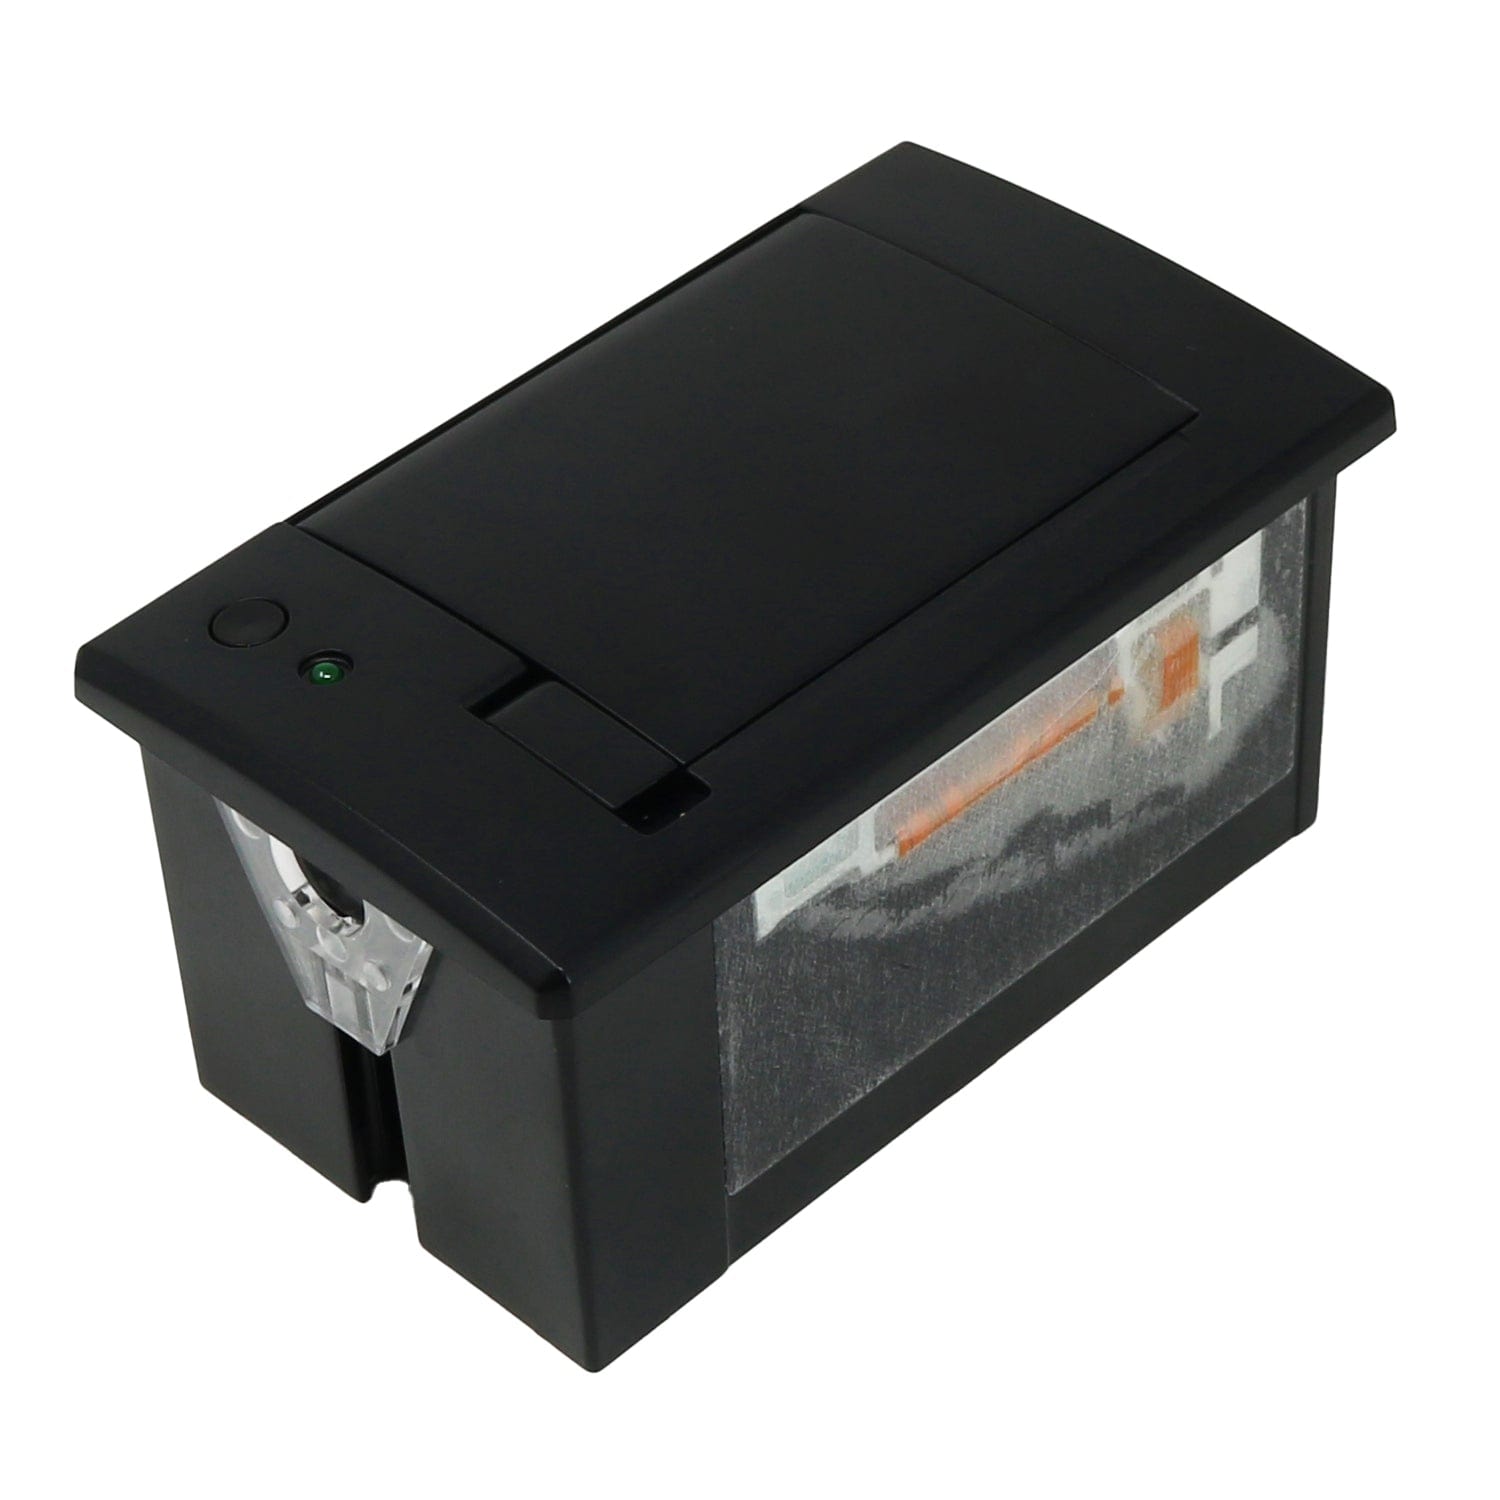
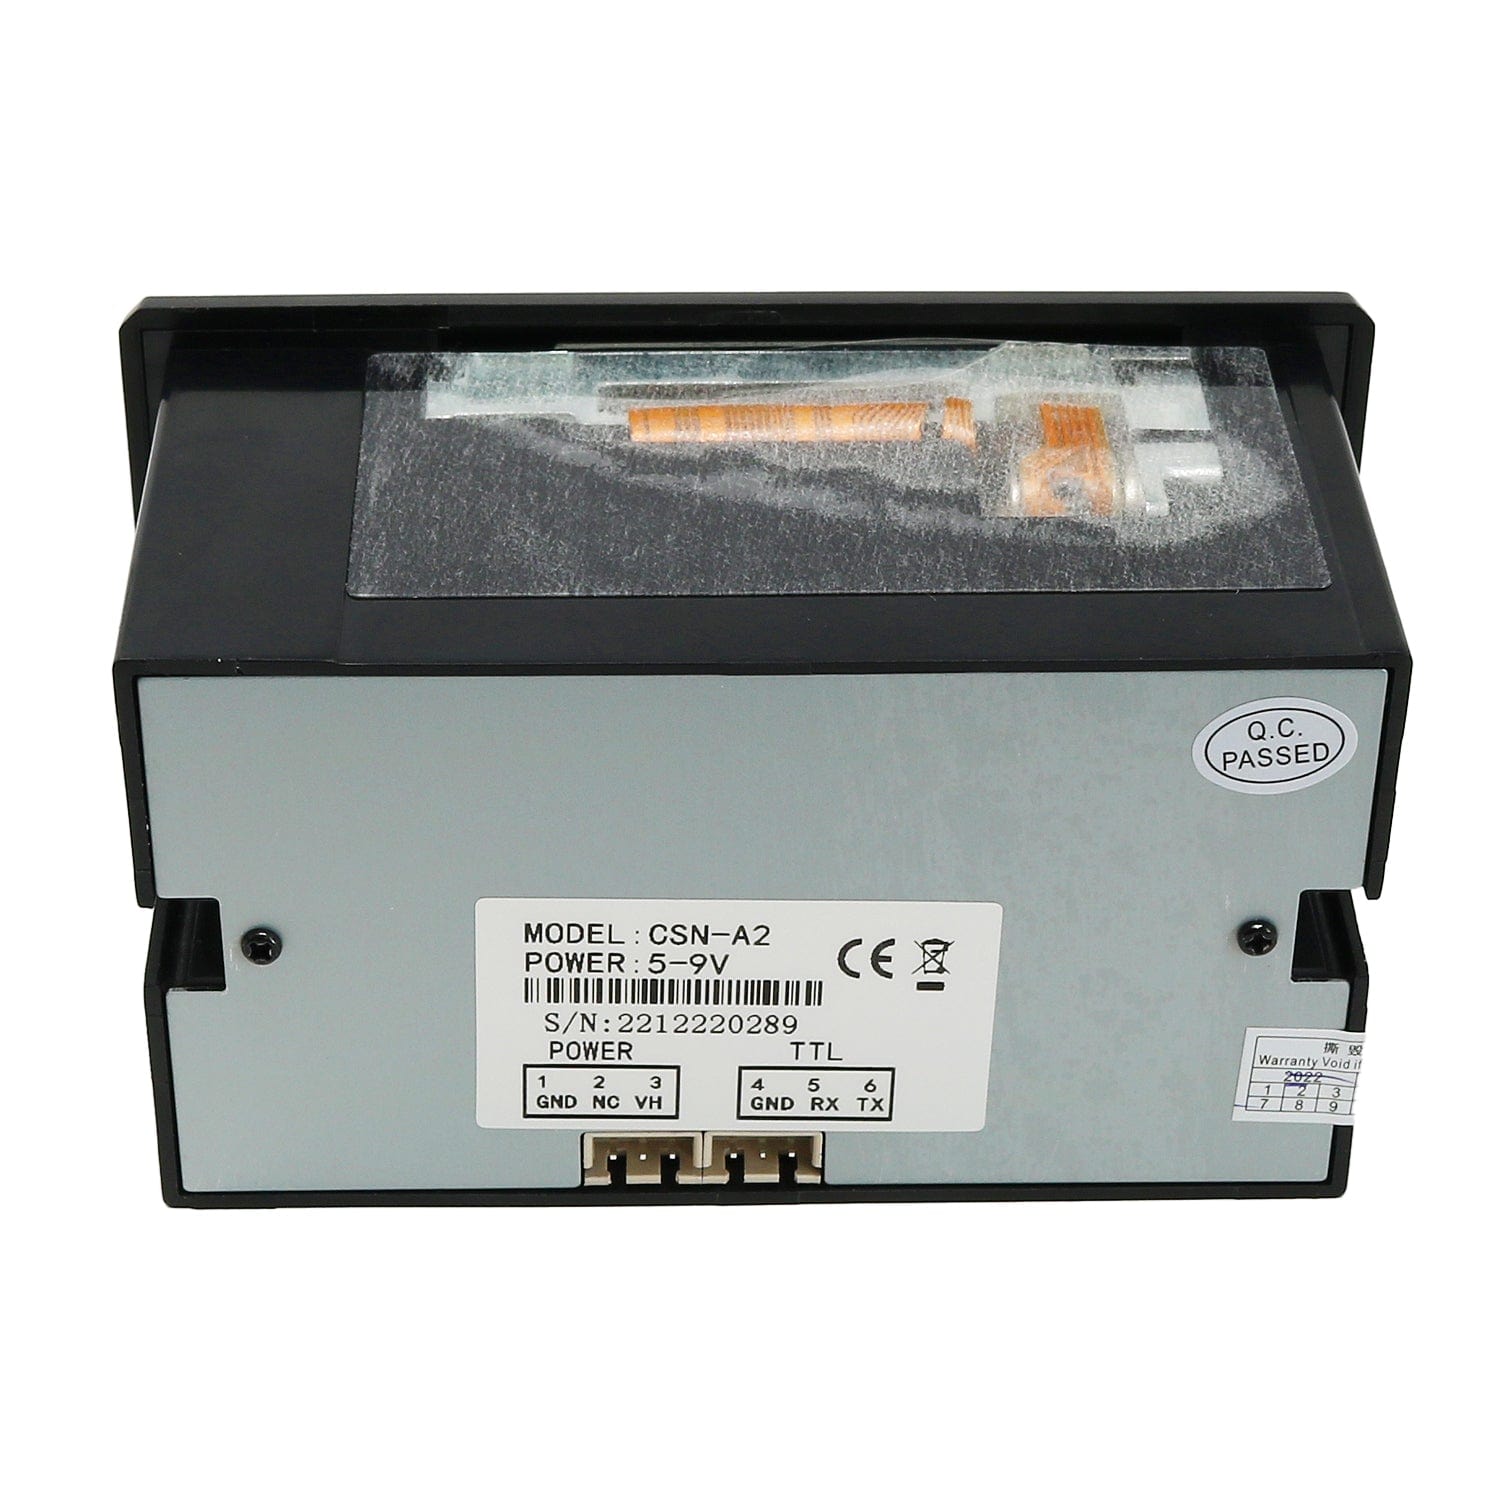
Add a mini printer to any microcontroller project with this very cute thermal printer. Thermal printers are also known as receipt printers, they're what you get when you go to the ATM or grocery store. Now you can embed a little printer of your own into an enclosure. This printer is ideal for interfacing with a microcontroller, you simply need a 3.3V-5V TTL serial output from your microcontroller to print text, barcodes, bitmap graphics, even a QR code!
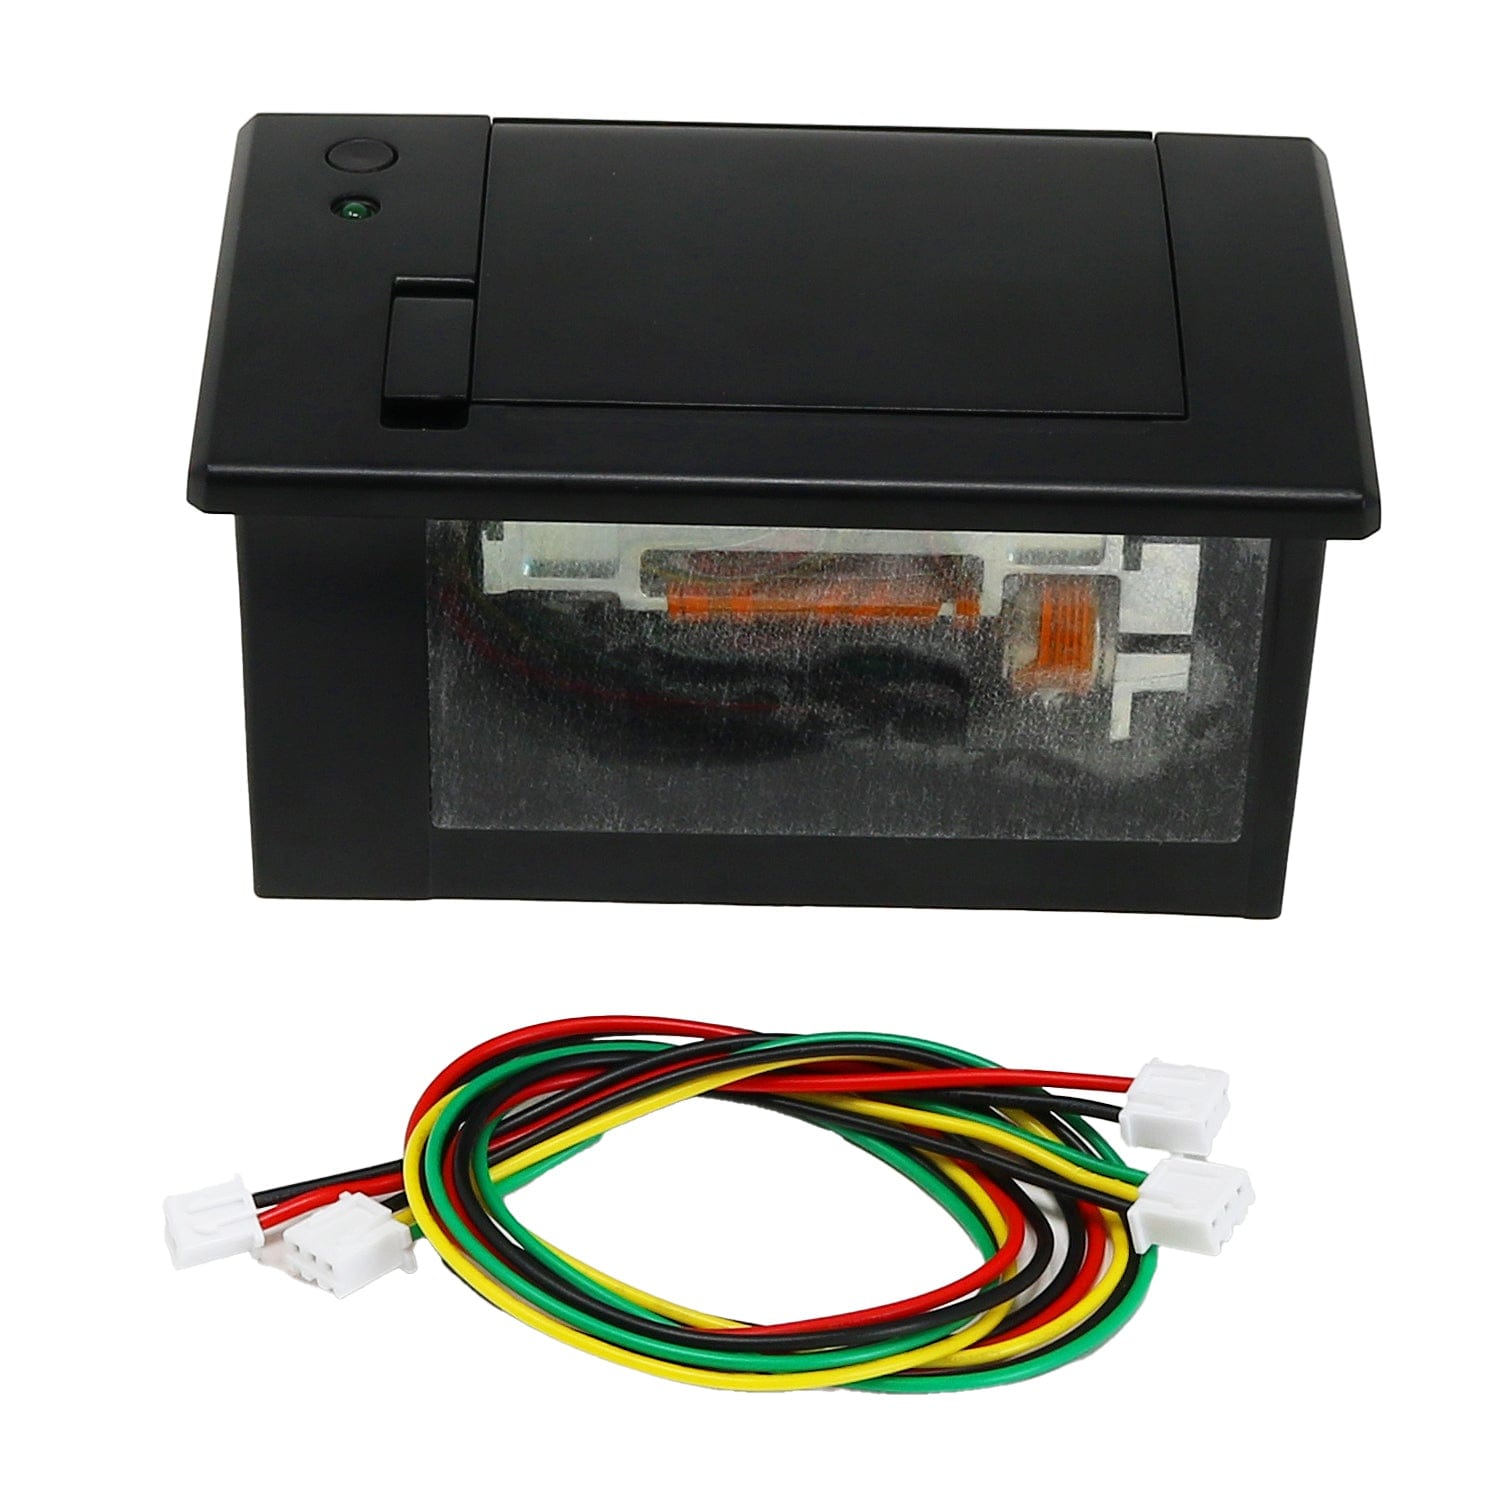
This package comes with a thermal printer including the print head (it does not require ink, a set of power and data cables, and two plastic shims for panel mounting. Thermal paper not included! The printer uses very common 2.25" wide thermal paper, available in any office or stationery supply store. It can fit up to 50 ft of paper in the bay at once. You will also need a 5 to 9VDC regulated power supply, that can provide 1.5A or more during the high-current print - our 5V 2A power supply will work very nicely. We also suggest picking up a roll or two of 50' long thermal paper, and also a 2.1mm jack terminal block adapter which will make it easy to connect the power adapter. We also have a starter pack that includes all the above
We really like this printer because its easy to make Bold, underline, inverted text, variable line spacing, left/center/right justification, barcodes in 11 standard formats with adjustable height, and even custom bitmap graphics.
Of course, we wouldn't leave you with a datasheet and a "good luck!" - Our friends over at Adafruit have a full tutorial and matching CircuitPython and Arduino library (inactive but still works) that demonstrates the following:
Note: You will need a microcontroller that has a hardware or software Serial UART!
Note: This isn't a retail-level, professional printer! The print quality is legible but not always consistent in contrast. It's for fun projects for makers, not something to run a business with!
Downloads:
Of course, we wouldn't leave you with a datasheet and a "good luck!" - We have a full tutorial and matching Arduino library that demonstrates the following:


