Login / Signup
Cart
Your cart is empty
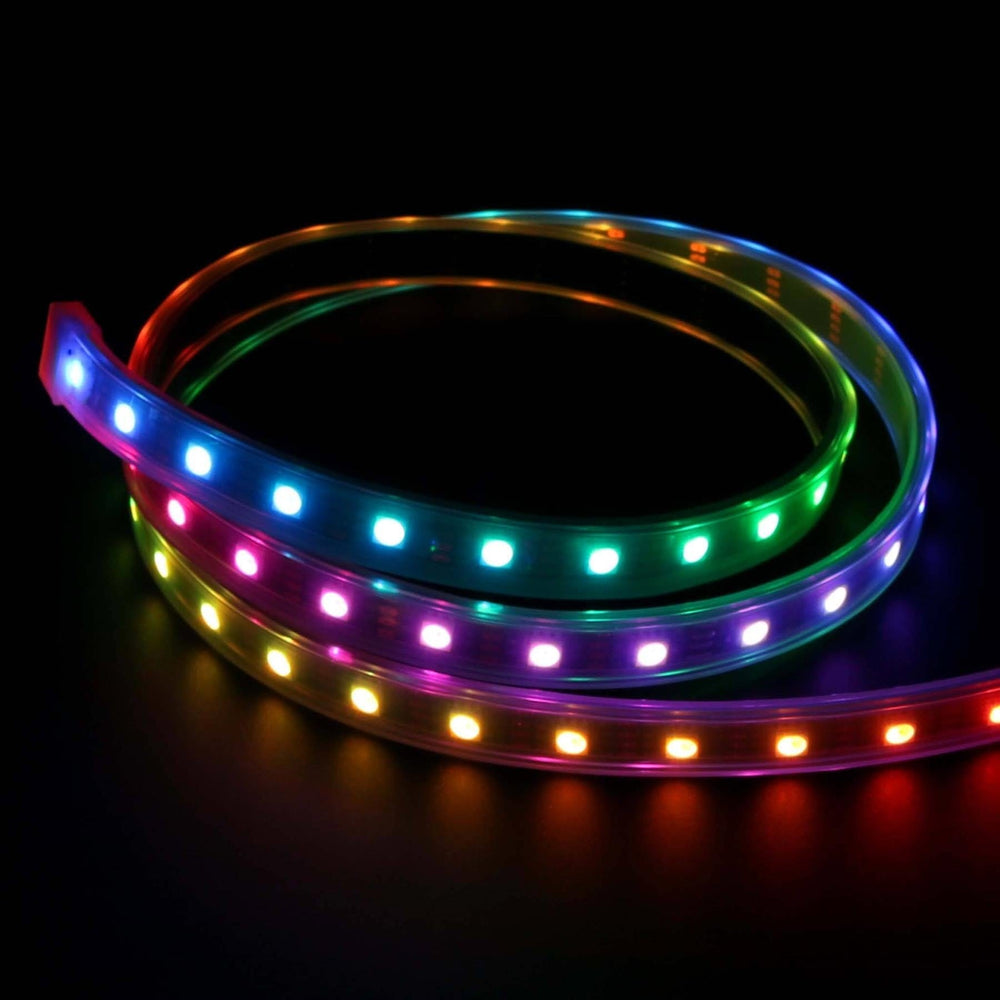
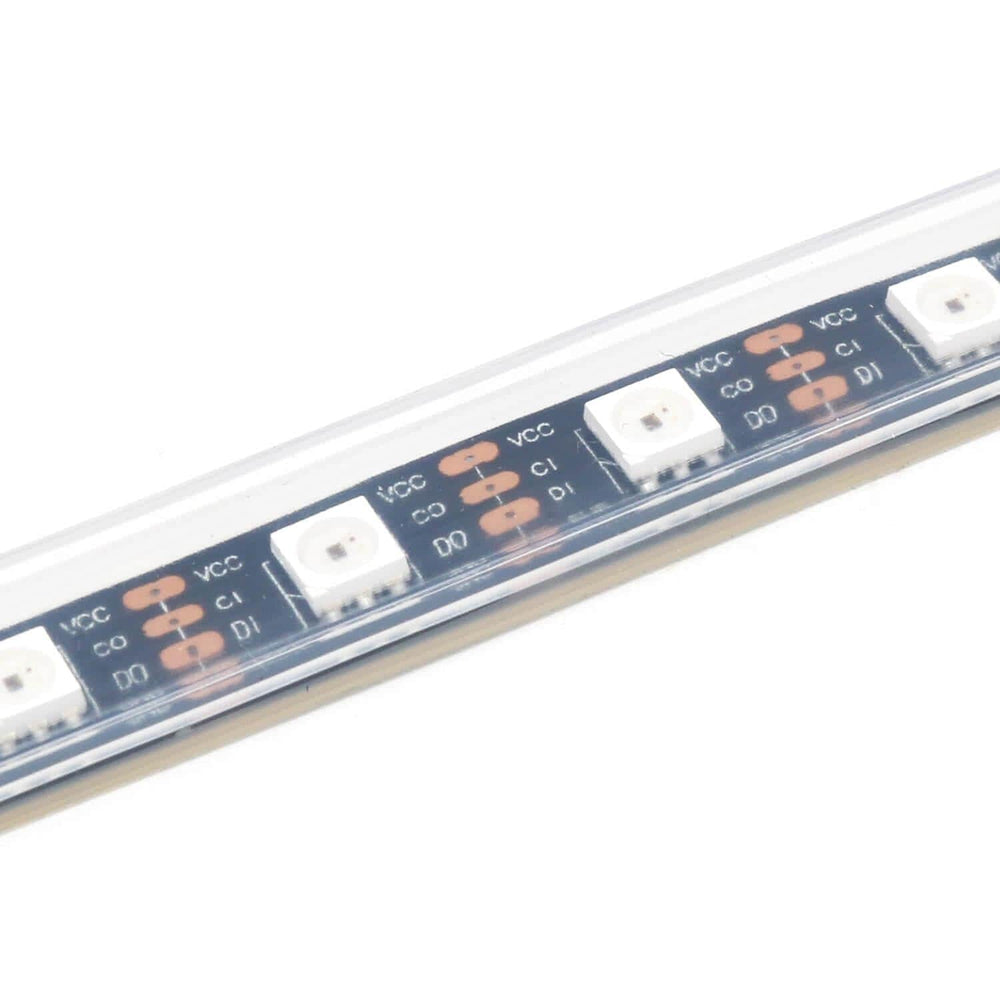
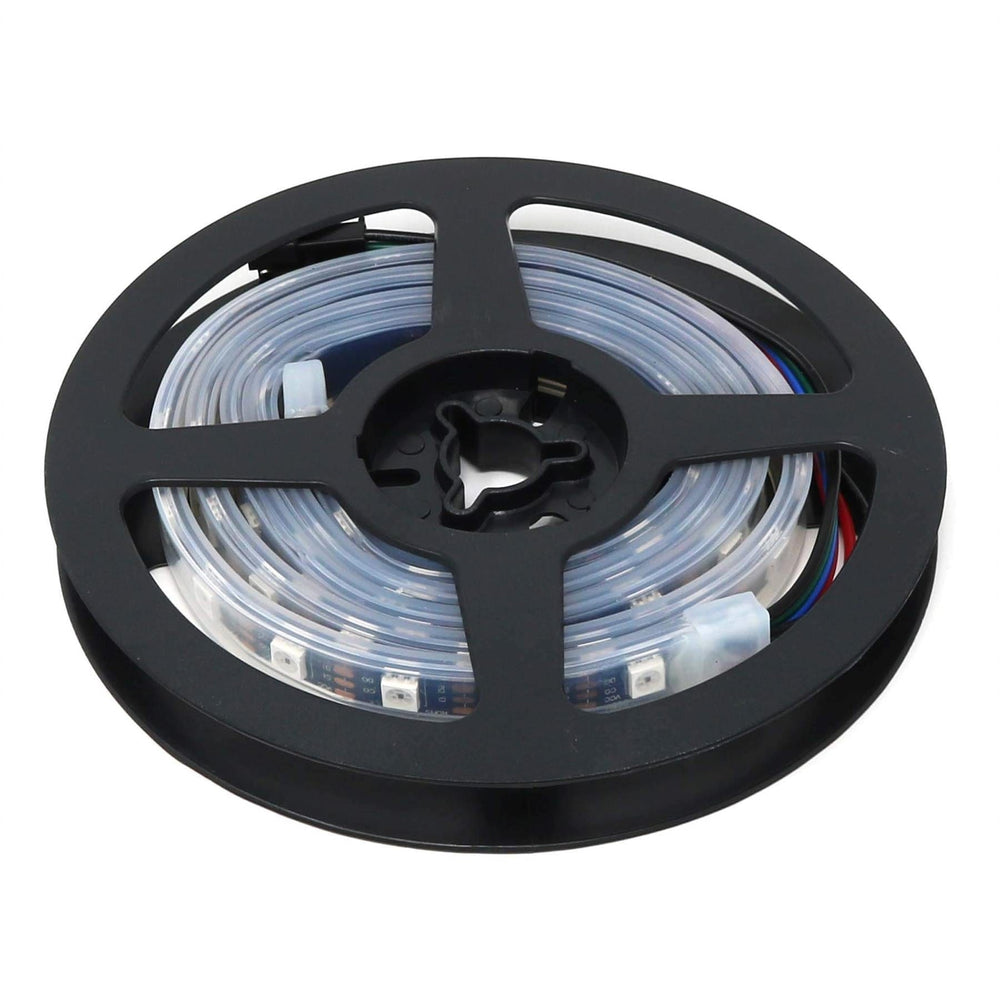
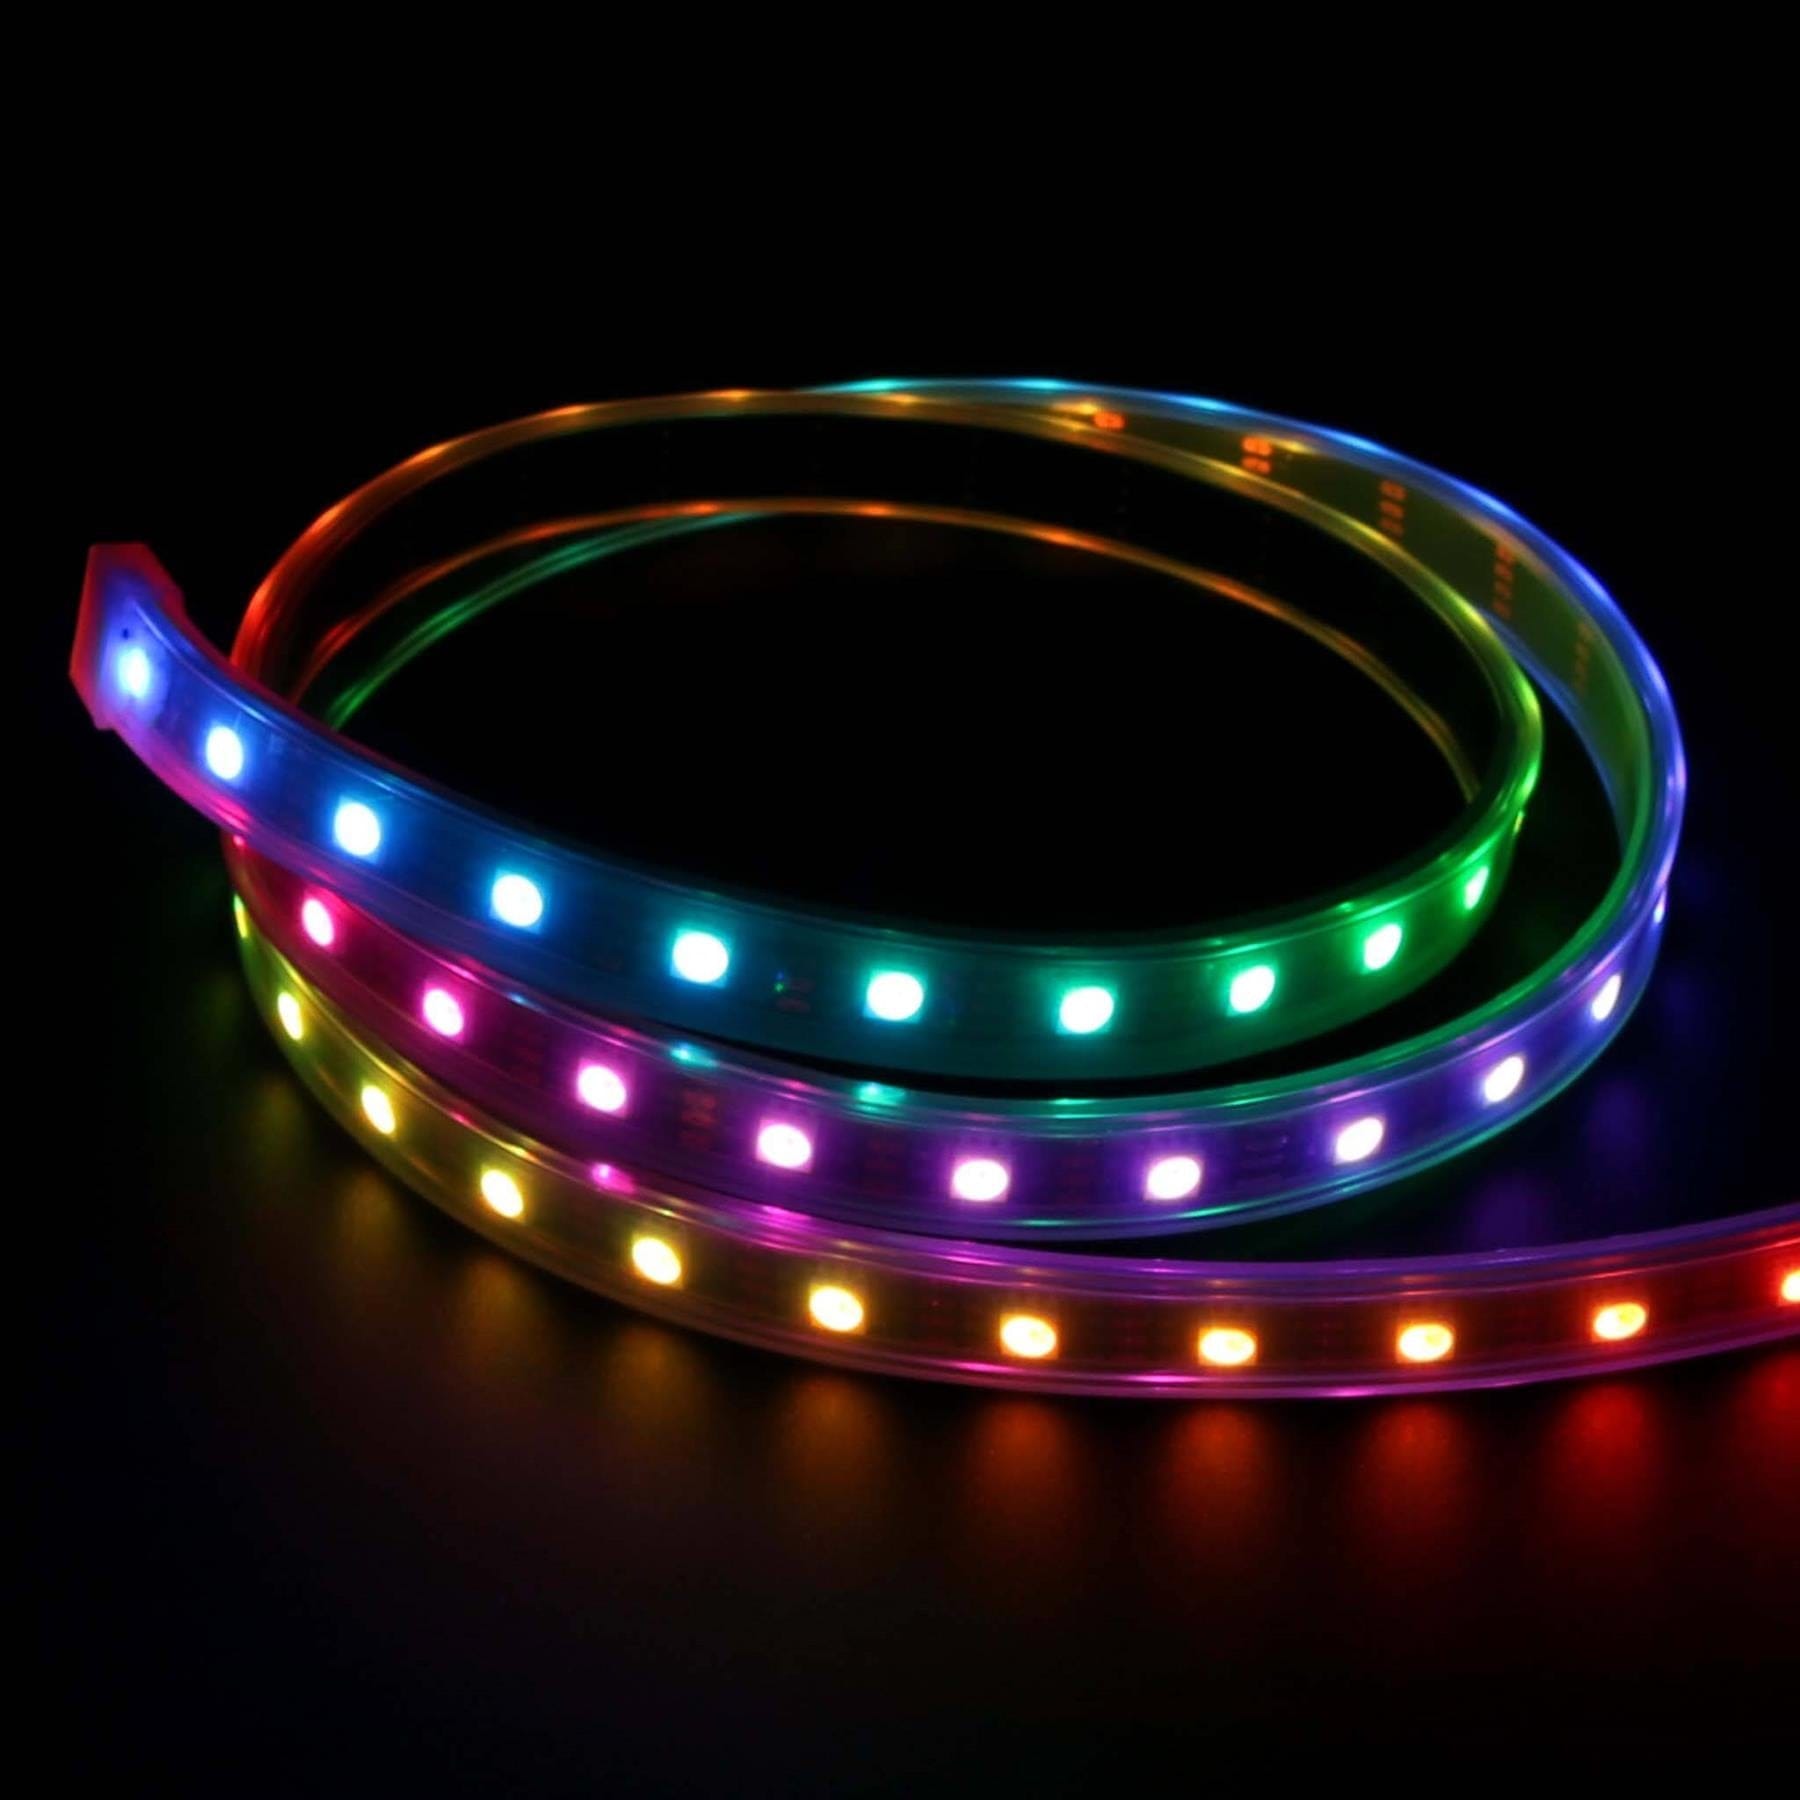
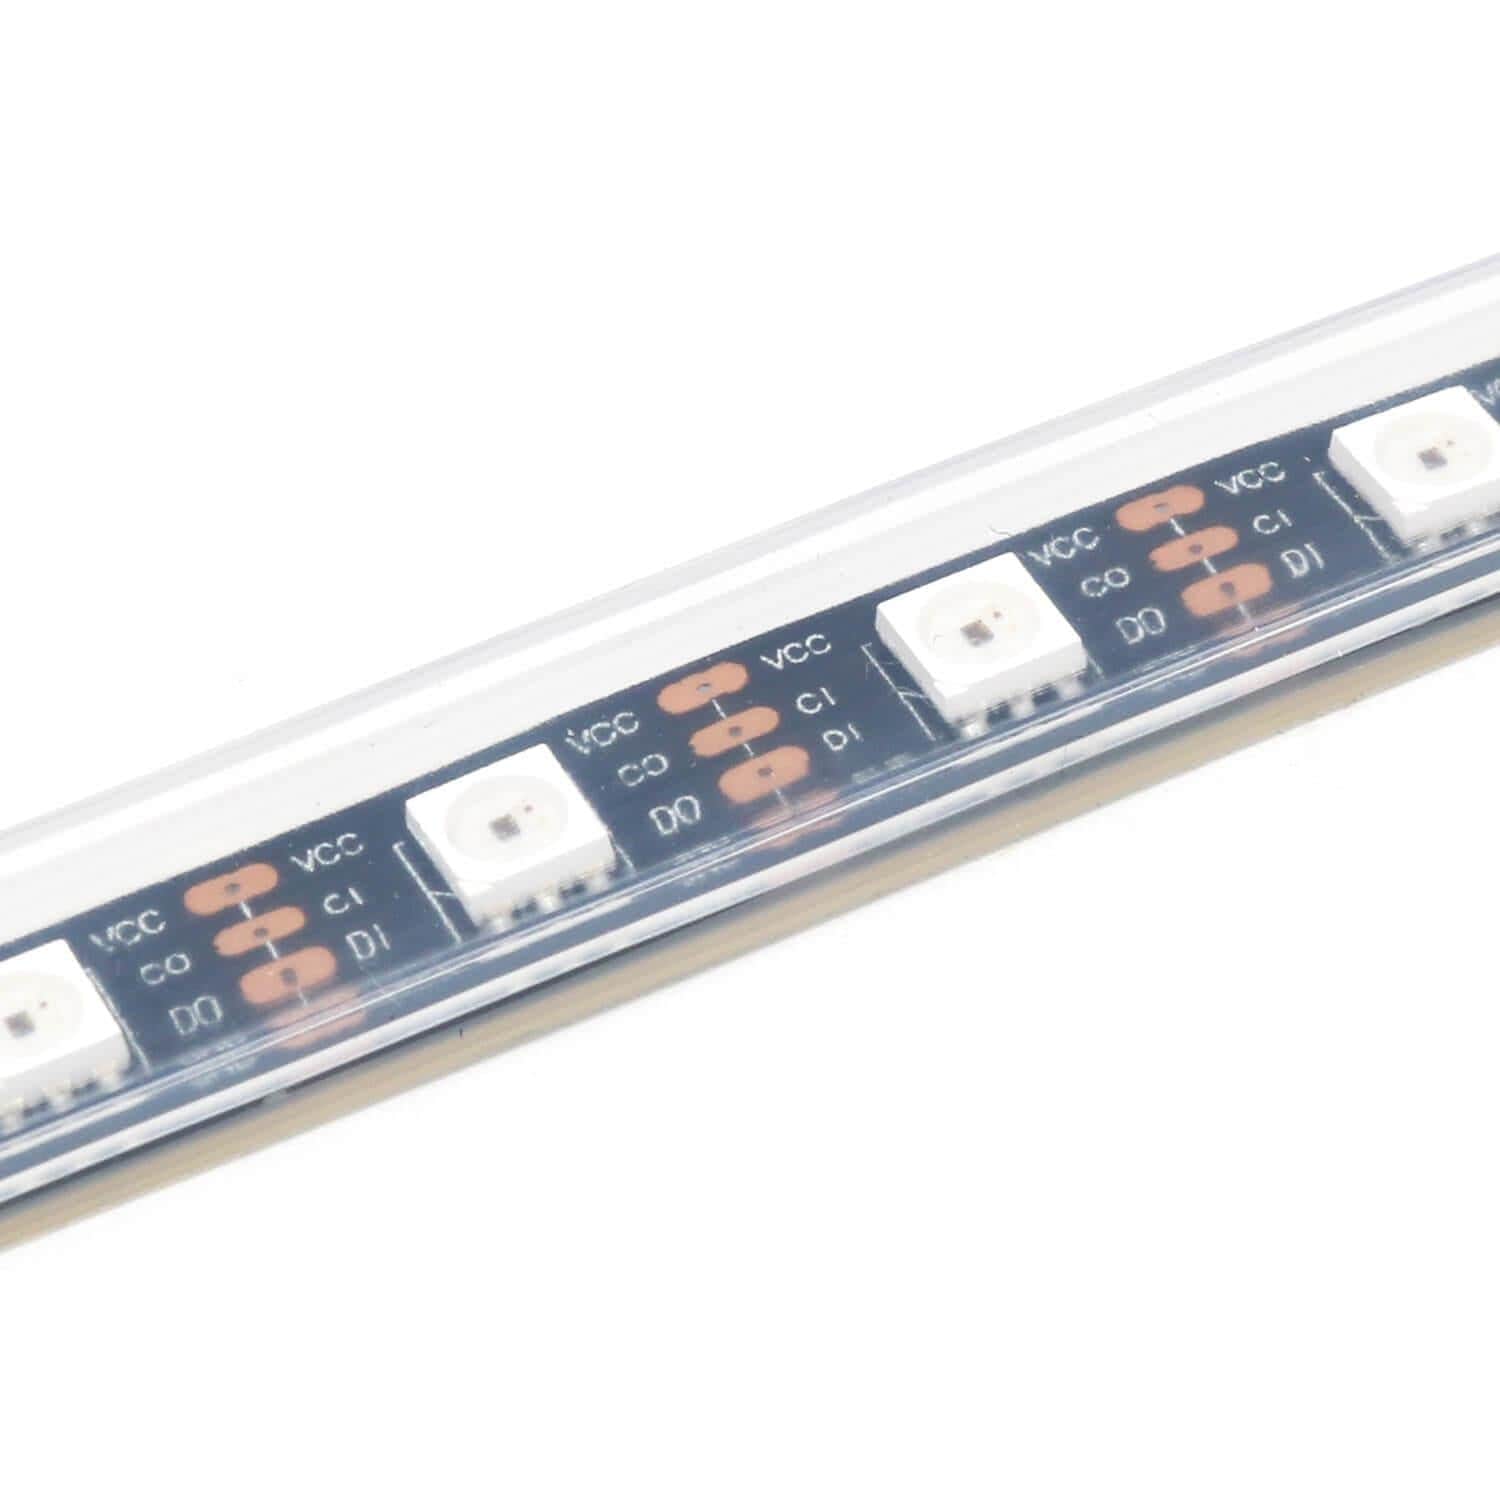
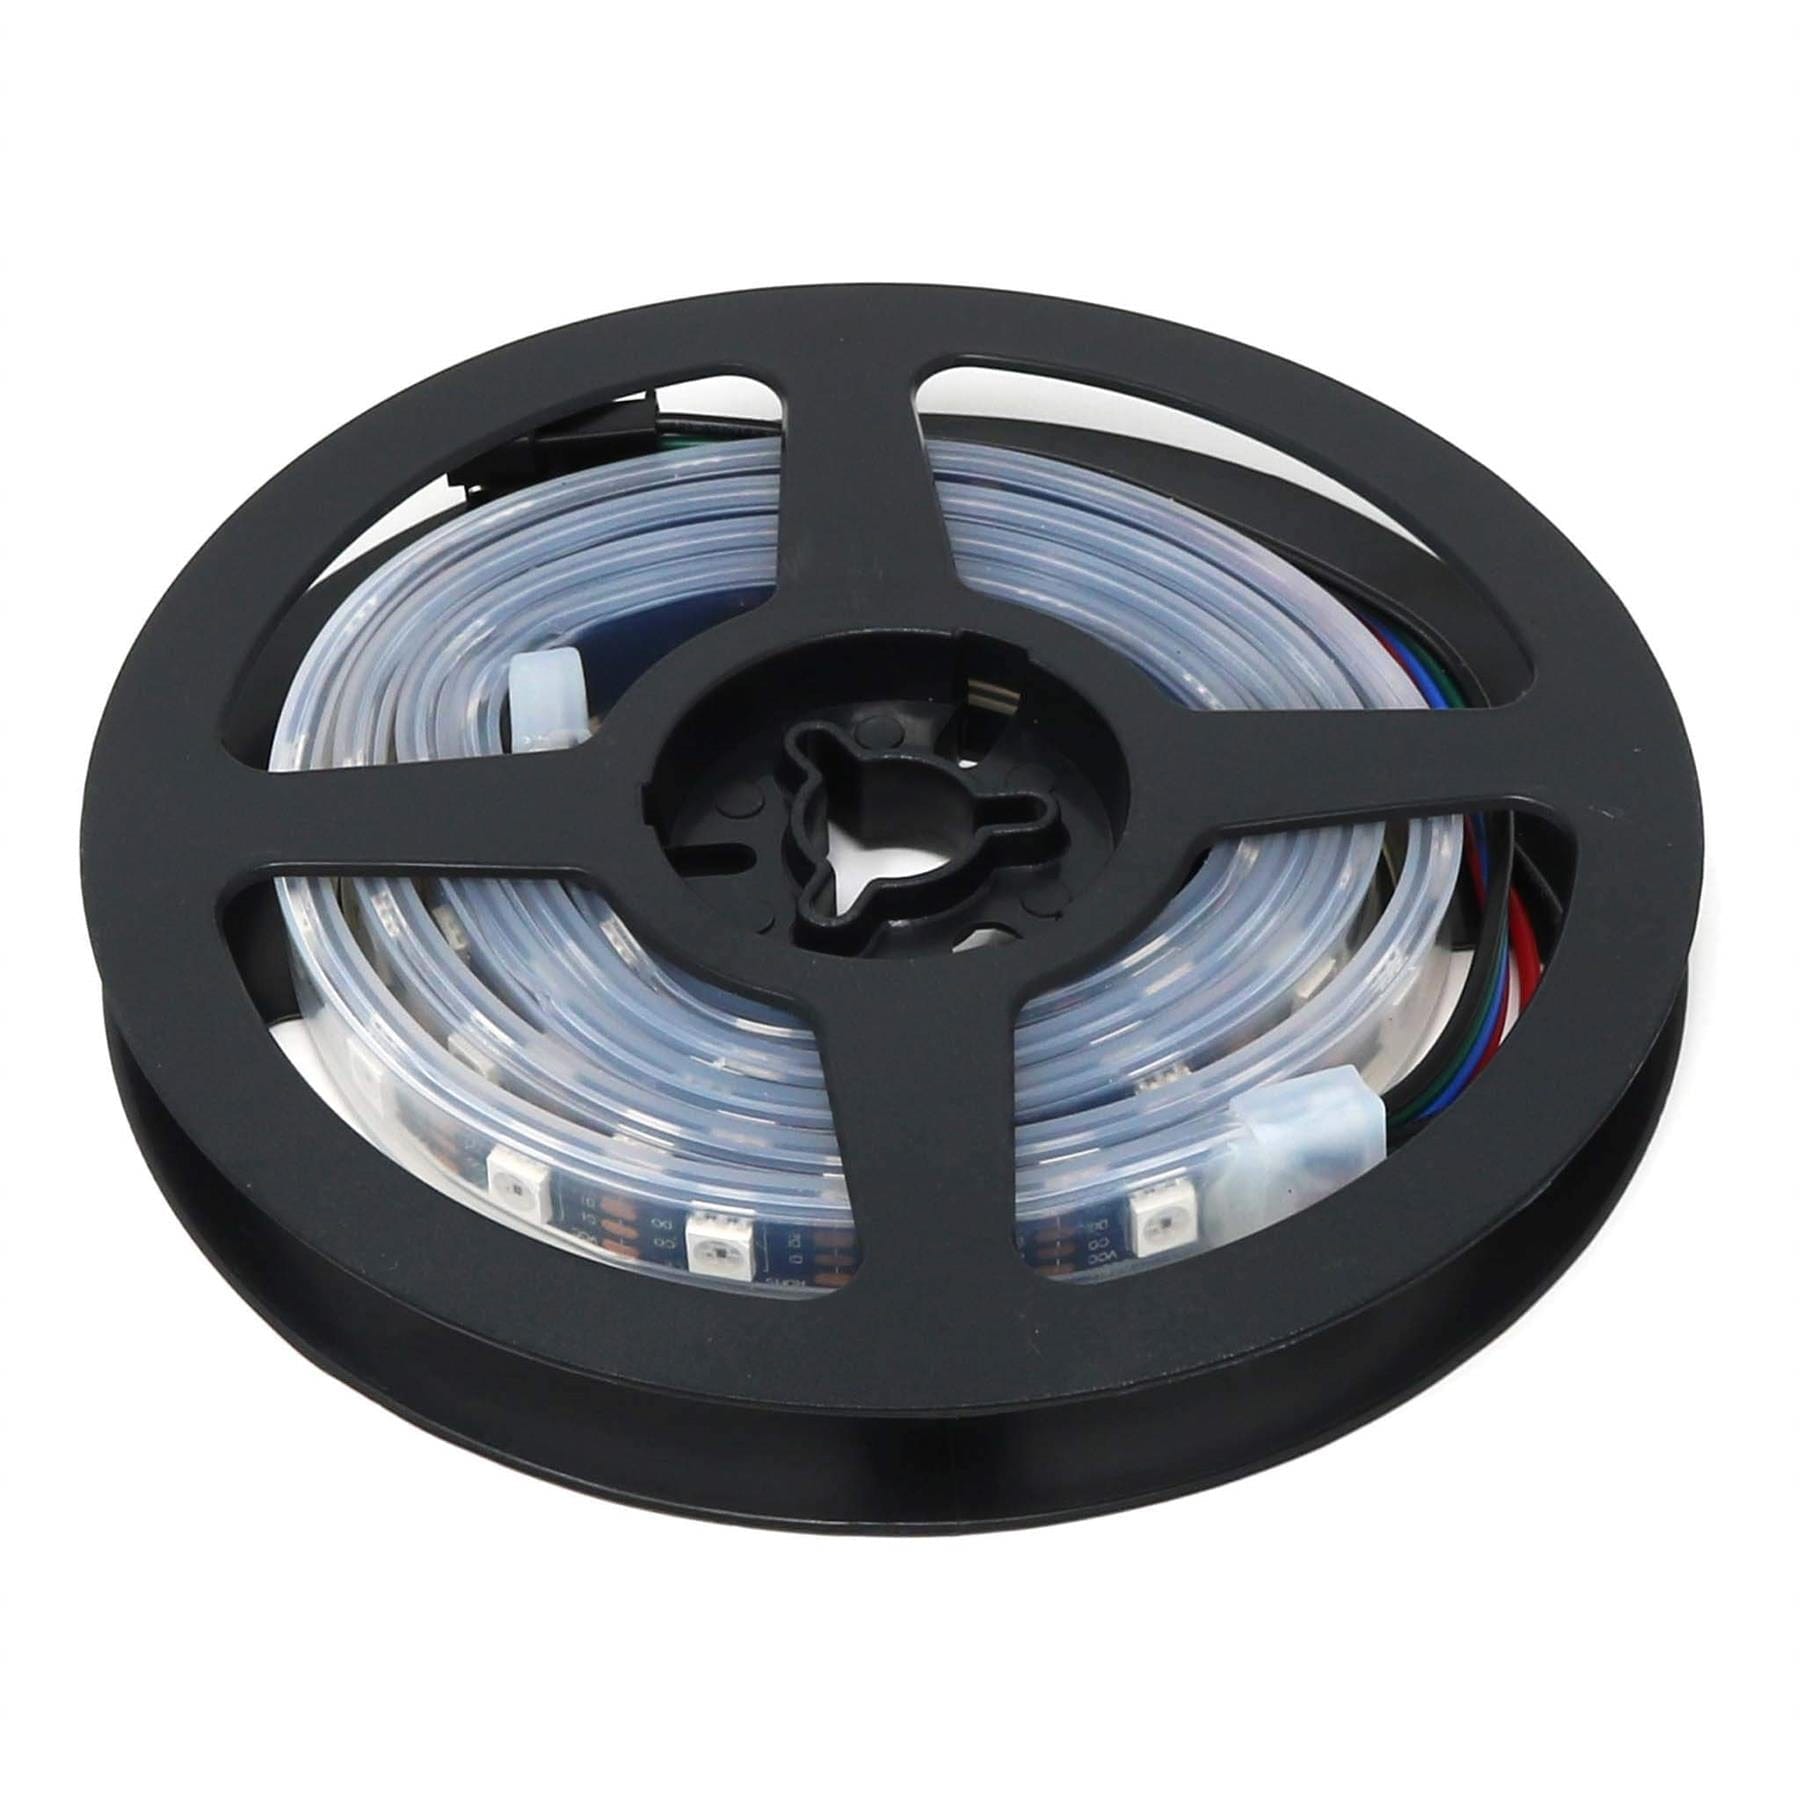
Part of our Illuminate range of LED strips and accessories, this 1 metre flexible RGB LED strip is packed with 60 RGB LEDs giving you lots of blinky for your project! Great for advancing from basic LEDs, learning how to code, lighting projects, art and many many more uses.
They use APA102 LEDs which are the same types used in the popular 'DotStar' range. These work in the exact same way and can be easily controlled using the same libraries, such as the well-established FastLED Arduino library.
The LEDs used in these strips are much more forgiving than WS2801 (the type used in NeoPixels) as they don't have the same fussy timing or pin requirements. Just two pins are needed - one for clock and one for data, making them very easy to get started with.
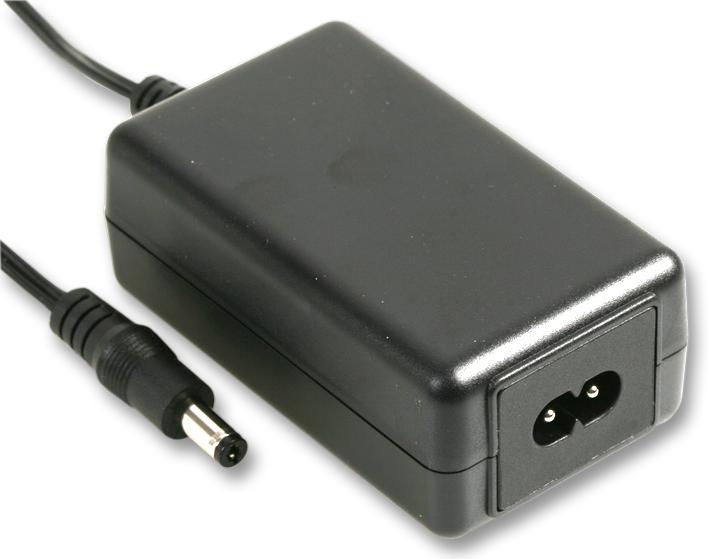
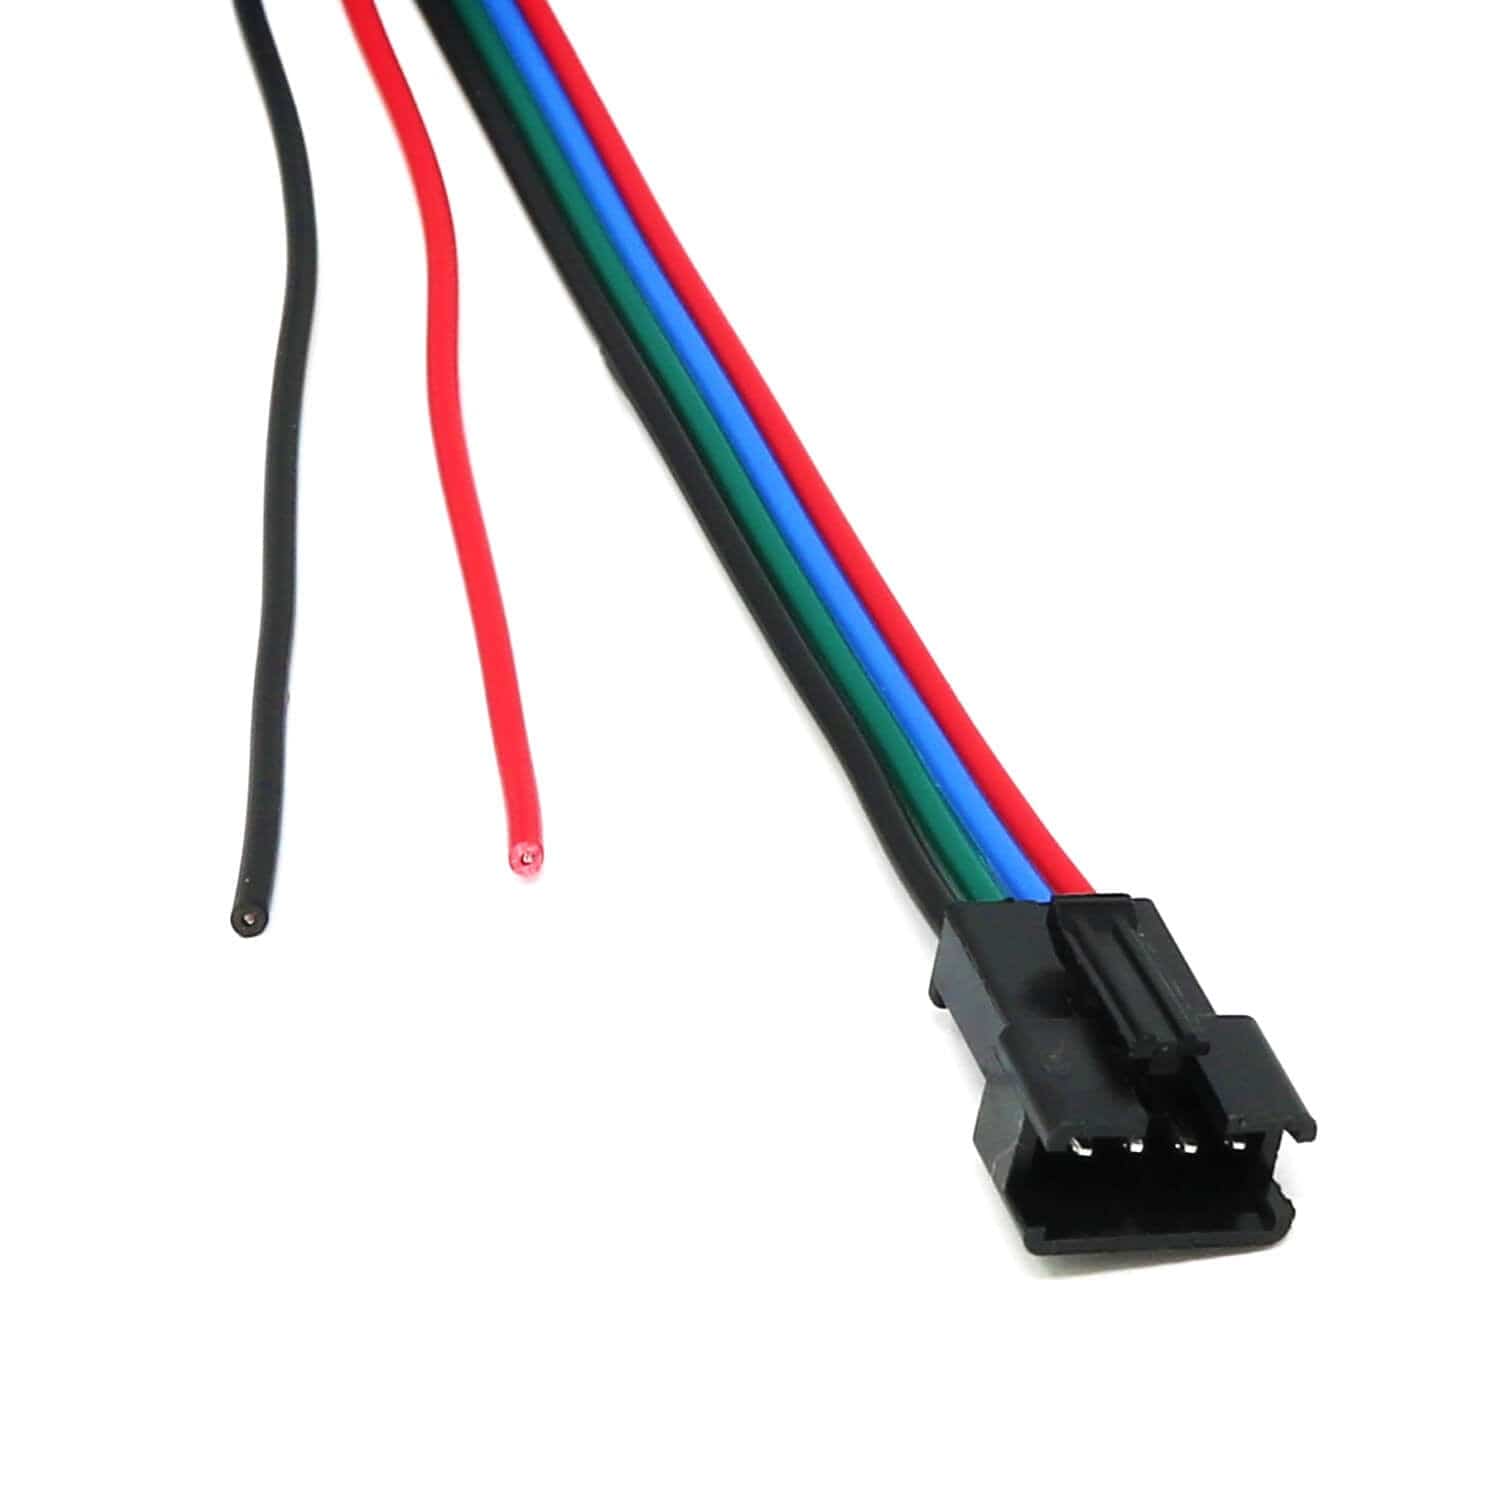
The strips have a female JST-SM connector and require a 5V power supply. They can consume up to 60mA peak per LED, so using your microcontroller's 5V line isn't going to work well unless you're running a very short strip. We recommend a separate power supply such as our 5V 5A PSU. See the wiring section below for more information.
The PCB inside these strips is 12mm wide. You can cut the flex PCB at the cut lines anywhere on the strip - handy if you want to join multiple strips together with connectors, shorten strips or add your own wiring. When doing this, keep the current requirements mentioned above in mind and be aware that there's only so far you can go before you'll start seeing dimming/brown-out at the end. Some of our connectors do not fit these wider 12mm strips - check the connector specs before buying!
Note: The LEDs may sometimes be SK9822 depending on the batch, but they function in the exact same way as APA102 LEDs. We cannot accept returns on modified strips.
Firstly, some important points on power, and we'll assume you're using a separate power supply:
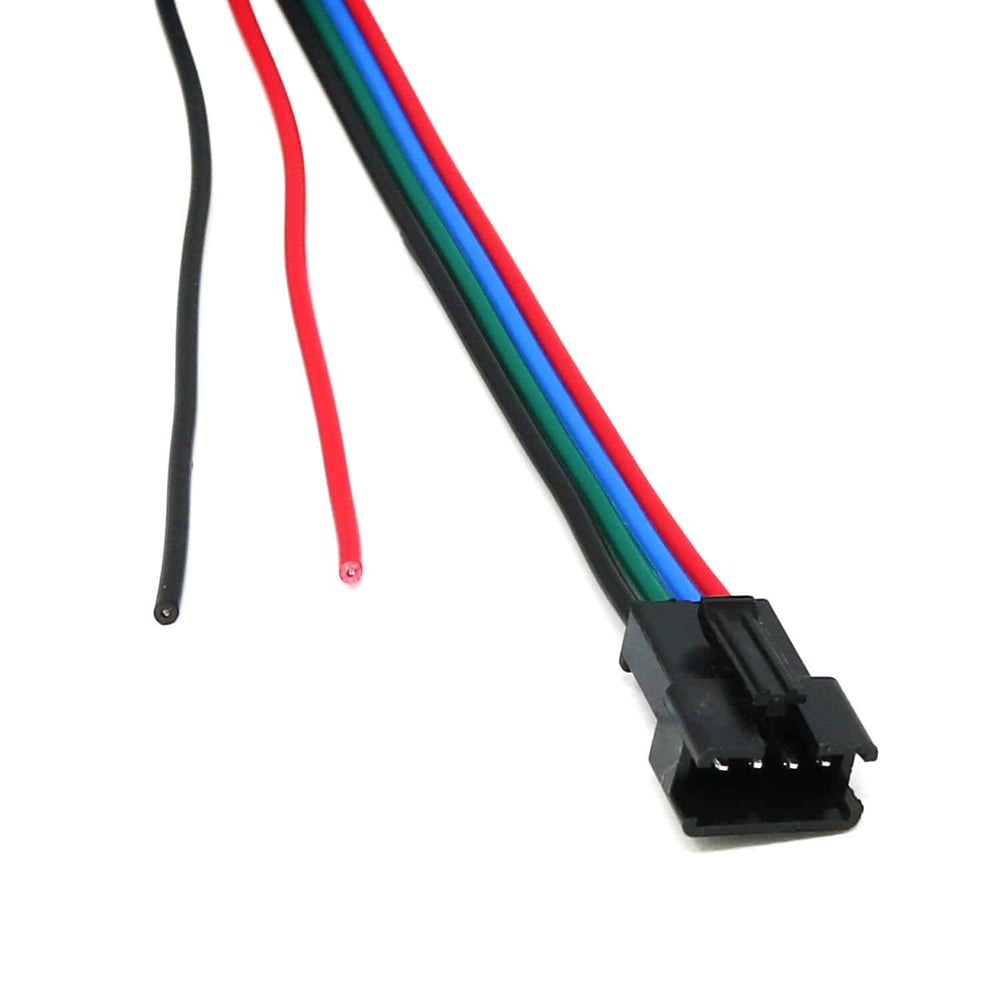
These strips have a 4-pin female JST-SM connector, which includes 4 coloured wires which we've indicated in the table below.
| Wire colour | Function |
| BLACK | GND |
| GREEN | Data |
| BLUE | Clock |
| RED | 5V |
There are also additional red and black (5V and GND) wires next to this connector. These are the same 5V and GND lines - these just offer an alternative way to externally wire power to the strips.
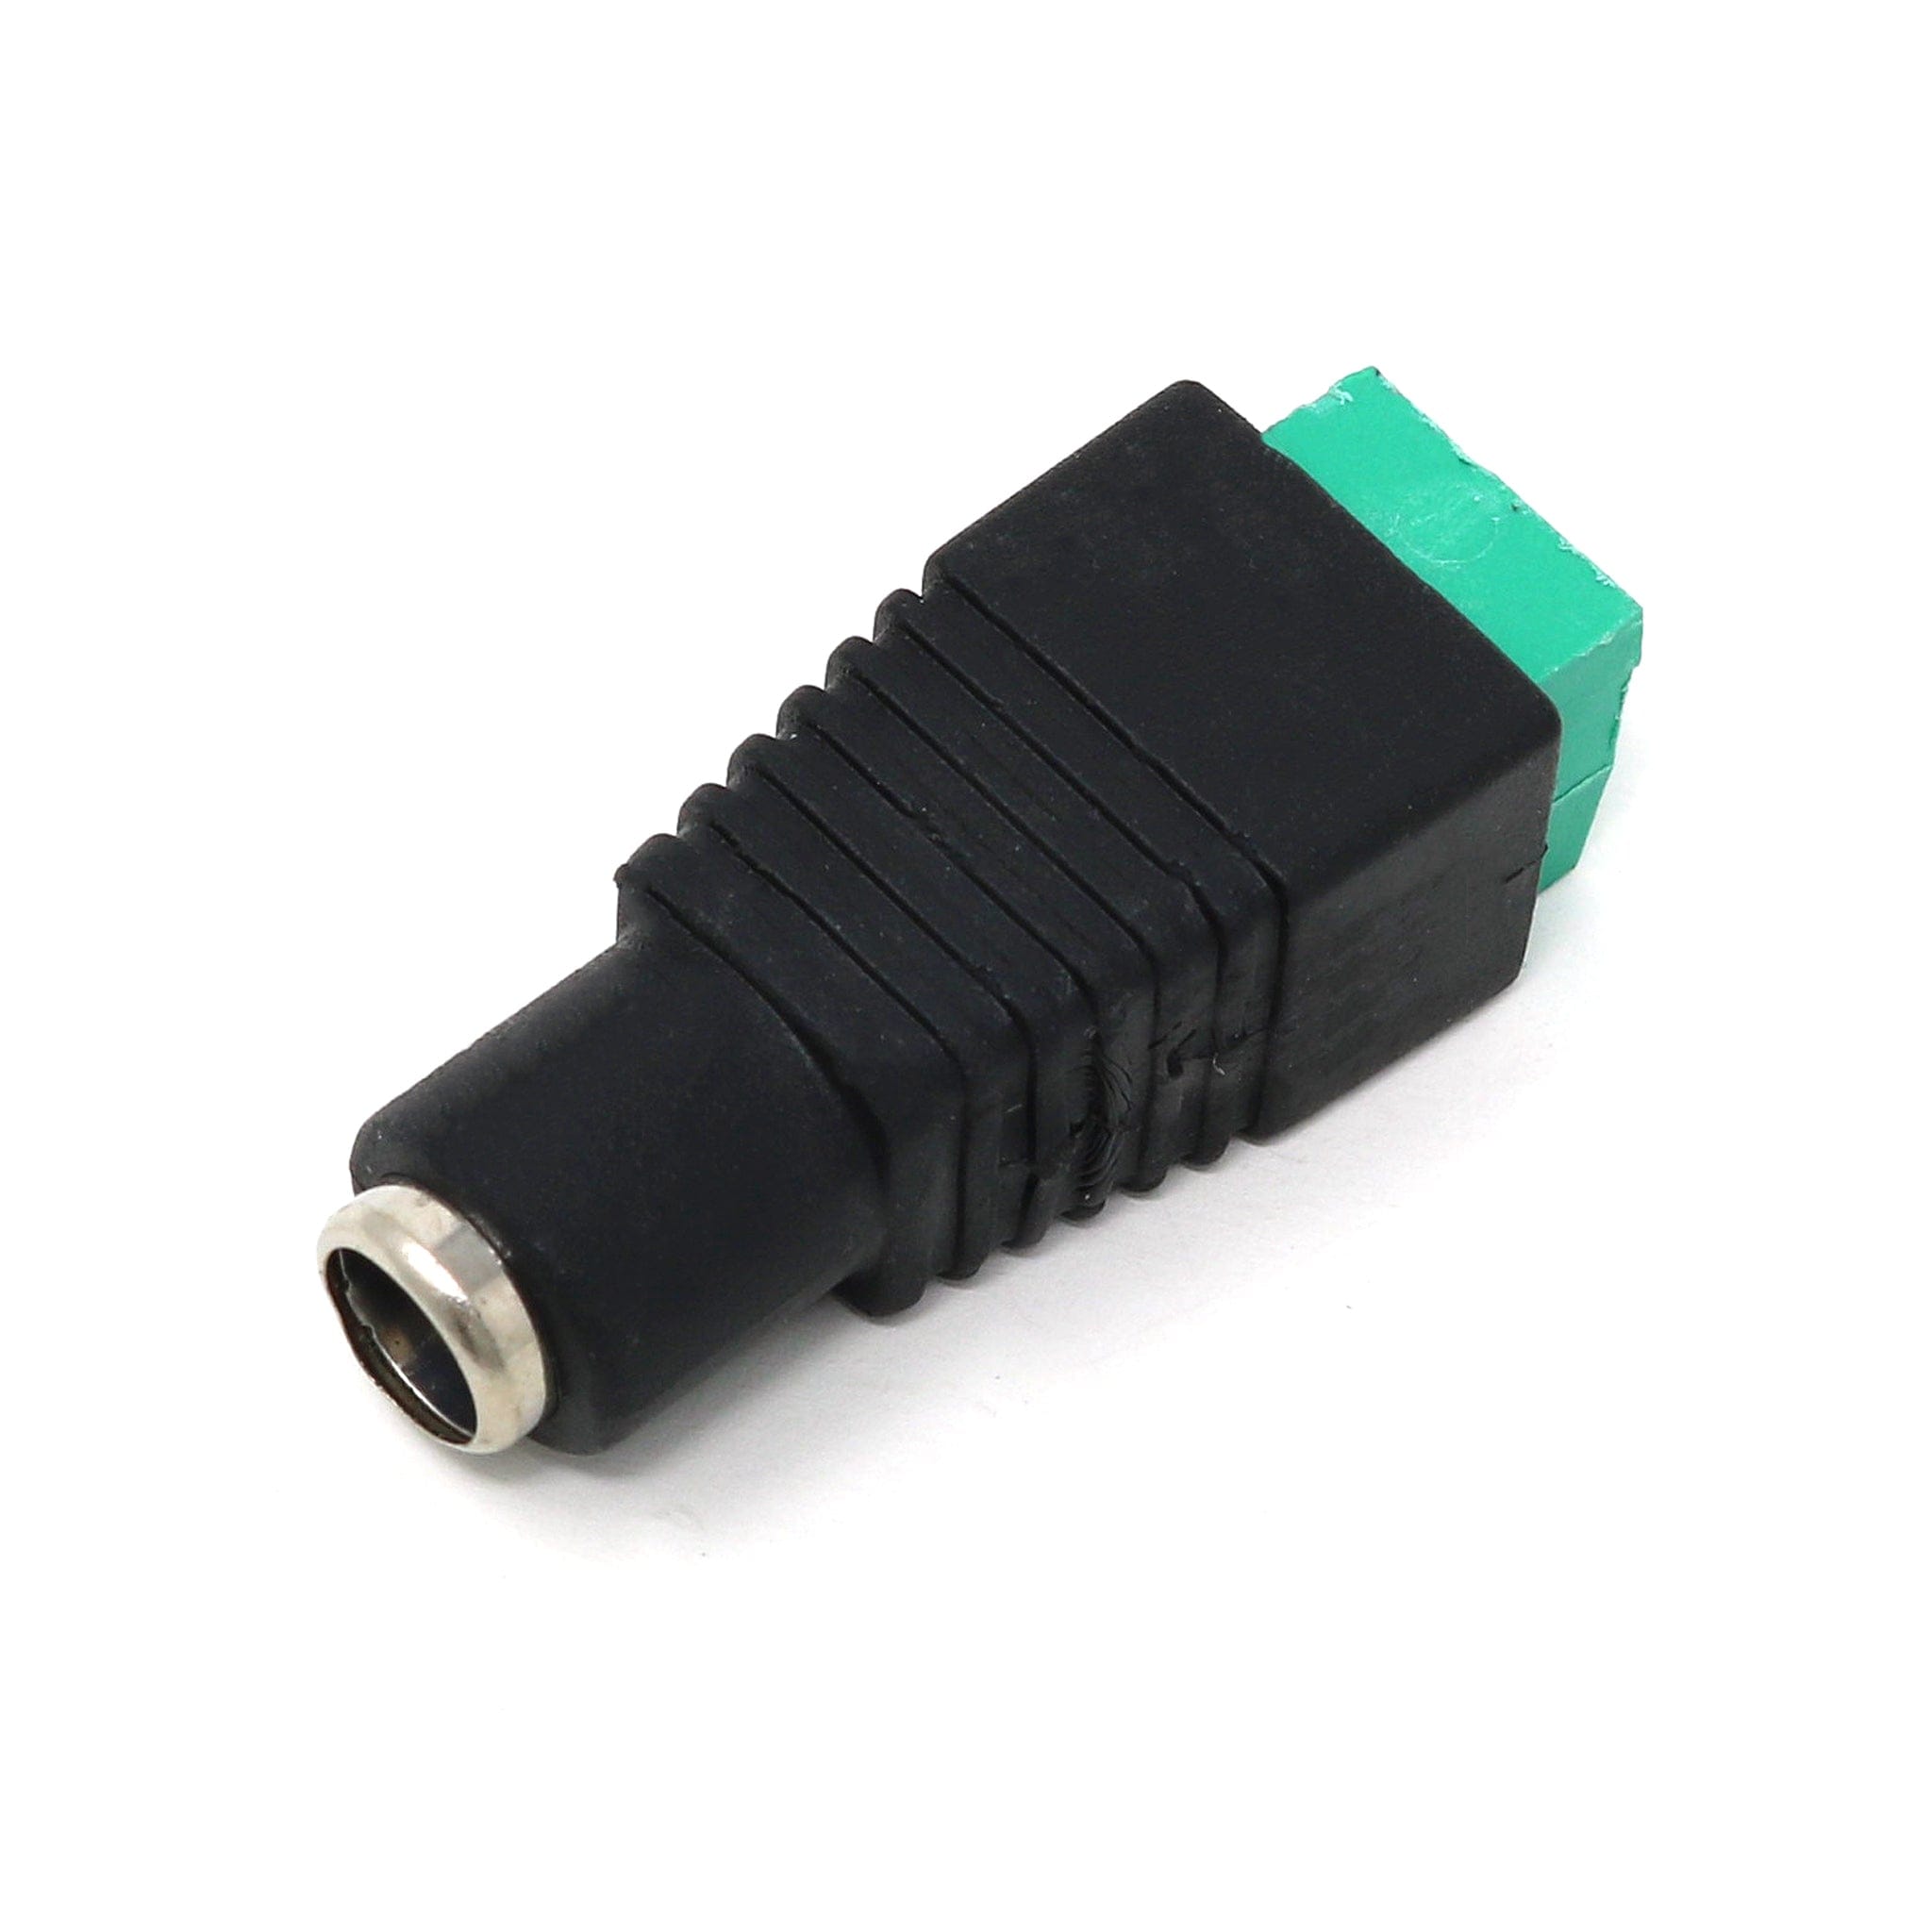
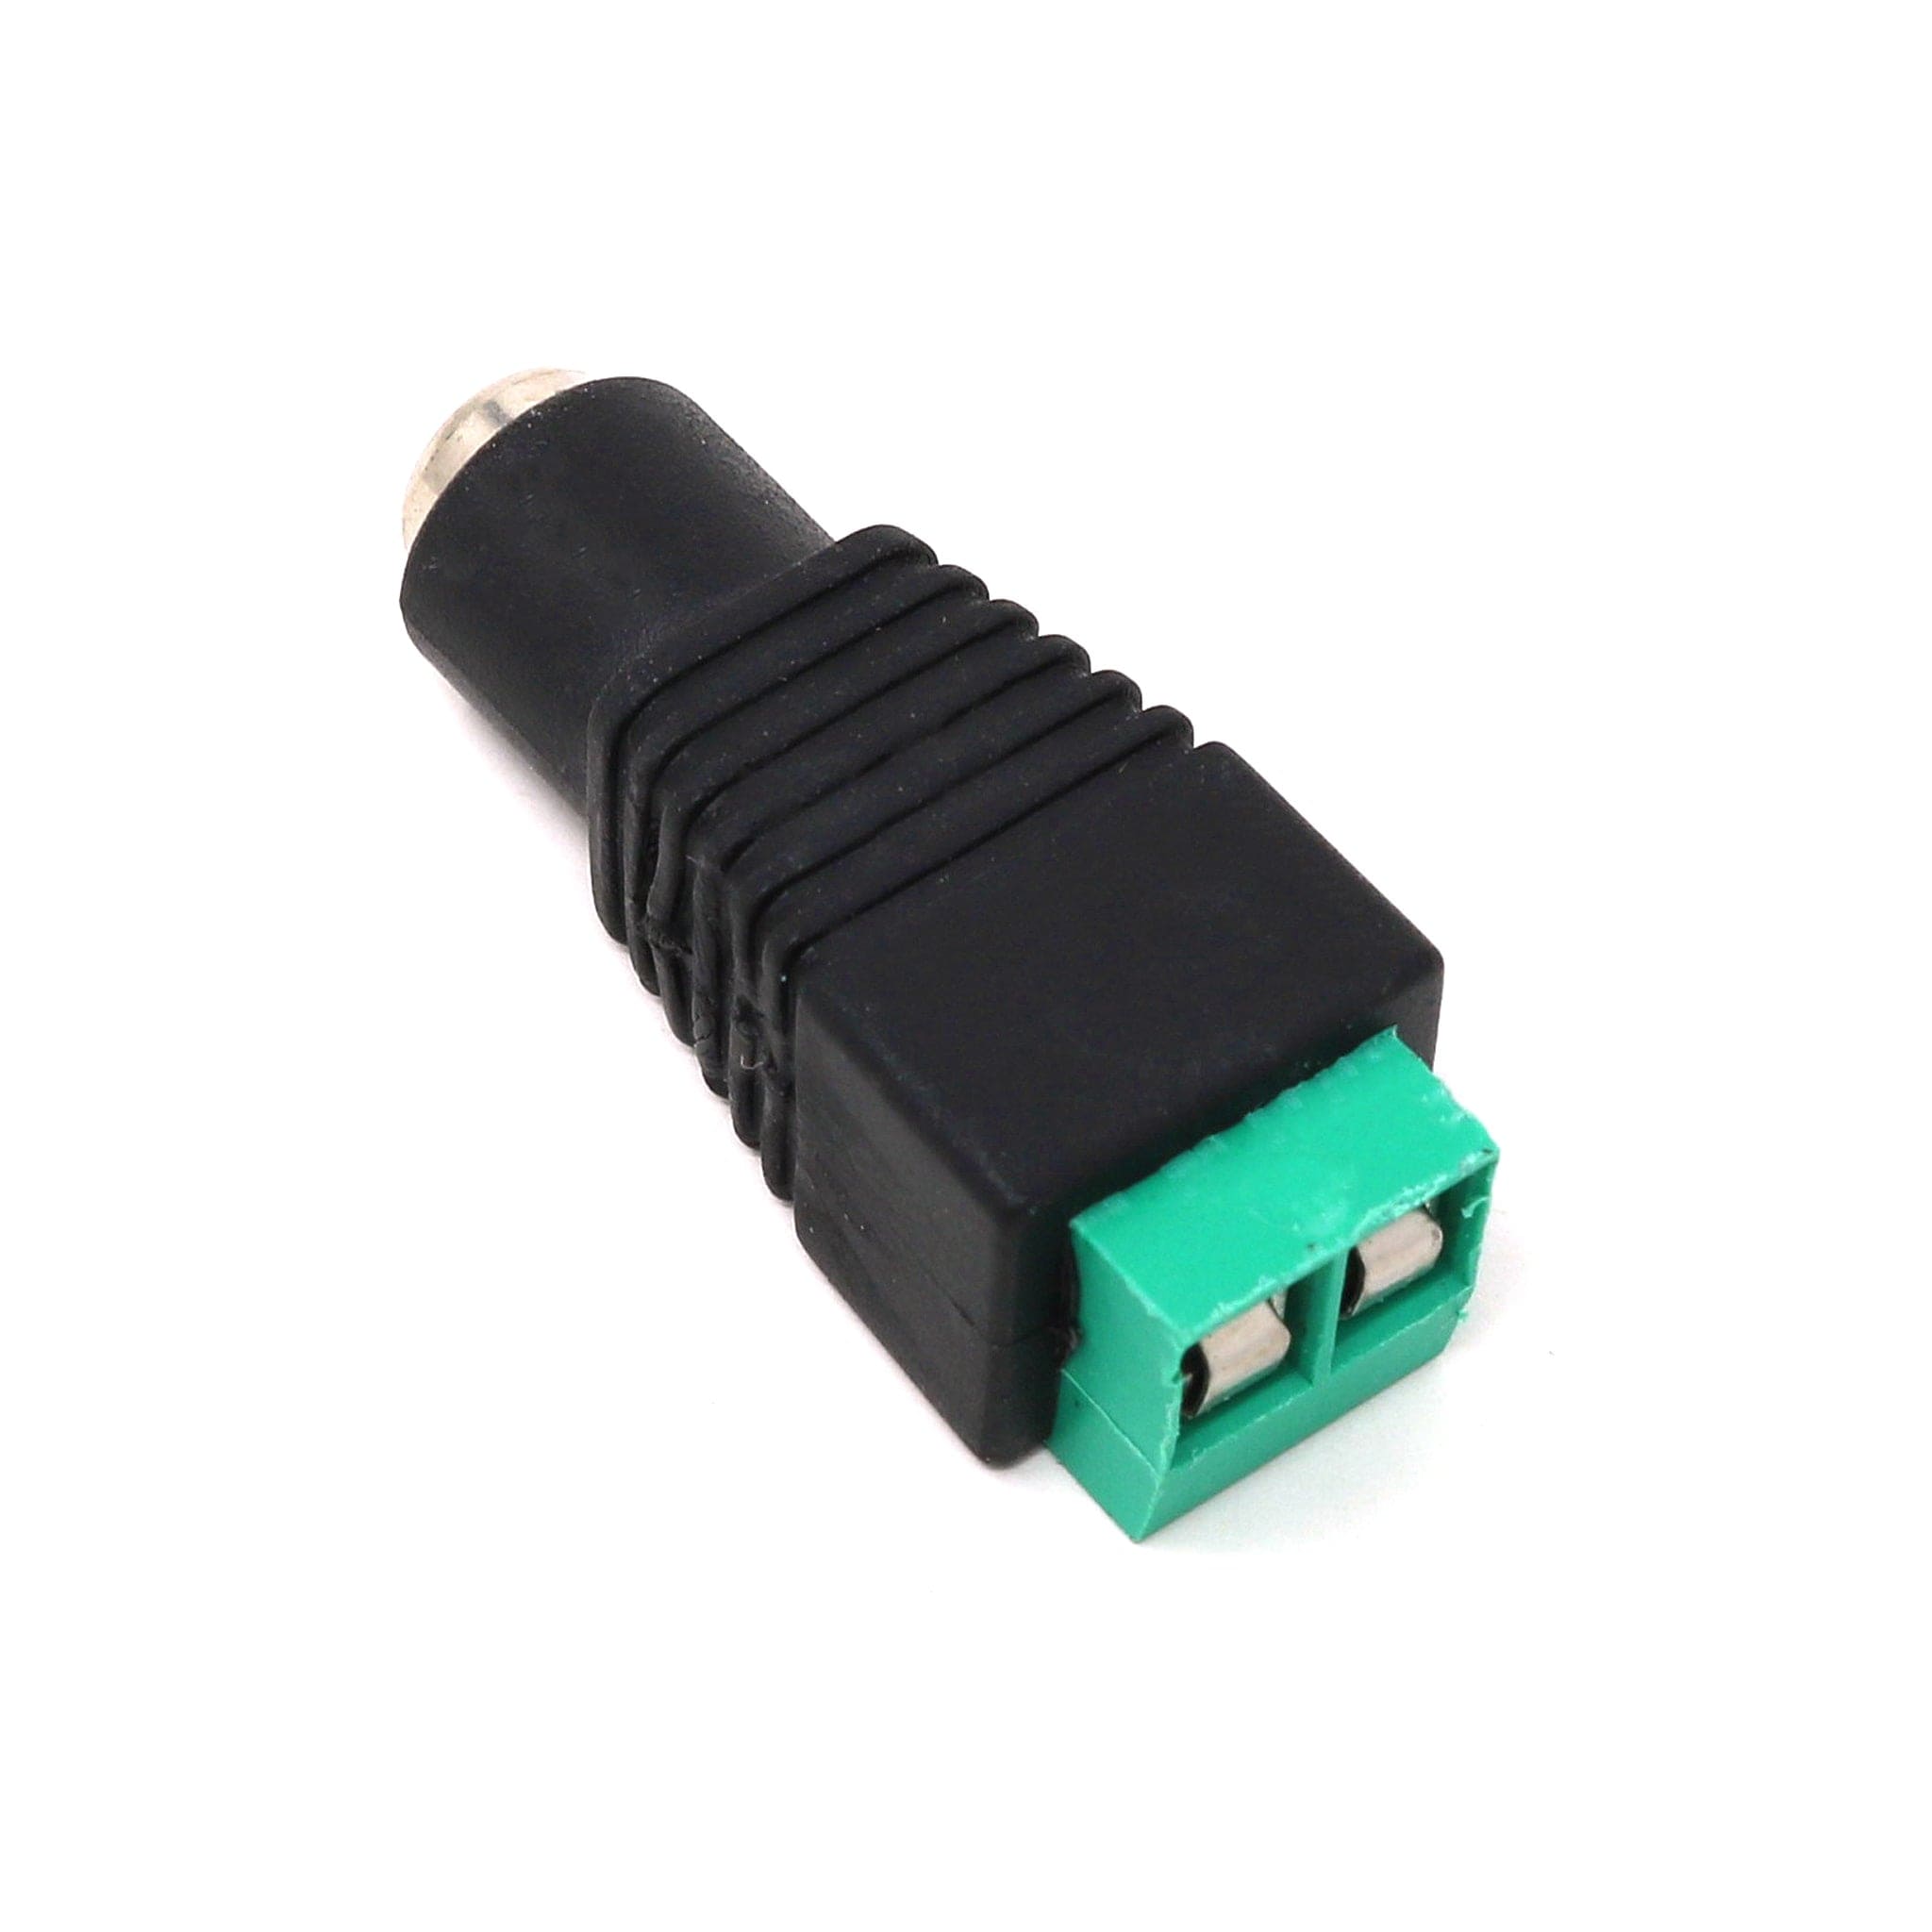
When using an external power supply, we suggest using a DC terminal block power adapter to allow you to easily wire in the power lines from the strip and join the GND lines from the power supply and microcontroller. You will also need to ensure there is a common ground (GND) connection between your microcontroller and the LED strip power supply (see wiring section below for more info).
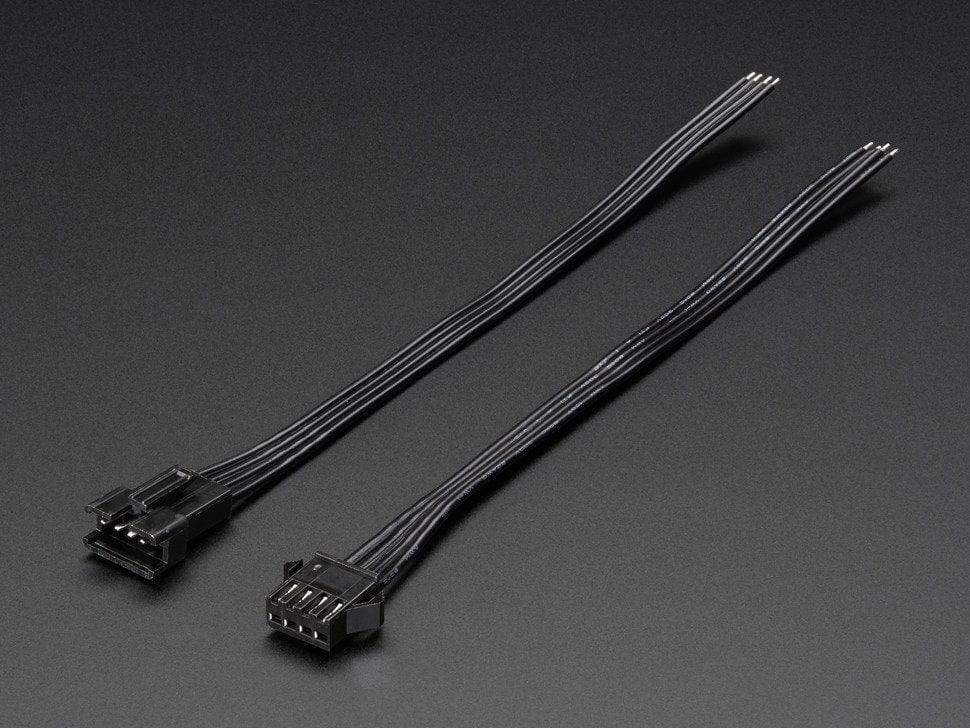
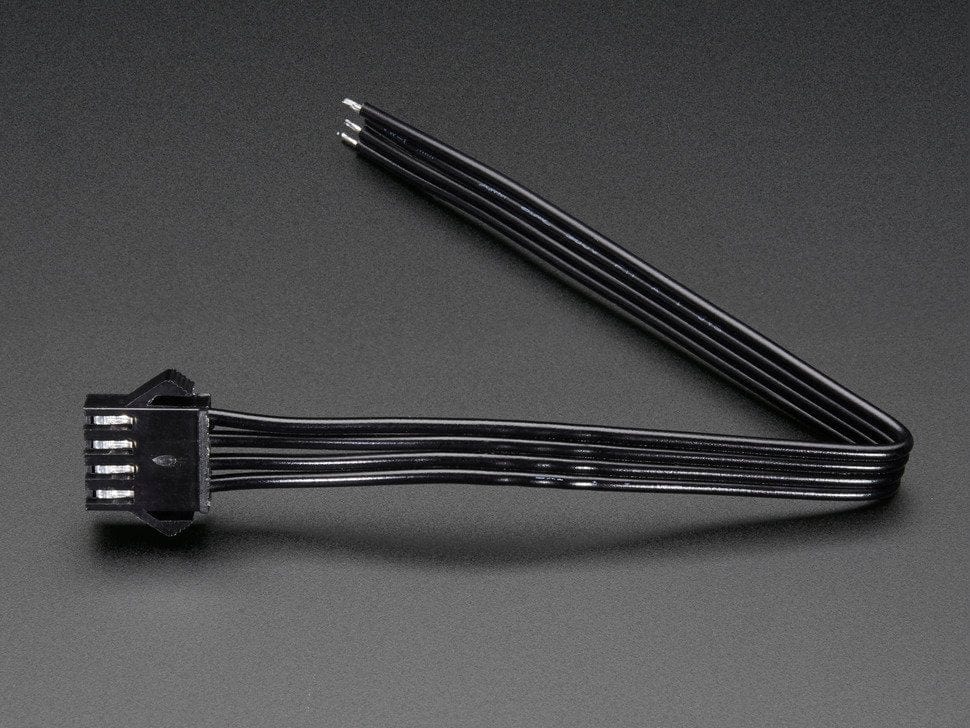
You may want to pick up some 4-pin JST-SM Plug + Receptacle sets for your project.
Here's an example for the Arduino UNO, using the same pins and wiring as we used when taking the colourful product photos further up the page:
| Wire colour | Function | Power Supply | Arduino |
| BLACK | GND | GND | GND |
| GREEN | Data | - | Digital Pin 4 |
| BLUE | Clock | - | Digital Pin 5 |
| RED | 5V | 5V | - |
We're big fans of the excellent FastLED Arduino library which can be installed on the Arduino IDE. The documentation is detailed, easy to follow and there are lots of example scripts available in the library to get you started.
We highly recommend grabbing a coffee and reading the FastLED documentation fully before continuing.
To install the FastLED library in your Arduino IDE, go to Sketch --> Include Library --> Manage Libraries.
The search for "FastLED" and install the FastLED option as seen below (already installed for us). Once installed, close the window and restart your Arduino IDE.

As an example, for the blinky product photo you can see above we used the 'DemoReel100' example sketch from File --> Examples --> FastLED --> DemoReel100.
We then modified the sections below to match the 60 LED strip, the pins we used on our Arduino and the order of the RGB wiring (more on that below):
#define DATA_PIN 4
#define CLK_PIN 5
#define LED_TYPE APA102
#define COLOR_ORDER BGR
#define NUM_LEDS 60
// tell FastLED about the LED strip configuration
//FastLED.addLeds(leds, NUM_LEDS);
FastLED.addLeds(leds, NUM_LEDS).setCorrection(TypicalLEDStrip);
Depending on how our suppliers wire the strips (which can change between batches) the RGB colour order can be reversed.
From our testing, at the time of writing our APA102 strips are 'BGR' so you'll need to set this in your scripts to get the right colours showing. This page explains this in more detail.
If you purchase more than one, you will receive multiple separate 1m strips (not a combined length)


