Fan SHIM for Raspberry Pi
Price:
Sale price
£12
Stock:
Quantity:
Login / Signup
Cart
Your cart is empty

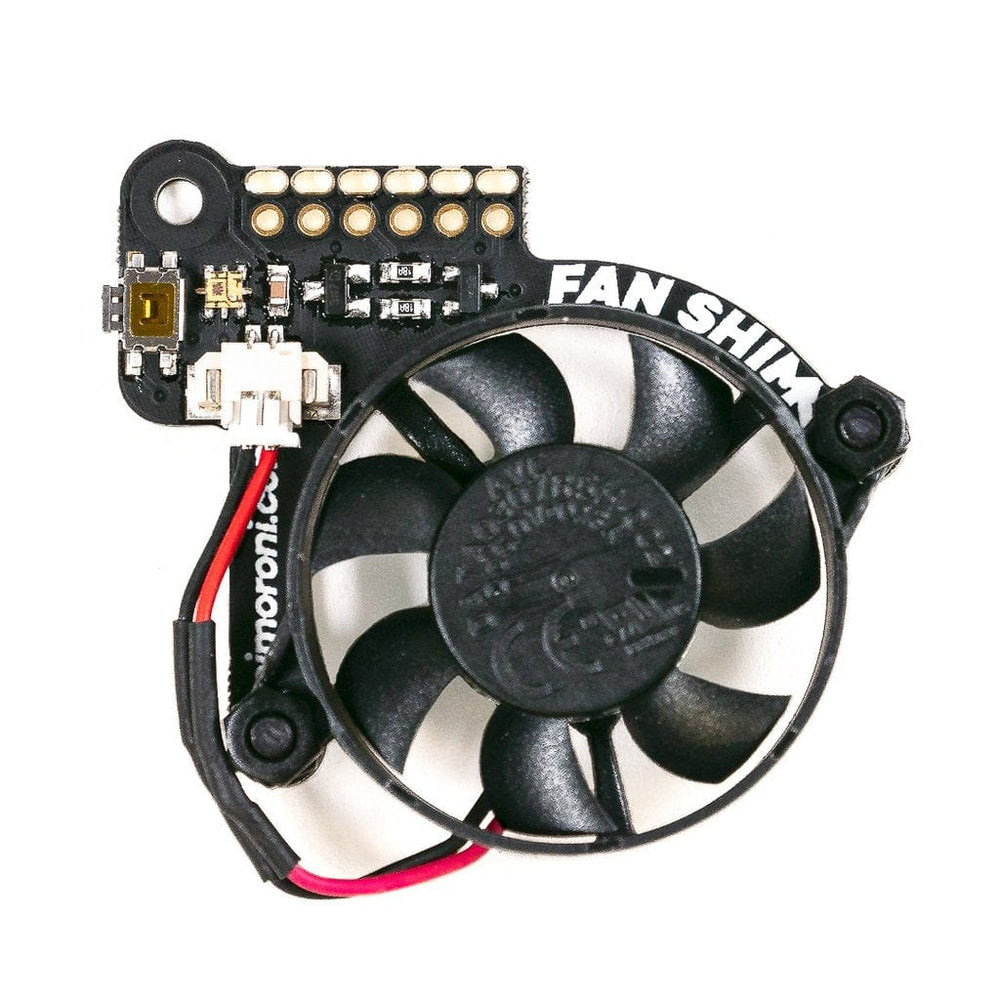
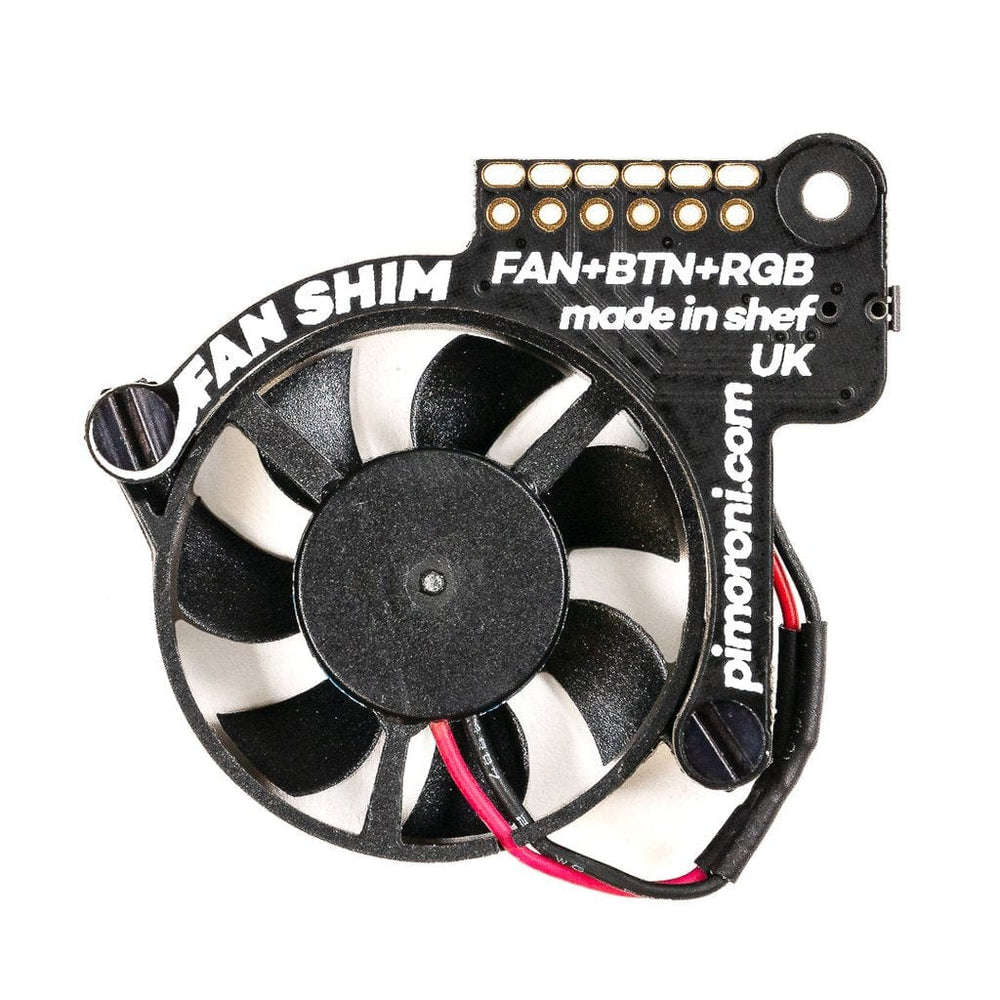
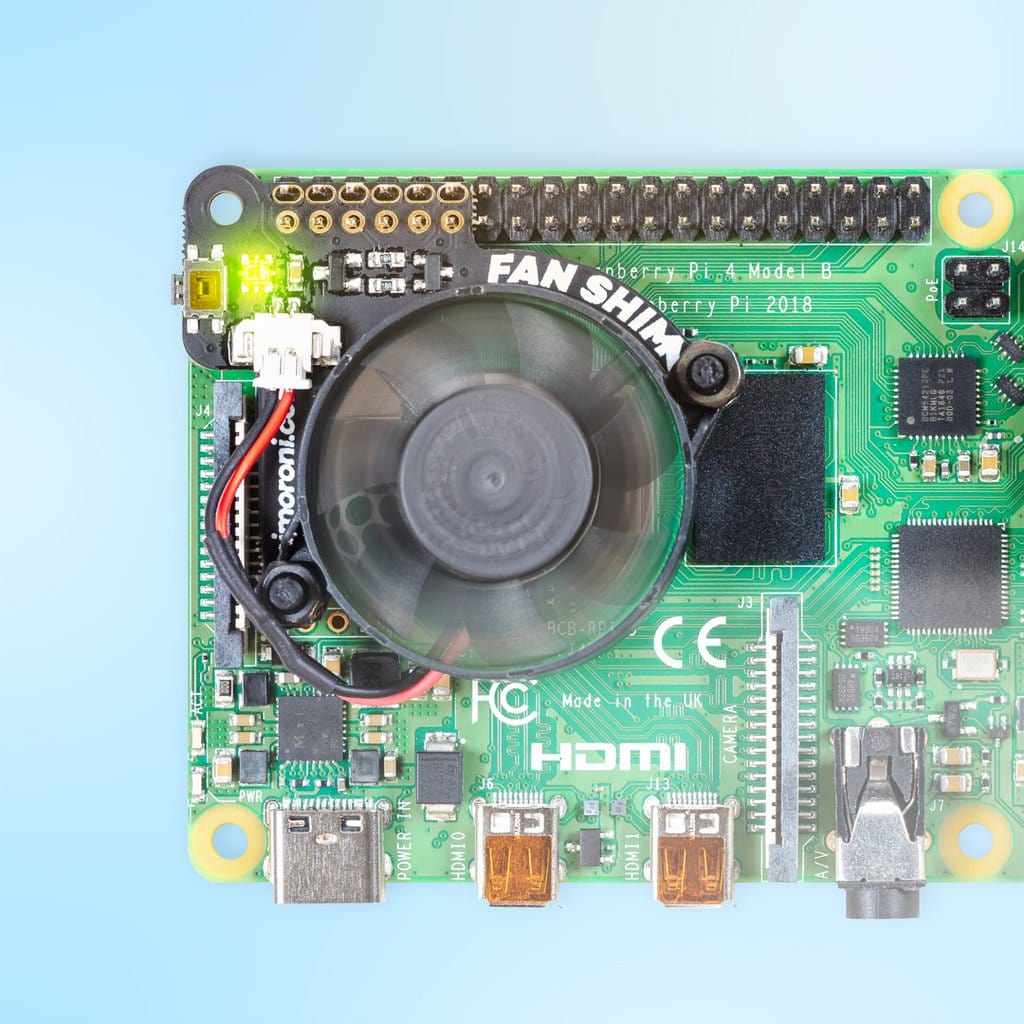
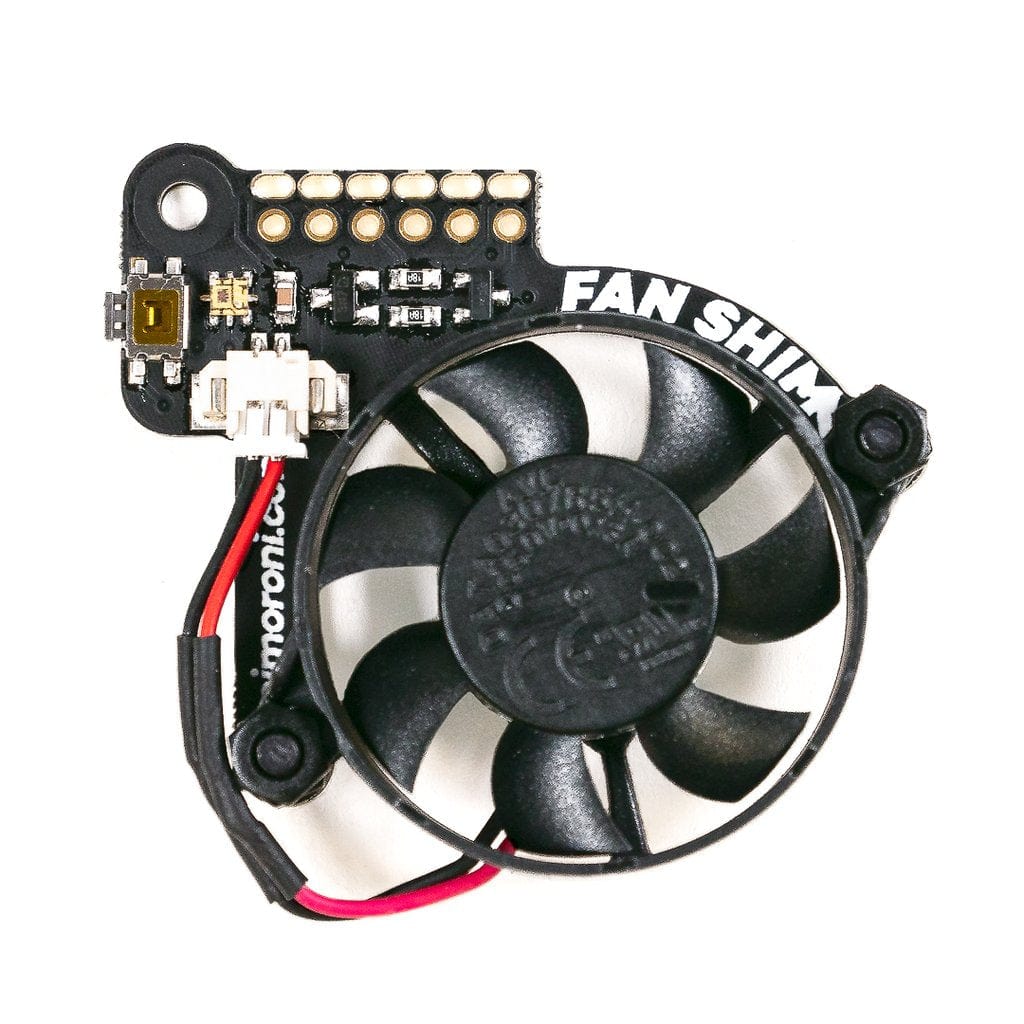
Make your Raspberry Pi 4 seriously cool with Fan SHIM! This 30mm no-solder, controllable CPU fan with RGB LED and tactile switch will give your Raspberry Pi significantly better thermal performance. It's whisper-quiet too!
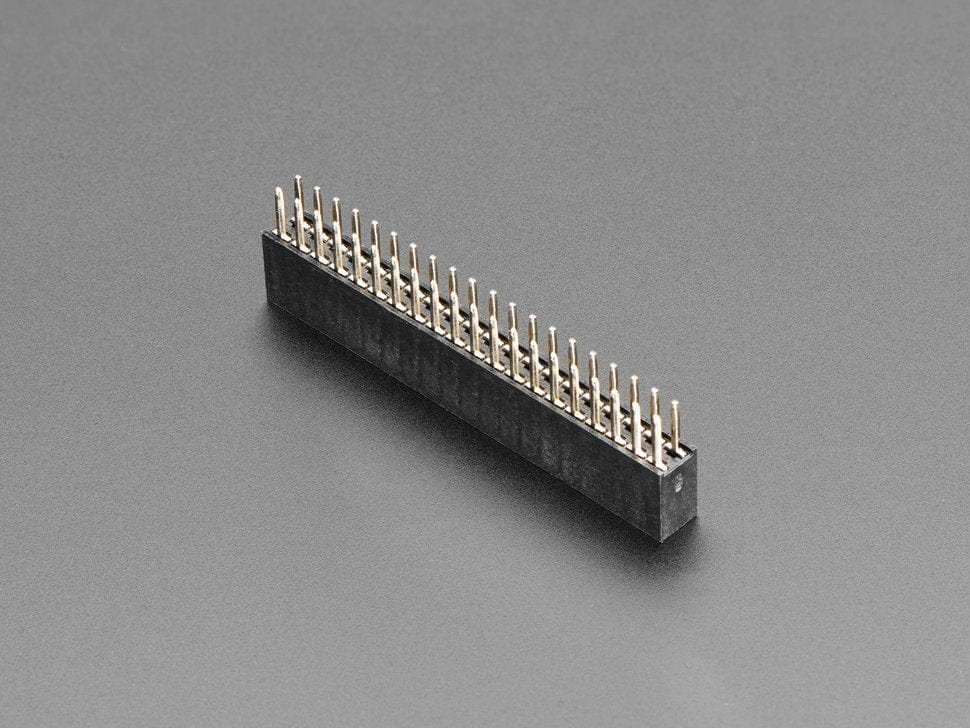
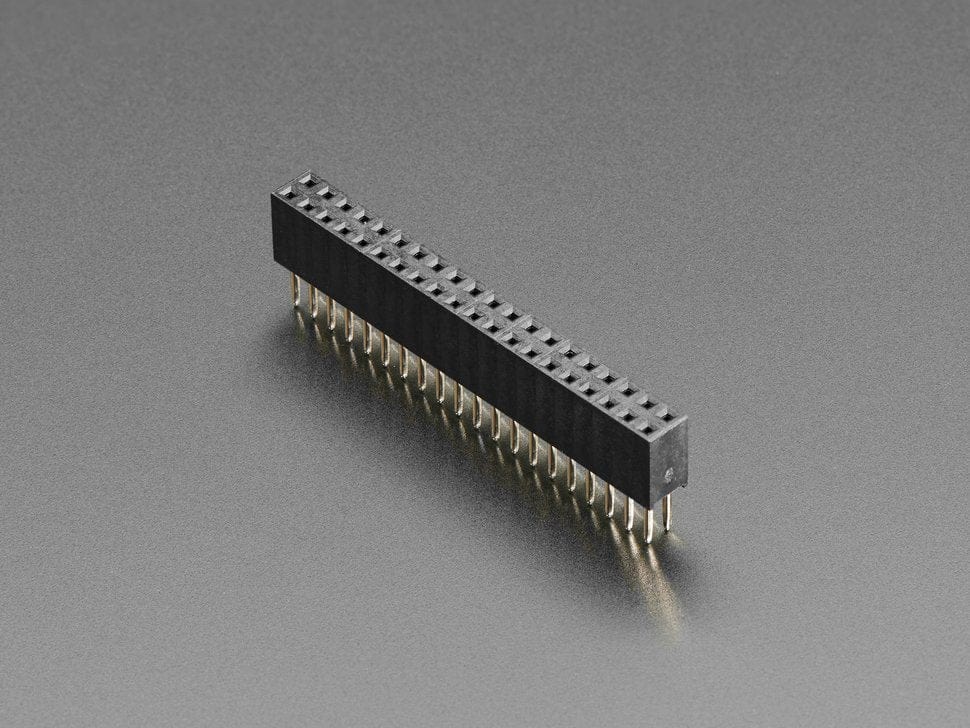
Fan SHIM uses a friction-fit header, so it just slips onto your Pi's pins and it's ready to go, no soldering required! Note that, due to the height of the fan, if you want to use HATs or pHATs with Fan SHIM, then you'll need to use a booster header.
![]()
Thermal images of Raspberry Pi 4 with and wihout FanSHIM installed. Images by Gareth Halfacree - check out his full benchmark blog post.
The fan can be controlled in software, so you can do crafty things like toggle it on when the CPU reaches a certain temperature. Use the LED as a handy visual indicator to show fan status, CPU load/temperature, whatever! The tactile switch can also be programmed, so you can use it to toggle the fan on or off, or to switch between temperature-triggered or manual mode.
You can read some detailed benchmarking of Fan SHIM's cooling performance here on the Pimoroni blog.
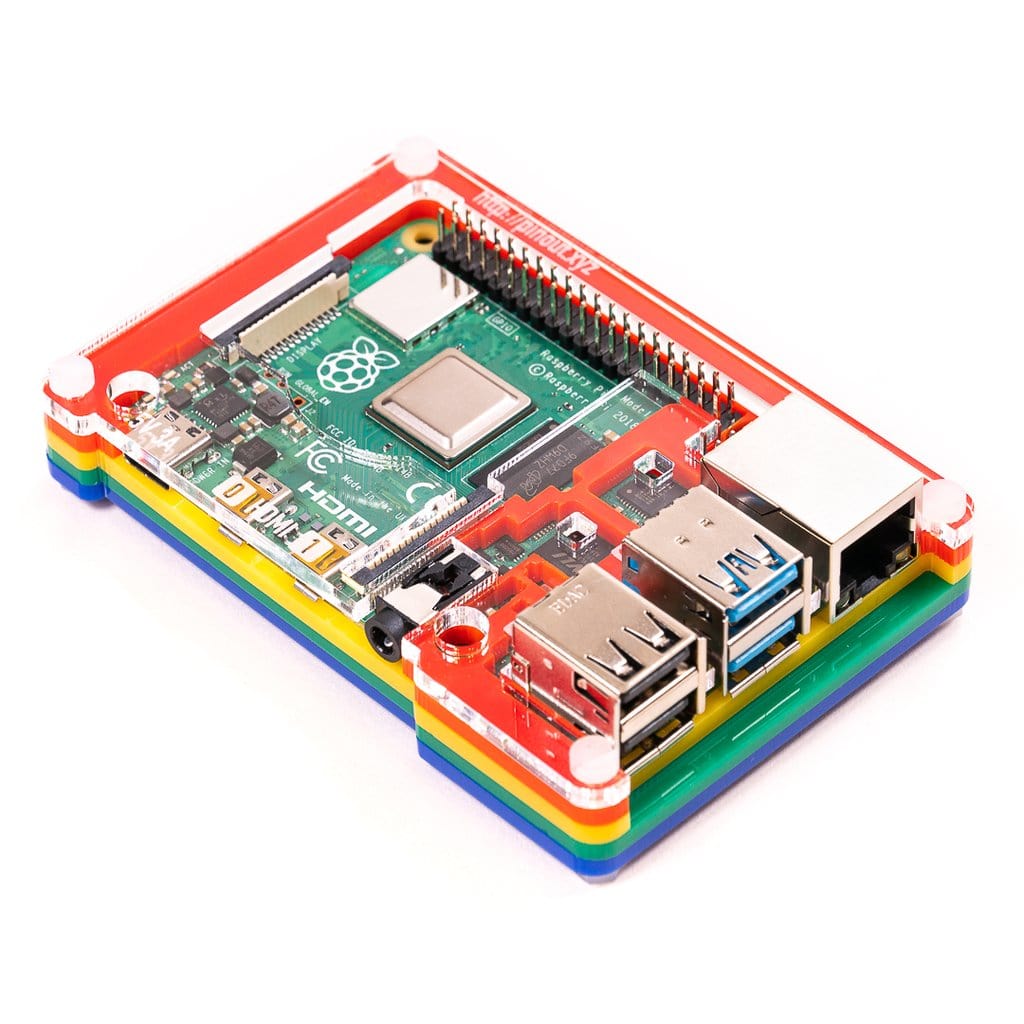
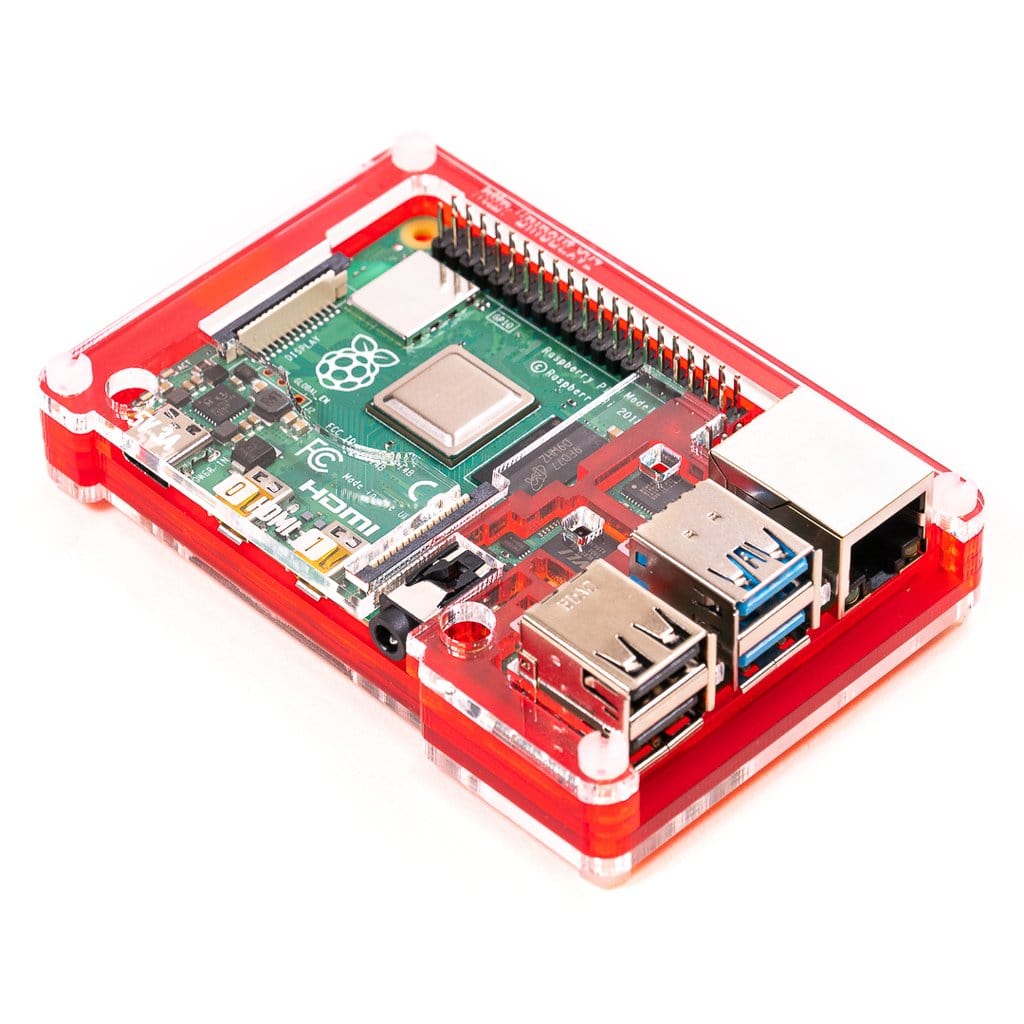
Oh, and it's compatible with our new Pibow Coupé 4 case for Raspberry Pi 4!
Assembly is really easy, and will take less than two minutes.
Our Python library lets you control the fan (on/off), RGB LED, and switch. There's a handful of examples to show you how to use each feature, and a script to install a daemon (a service that runs in the background) that runs the fan in automatic mode, triggering it on or off when the CPU reaches a threshold temperature, with a manual override via the tactile switch.
You can read our Getting Started with Fan SHIM tutorial for a really detailed guide on assembling Fan SHIM and installing the software, with photos for each step of the assembly.
Your payment information is processed securely. We do not store credit card details nor have access to your credit card information.