Skip to content

Mini Cluster Case for Raspberry Pi Zero 2 Assembly Instructions
This guide will show you how to assemble the Mini Cluster Case for Raspberry Pi Zero 2. All you'll need is a simple cross-head screwdriver.
Step 1 – Grab your box! You should find 3 Perspex layers, two 5V fans and a bag of fixings, peel the protective film off of both sides of all layers and clean off any dust

Step 2 – Stick your rubber feet to the base of the case. We have engraved four small guides into the base so that you can get them perfectly aligned!

Step 3 – Install four of the M/F standoffs to the base of the case, securing with four of the M2.5 nuts.

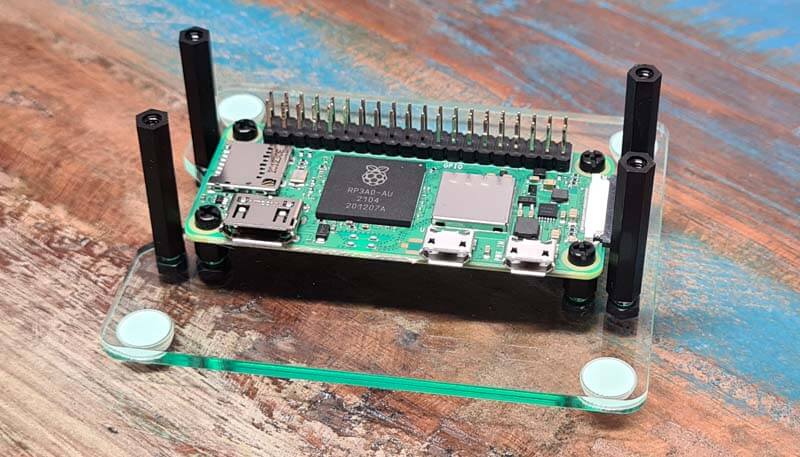
Step 4 – Pop your first Raspberry Pi Zero 2 on top and screw into place with four of the shorter screws. Next add the taller M/F hex pillars to the base, secured again with a nut underneath.
Step 5 – Next, prep the remaining two layers of Perspex by adding the fans. Take note of the orientation of both the fans AND the wires below, this is the nicest (aesthetically speaking) way to assemble the case.

Step 6 – Repeat Step 4 above and secure your second Raspberry Pi Zero 2 to the middle Perspex layer (the one with additional mounting holes).

Step 7 – Take your middle layer and plug the fan into the GPIO pins of the bottom Raspberry Pi Zero (see below if you're unsure which pins)

Step 8 – Secure the layer into place with the remaining M/F hex standoffs, rinse and repeat Step 7 for your top layer.

Step 9 – Finally, complete your build using the four longer screws (these should be all you have left, and voila!