 Skip to content
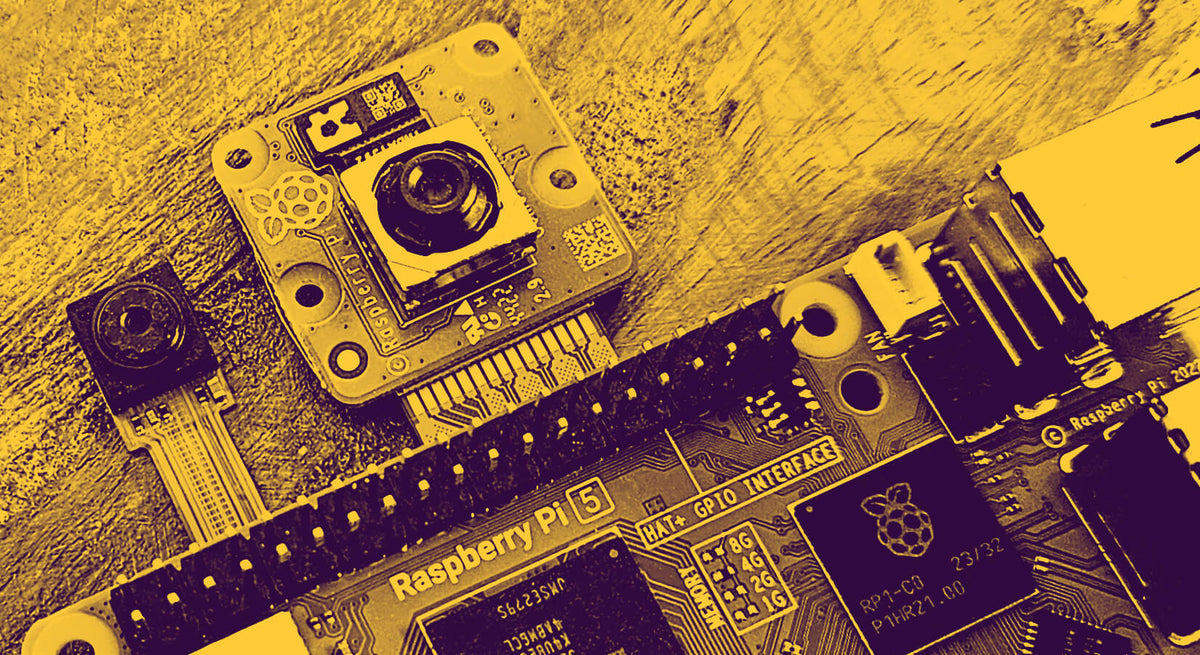
How to use Two Camera Modules with Raspberry Pi 5
Today we're going to show you how to use two camera modules your with Raspberry Pi 5. We'll cover how to connect the modules and also how to use unofficial modules with the dual-CSI ports too.
Official Raspberry Pi modules are pretty straightforward as they're fully supported out-of-the-box by Raspberry Pi OS, however some aftermarket modules such as ZeroCam OV5647 and IMX219 need a little help to get running.
Let's show you how to connect a camera module to your Raspberry Pi 5 then get into the software side of things.
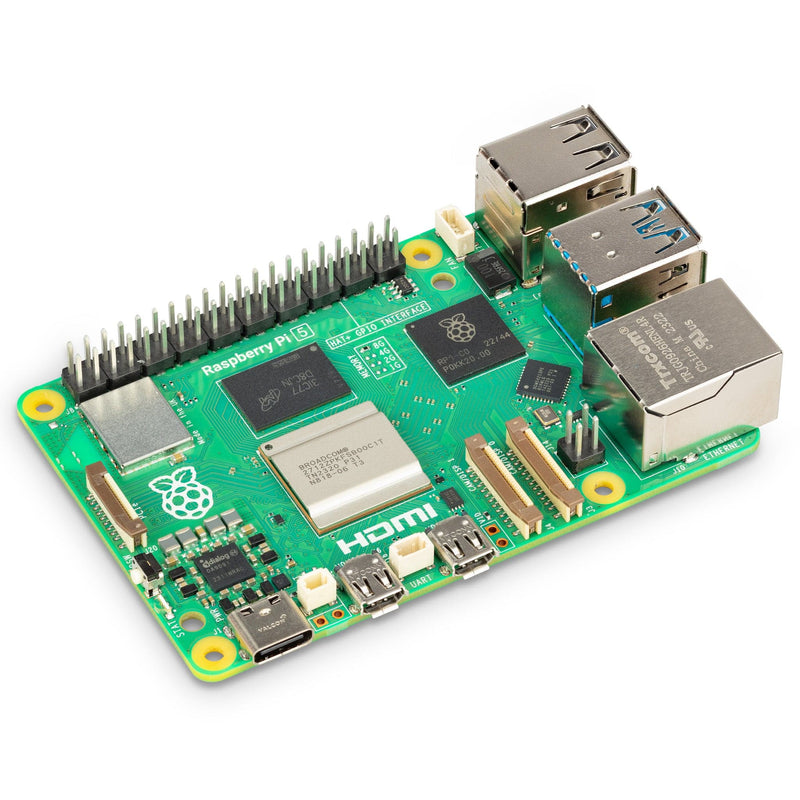
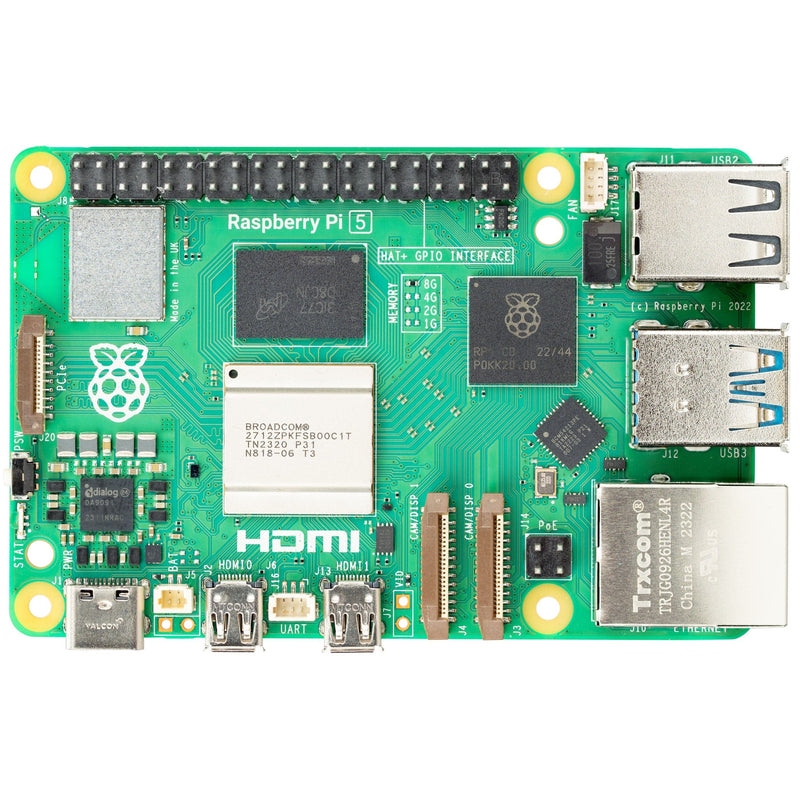
How to connect camera modules to Raspberry Pi 5
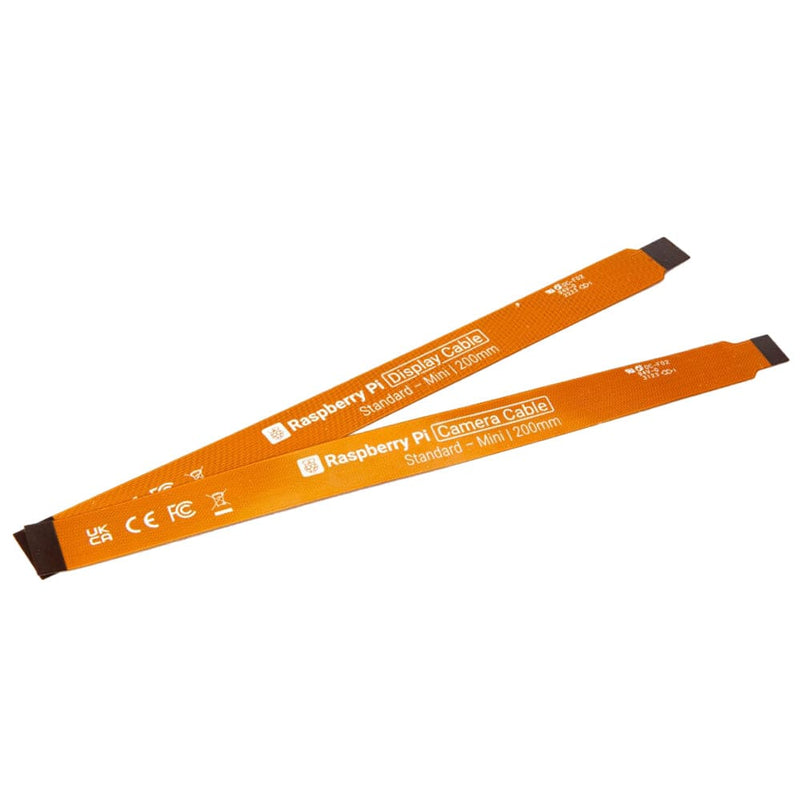
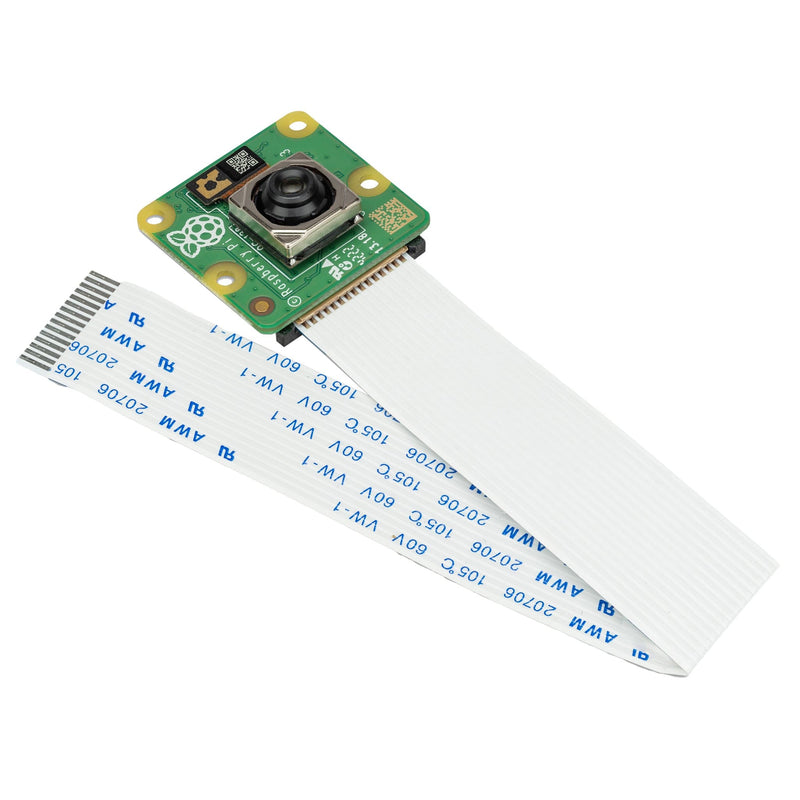
Raspberry Pi 5 uses smaller CSI/DSI connectors than the Raspberry Pi 4, so you'll need an adapter cable or a module designed for the Raspberry Pi Zero (as the Zero and Pi 5 use the same format connector).
Fitting the camera cable is pretty much the same as before - turn off your Raspberry Pi, very gently pull the clip up, slot the cable in as far as it will go, then push the clip down again.
The important part is making sure you fit the cables the right way around. You need the little metal teeth to be facing the Ethernet connector and PoE pins, like this (we haven't secured the clip yet in the image below):
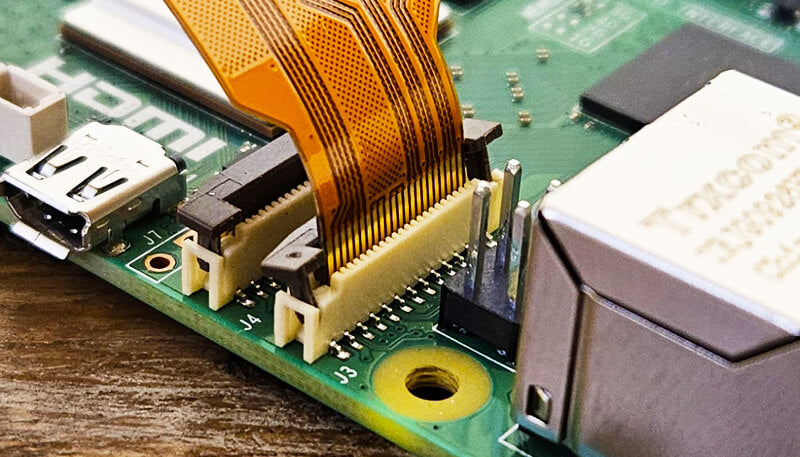
Tip: If you accidentally pull the little clip off of the connector, most of the time (assuming it hasn't snapped) you can just carefully pop this back in - just make sure it's the right way around.
How to use two official camera modules with Raspberry Pi 5
As we mentioned earlier, official Raspberry Pi camera modules are the easiest to get running as they require no configuration changes.
We're going to assume you're using a newly flashed, up-to-date full version of Raspberry Pi OS. With your two cameras connected, you're ready to open a terminal window and get going.
Check your Raspberry Pi camera modules are recognised
We can run a quick test command to make sure the operating system is seeing both of our camera modules. Open a new terminal window and enter the following command:
libcamera-hello --list-cameras
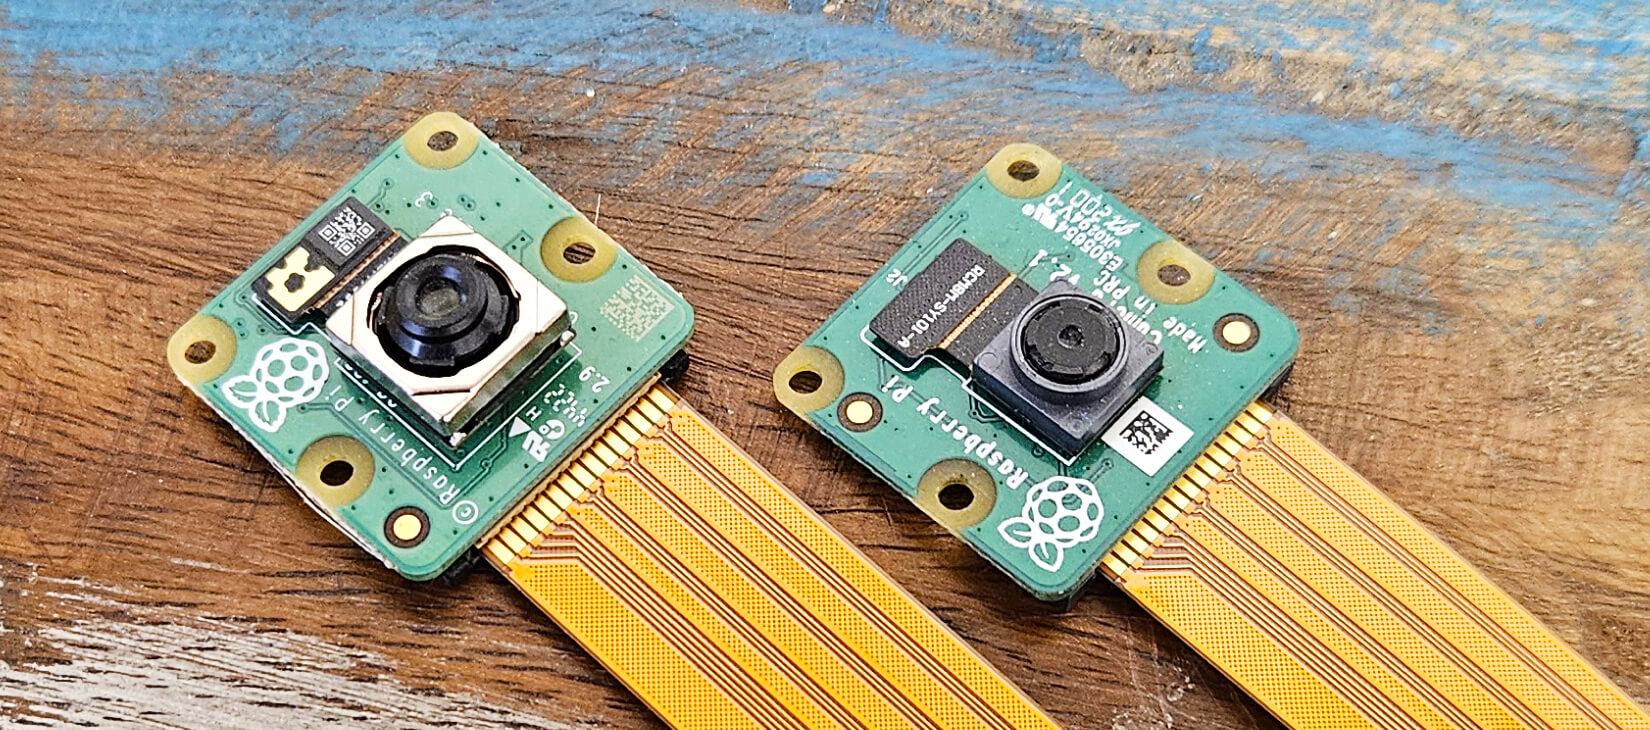
You should see output similar to the example below. We're using an IMX219 V2 Camera Module in port 0, along with an IMX708 Camera Module 3 in port 1:
Available cameras
-----------------
0 : imx219 [3280x2464 10-bit] (/base/axi/pcie@120000/rp1/i2c@88000/imx219@10)
    Modes: 'SBGGR10_CSI2P' : 640x480 [30.00 fps - (0, 0)/0x0 crop]
                             1640x1232 [30.00 fps - (0, 0)/0x0 crop]
                             1920x1080 [30.00 fps - (0, 0)/0x0 crop]
                             3280x2464 [30.00 fps - (0, 0)/0x0 crop]
           'SBGGR8' : 640x480 [30.00 fps - (0, 0)/0x0 crop]
                      1640x1232 [30.00 fps - (0, 0)/0x0 crop]
                      1920x1080 [30.00 fps - (0, 0)/0x0 crop]
                      3280x2464 [30.00 fps - (0, 0)/0x0 crop]

1 : imx708 [4608x2592 10-bit] (/base/axi/pcie@120000/rp1/i2c@80000/imx708@1a)
    Modes: 'SBGGR10_CSI2P' : 1536x864 [30.00 fps - (0, 0)/0x0 crop]
                             2304x1296 [30.00 fps - (0, 0)/0x0 crop]
                             4608x2592 [30.00 fps - (0, 0)/0x0 crop]
If you don't see similar output, or only one port is showing a camera detected, shut your Raspberry Pi down, remove power and re-seat the camera cables.
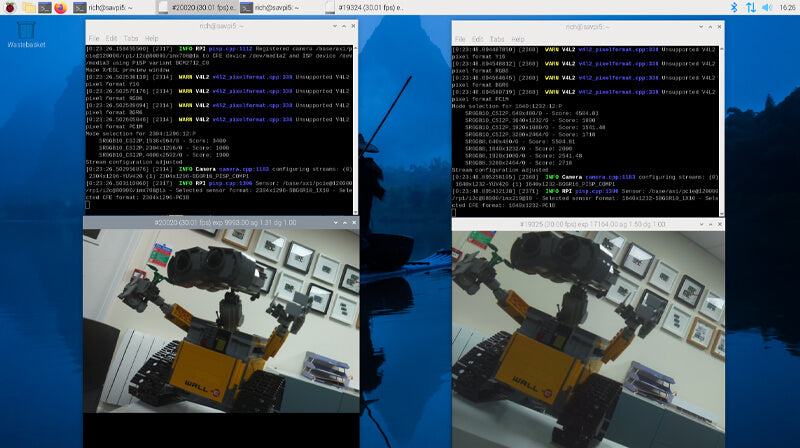
Use two official camera modules at the same time with Raspberry Pi 5
To use both of the official cameras at the same time, we can open a second terminal window allowing us to run separate processes for each module. We'll call these your 'left' and 'right' terminals.
In the left terminal, enter the following command:
libcamera-hello --camera 0 -t 0
A window should pop up showing you a live feed from the camera in port 0.
Now run the similar command below in the right terminal window. We use a '1' instead of a '0' to tell this window to open the camera in port 1:
libcamera-hello --camera 1 -t 0
You should now see a window showing a feed from the second camera next to the first one (the autofocus on the newer Camera Module 3 (left) does a great job here!):
How to use two unofficial camera modules with Raspberry Pi 5
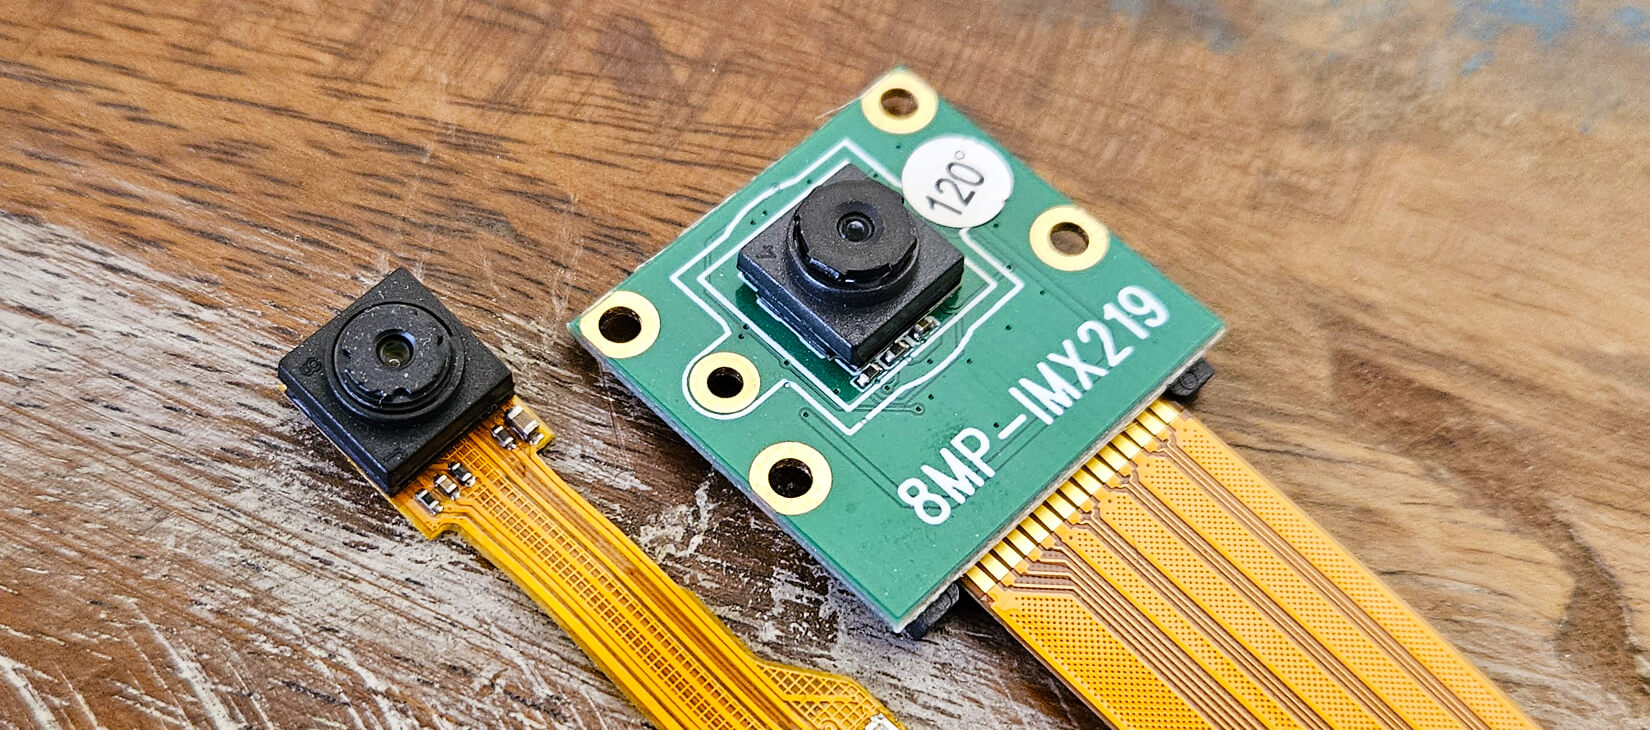
Now let's cover how to use unofficial modules. For our example today we're using a ZeroCam OV5647 5MP module (no adapter cable required as it's designed for the smaller connector) and an IMX219 8MP module that found in our drawer of old samples.
A lot of these unofficial camera modules won't work out of the box - we'll need to edit the config.txt file and make some changes.
Open a new terminal window and run the command below to open the config.txt file:
sudo nano /boot/config.txt
Now use the arrow keys to navigate the file. We need to find the line camera_auto_detect=1 and add a # to the front of it. This 'comments it out', stopping our Raspberry Pi trying to automatically detect the cameras. It should look like this:
#camera_auto_detect=1
Now we need to add some new lines below this to set the specific overlay for the cameras we want to use. We have the OV5647 fitted to the cam0 slot, and our IMX219 on the cam1 slot, so we're adding the following lines:
dtoverlay=ov5647,cam0
dtoverlay=imx219,cam1
All you need to do then is save and exit the file (Ctrl+X followed by Y), then reboot your Raspberry Pi 5.
As before, we can then test to see if they're both recognised by running the following command:
libcamera-hello --list-cameras
This then shows our OV5647 module on port 0, and our IMX219 module on port 1:
Available cameras
-----------------
0 : ov5647 [2592x1944 10-bit GBRG] (/base/axi/pcie@120000/rp1/i2c@88000/ov5647@36)
    Modes: 'SGBRG10_CSI2P' : 640x480 [30.00 fps - (0, 0)/0x0 crop]
                             1296x972 [30.00 fps - (0, 0)/0x0 crop]
                             1920x1080 [30.00 fps - (0, 0)/0x0 crop]
                             2592x1944 [30.00 fps - (0, 0)/0x0 crop]

1 : imx219 [3280x2464 10-bit] (/base/axi/pcie@120000/rp1/i2c@80000/imx219@10)
    Modes: 'SBGGR10_CSI2P' : 640x480 [30.00 fps - (0, 0)/0x0 crop]
                             1640x1232 [30.00 fps - (0, 0)/0x0 crop]
                             1920x1080 [30.00 fps - (0, 0)/0x0 crop]
                             3280x2464 [30.00 fps - (0, 0)/0x0 crop]
           'SBGGR8' : 640x480 [30.00 fps - (0, 0)/0x0 crop]
                      1640x1232 [30.00 fps - (0, 0)/0x0 crop]
                      1920x1080 [30.00 fps - (0, 0)/0x0 crop]
                      3280x2464 [30.00 fps - (0, 0)/0x0 crop]
Tip: Other camera sensors can be added too, such as the IMX296, OV9281 and others. Raspberry Pi's documentation website offers a full table of the currently supported dtoverlays.
Use two unofficial camera modules at the same time with Raspberry Pi 5
Running the unofficial cameras together uses the same process as we showed you earlier, running the command below in separate terminal windows for each camera, changing the 0 and 1 as required to access camera 0 or 1:
libcamera-hello --camera 0 -t 0
We hope this helped! If you have any questions or other tips for using two cameras with Raspberry Pi 5, please leave a comment below.


5 comments
Sayali
Hey, Even I am facing the same issue
dtoverlay=vc4-kms-v3d,cma-512
dtoverlay=imx519,cam0
dtoverlay=imx519,cam1
only one camera shows up
Hey, Even I am facing the same issue
dtoverlay=vc4-kms-v3d,cma-512
dtoverlay=imx519,cam0
dtoverlay=imx519,cam1
only one camera shows up
Mikelee
libcamera-hello —list-cameras I get both imx219 0 and 1 show up. Just faster than fps than your post.
I have a raspberry Pi 5 Bookworm. When I try any commands > or Python , I get
ERROR V4L2 v4l2_videodevice.cpp:1906 /dev/video12[16:cap]: Failed to start streaming: Broken pipe
ERROR: * failed to start camera *
The cameras work on my Pi4 just can not get my Pi5 to show camera view
Any help is very welcome
Jay
Great and works fine. Now, how would I move on and make the streams available like a webcam? As far as I understand, this won’t work on a Pi5 so far, right?
Great and works fine. Now, how would I move on and make the streams available like a webcam? As far as I understand, this won’t work on a Pi5 so far, right?
The Pi Hut
@Bryan – Have you tried just using a single line with dtoverlay=ov5647 without the ‘cam’ parts? Or if that fails, have you tried sticking with the original camera_auto_detect=1? Also make sure your OS is up to date as there was originally an issue with the OV5647 (discussed on the official forum) however Raspberry Pi pushed an update that should have fixed this – worth making sure by running sudo apt-get update and then sudo apt full-upgrade.
@Bryan – Have you tried just using a single line with dtoverlay=ov5647 without the ‘cam’ parts? Or if that fails, have you tried sticking with the original camera_auto_detect=1? Also make sure your OS is up to date as there was originally an issue with the OV5647 (discussed on the official forum) however Raspberry Pi pushed an update that should have fixed this – worth making sure by running sudo apt-get update and then sudo apt full-upgrade.
Bryan
Is it possible to run two of the same on the pi5?
dtoverlay=ov5647,cam0
dtoverlay=ov5647,cam1
When I do this, only one of my cameras shows up.
Is it possible to run two of the same on the pi5?
dtoverlay=ov5647,cam0
dtoverlay=ov5647,cam1
When I do this, only one of my cameras shows up.