 Skip to content
Advanced Text with MicroPython on Raspberry Pi Pico Displays
In the previous tutorials (colour control and graphics), Tony explained how to control colour on your Waveshare LCD display for the Raspberry Pi Pico and demonstrated how to use graphics procedures to draw objects on your screen.
In this tutorial we are going to increase the text options by adding a new font with an expanded character set and show it in different sizes. We are also going to provide a few simple routines to assist in the placement of text, such as centring text across the width of the screen.
What you’ll need
- Raspberry Pi Pico with Pins
- Micro-USB cable – for power and programming the Pico
- A Waveshare Pico LCD Display and driver software
- Thonny installed on your computer
- The ability to enter, edit, save and execute MicroPython code on your Pico using Thonny
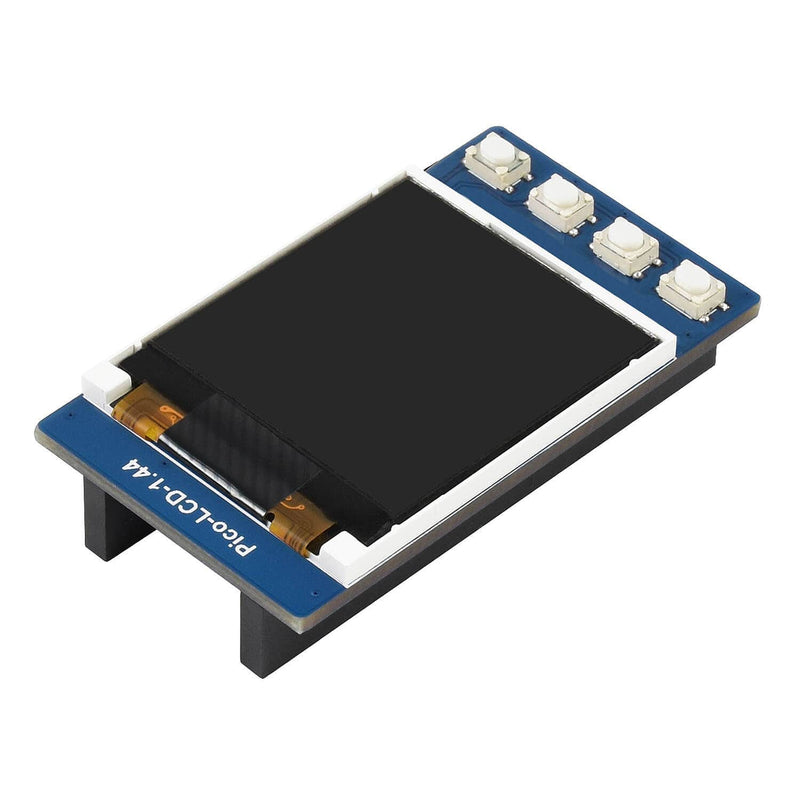
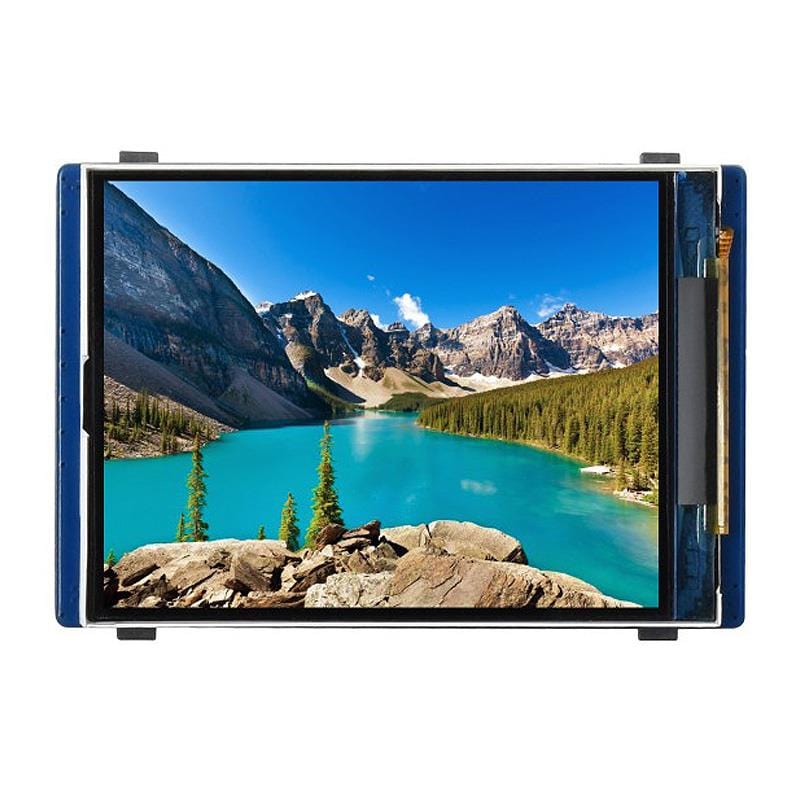
We are going to use the Waveshare 1.44” 128x128 Pico display but any of the other Pico LCD displays from Waveshare (0.96" / 1.3" / 1.8" / 2") will also work in the same way - we provide examples below.
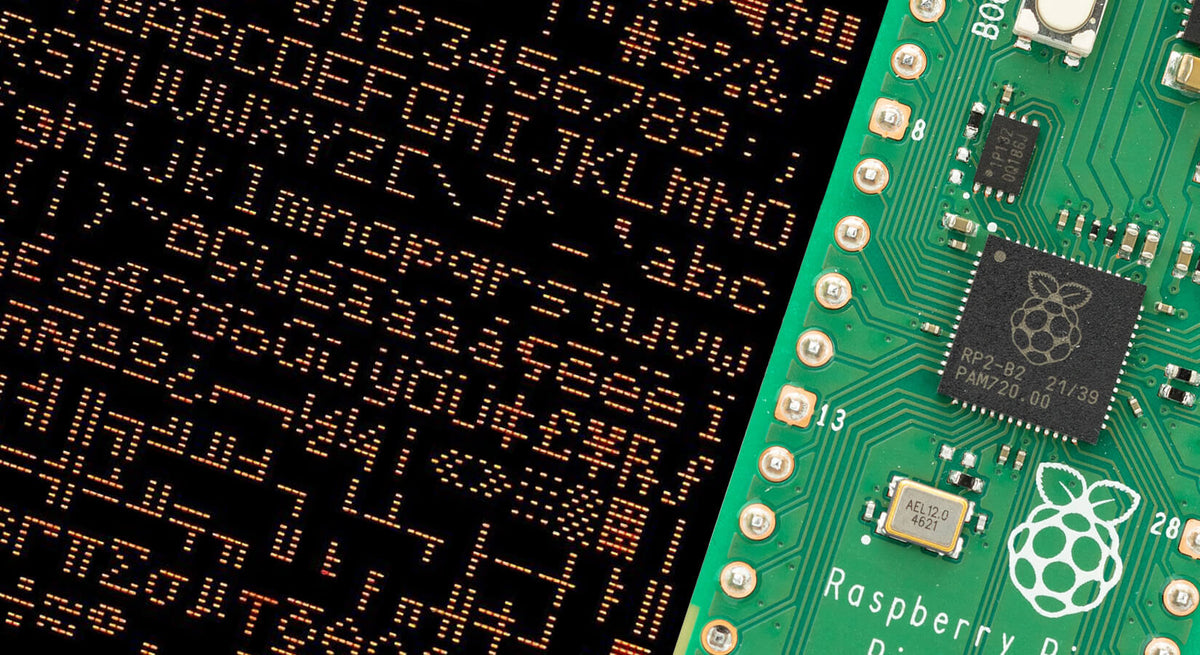
The built-in character set

The standard set of characters (built into the library and imported by the driver) has a good range of characters including upper and lower-case letters, numbers and many useful special characters. They are positioned from characters chr(32) = ‘space’ to chr(127) = 'tilde' - as you can see in the image above.
You can download the basic program to drive your board here (be sure to rename these to remove any weird characters after the file name after downloading, our servers are weird like that!):
- WS 0-96 160x80 MIN.py
- WS 1-3 240x240 MIN.py
- WS 1-8 160x128 New Driver MIN.py
- WS 1-44 128x128 MIN.py
- WS 2-0 320x240 MIN.py
The font and the necessary procedures and provided in this download:
Open Thonny, then copy all the code from FONTS.py and paste it into the basic program for the display you are using. Position it just above the following line:
# ==== Board now setup ========== MAIN BELOW====================
Use Menu > Save as to create a new file - we called ours WS 1-44 128x128 FONT.py.
Add these three lines of code just above the lcd.show() instruction
#cntr_st(s,y,sz,r,g,b): # Centres text on line y
cntr_st("The Pi Hut",55,1,255,0,0) # Centres text on line y
cntr_st("The Pi Hut",70,2,0,0,255)
cntr_st("Pi Hut",90,3,0,255,0)
Then change the delay to:
utime.sleep(10)
Save and run the program to check it is working. It should look something like this:

The first four lines are produced with the font built into the framebuf library imported by the display driver...but what about the last three?
A new font!
The last three lines are using a new font at different sizes and automatically centred across the screen. This font came from Tony DiCola and can be found here. This font has some interesting features:
- Each character is 8 pixels high and 5 pixels wide
- It has an extended character set of 255 characters
- There are 3 ‘space’ characters, at positions 0, 32 and 255
- Many of the characters below chr(32) are often used for printer controls like LINE-FEED and RETURN, but here they are populated with symbols

Some look pretty useful, especially those in the first and last pairs of lines. Here we have playing cards, arrows, gender, Greek letters and mathematical symbols. The accented characters and those in lines 10 and 11 are probably less useful to us.
The new font takes up quite a bit of memory, and reduces the space for other code. This only becomes a problem with the largest displays, such as the 2” 320x240 LCD, which needs so much space for the display buffer.
New font, new procedures
We've added several additional procedures to that we can make full use of this new font.
def character(asc,xt,yt,sz,r,g,b): # Single character sz is size: 1, 2 or 3
This draws a single character, identified by its ASCII or character number, positioned top left at pixel(xt, yt) at size 1, 2 or 3 and in colour r, g, b.
def prnt_st(asci,xx,yy,sz,r,g,b): # Text string asci
This uses the previous procedure to draw a text string of characters on the display starting at (xx,yy).
def cntr_st(s,y,sz,r,g,b): # Centres text on line y
This centres the string, within the width of the display on line y (It calculates the value of x and then calls the two previous procedures).
If you are short of memory, you could delete many of the characters in the extended part of the font. You will then need to find out the reduced chr() numbers for those characters remaining.
Remember, all the basic graphics procedures are still available as they are effectively inside the driver code.
Things to try
- Put the hearts, diamonds, clubs and spades symbols in each corner of your display in size 1
- Repeat with sizes 2 and 3
- Display a temperature using the degree symbol
- Display the first 32 characters in each size
- Print all the Greek symbols
- Write a procedure to centre lcd.text()
Graphics and fonts together?
It is possible to include the display driver code, the extended GFX routines and the Font/Text system in the Pico at the same time - you just insert the FONT code below the GFX code but above the # === MAIN ==== line.
We suggest that you then run this code to see how much memory remains:
# ==== Board now setup ========== MAIN BELOW====================
clear(0)
circle(85,47,38,colour(255,255,0))
cntr_st("The Pi Hut",40,2,0,0,255)
gc.collect()
free = gc.mem_free()
cntr_st("Mem free: ",90,1,200,200,200)
cntr_st(str(free),103,3,255,0,0)
print(free)
lcd.show()
You can download the finished code for each of the displays here (again,be sure to rename these to remove any weird characters after the file name):
- WS 0-96 160x80 LOADED-T2.py
- WS 1-3 240x240 LOADED-T2.py
- WS 1-8 160x128 New Driver LOADED-T2.py
- WS 1-44 128x128 LOADED-T2.py
- WS 2-0 320x240 LOADED-T2.py
We found that with the 2” display there is not enough memory left so we deleted many of the less useful characters from the font. You could also remove unused procedures and libraries to provide more room for your project code.
Here's an example of the graphics and font code working together:

A Project to try
Test your new skills with this simulation. We built it on the 2” 320x240 pixel display but you could fit it on the other displays with some slight modifications (for shorter screens, limit the throws to 500 or less and/or grow the bars horizontally).
Simulate the rolling of a pair of dice 1000 times and plot the totals as you go:
- Red 2 and 1 the current throw
- Yellow 3 current total
- Red 838 throw count
- Yellow bars are the running totals of pairs thrown
Hints for a fast-running simulation:
- Only draw the blue grid once – before the main loop
- Grow the bars one short yellow hline() at a time – one per loop
- Clear the top line with black rectangles fill before updating the numbers
You can download the code here - WS320x240 2 Dice.py - and check out the video below to see it in action:
We hope these tutorials have given you some ideas about how you could use your Pico-LCD-Display in future projects.
About the Author
This article was written by Tony Goodhew. Tony is a retired teacher of computing who starting writing code back in 1968 when it was called programming - he started with FORTRAN IV on an IBM 1130! An active Raspberry Pi community member, his main interests now are coding in MicroPython, travelling and photography.

1 comment
spiikki
Hello!
And thank you for this article. Waveshare’s own example library was very broken and this works like a charm.
But that font “scaling” urgh… …so I fixed it. With this you can scale to any size you want. I wanted two BIG digits on 240×240 display and it is glorious.
Check fix from here:
https://gist.github.com/spiikki/0e6dd2586ce7e204fba8d809861d7b54