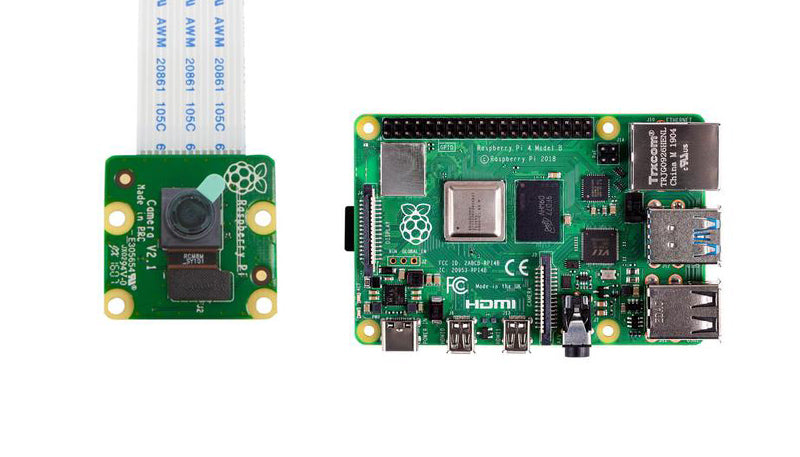
How to install and use the Raspberry Pi Camera Module
In this step by step guide we will explain how to install the Raspberry Pi Camera Module, along with how to take pictures and videos with it.
Camera Module Hardware Installation
Before you take your Camera Module out of the box, be aware that it can be damaged by static electricity. Make sure you have discharged yourself by touching an earthed object (e.g. a radiator, PC Chassis or similar).
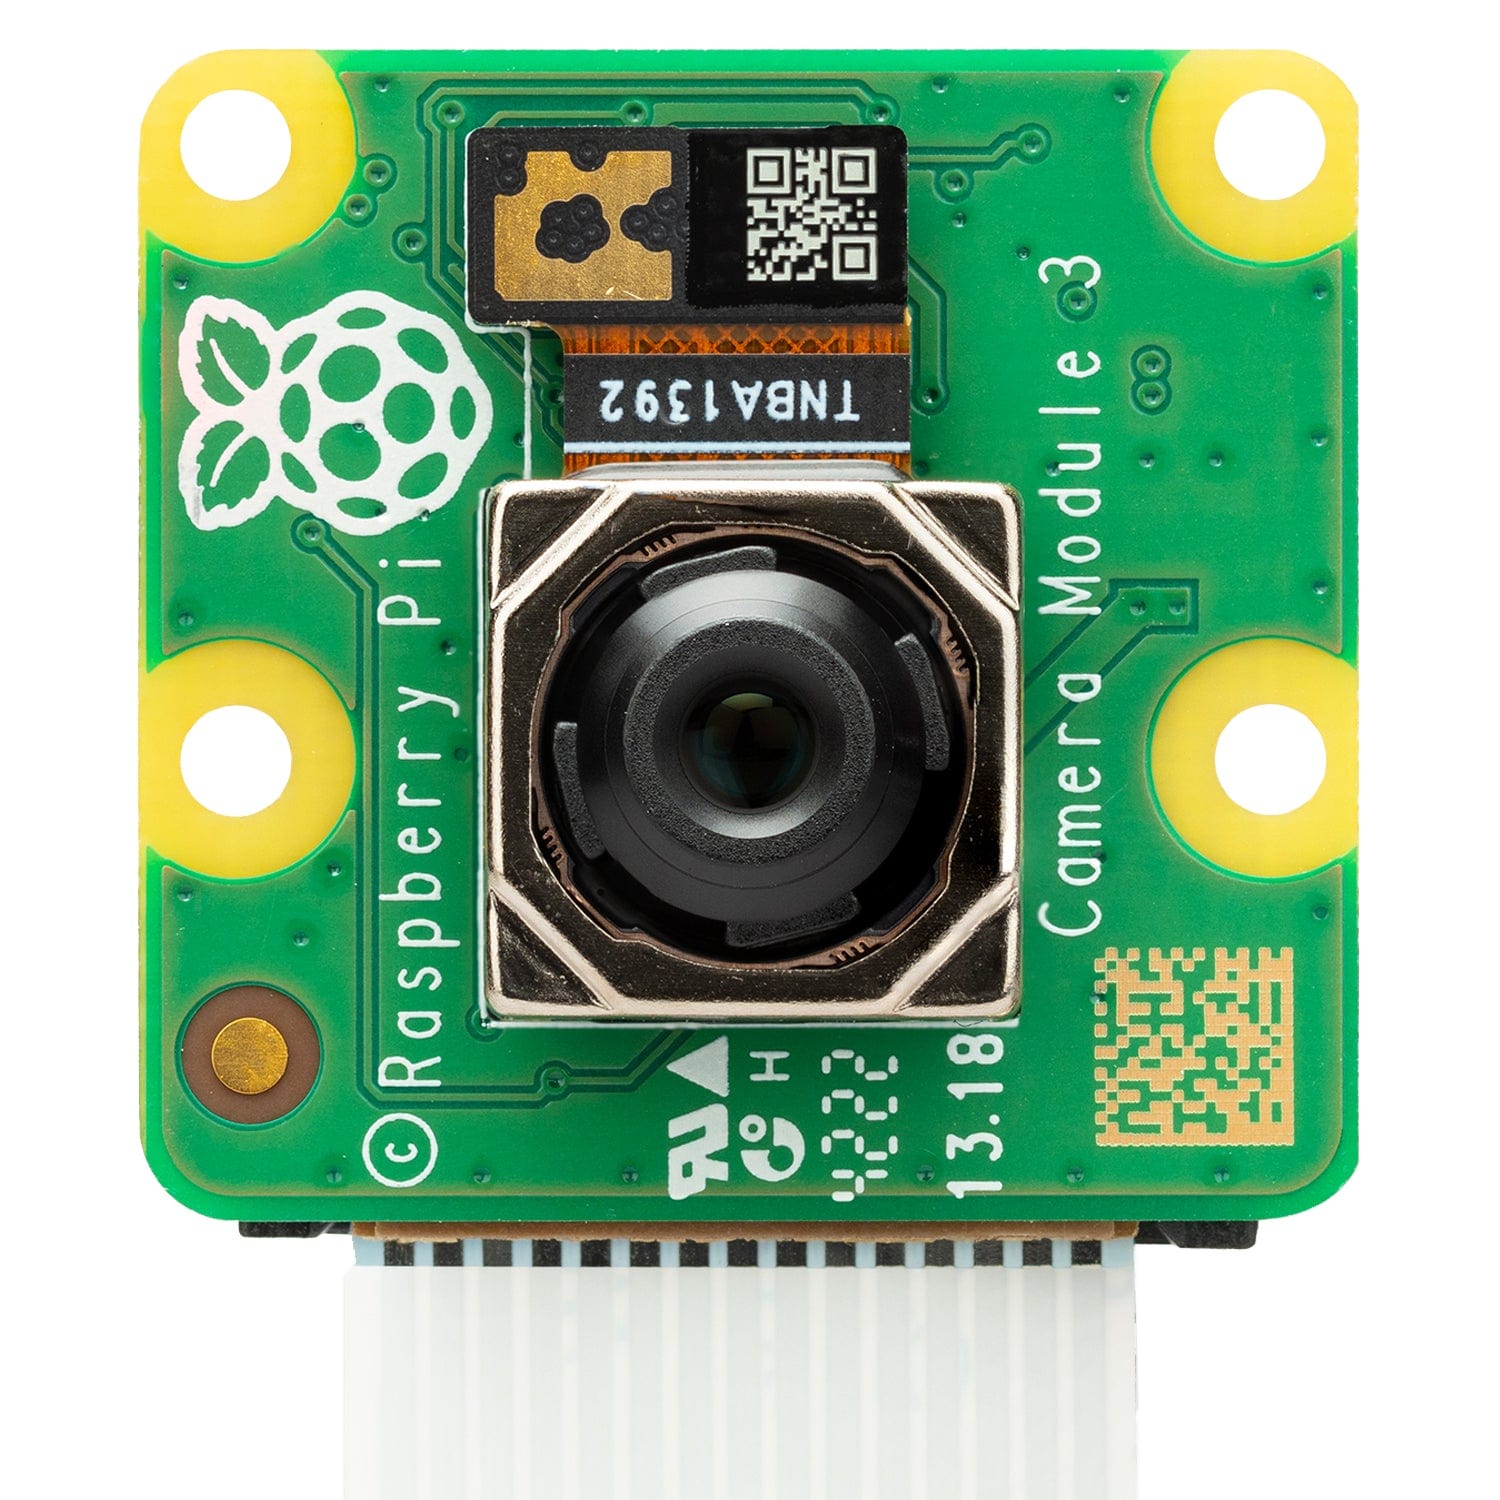
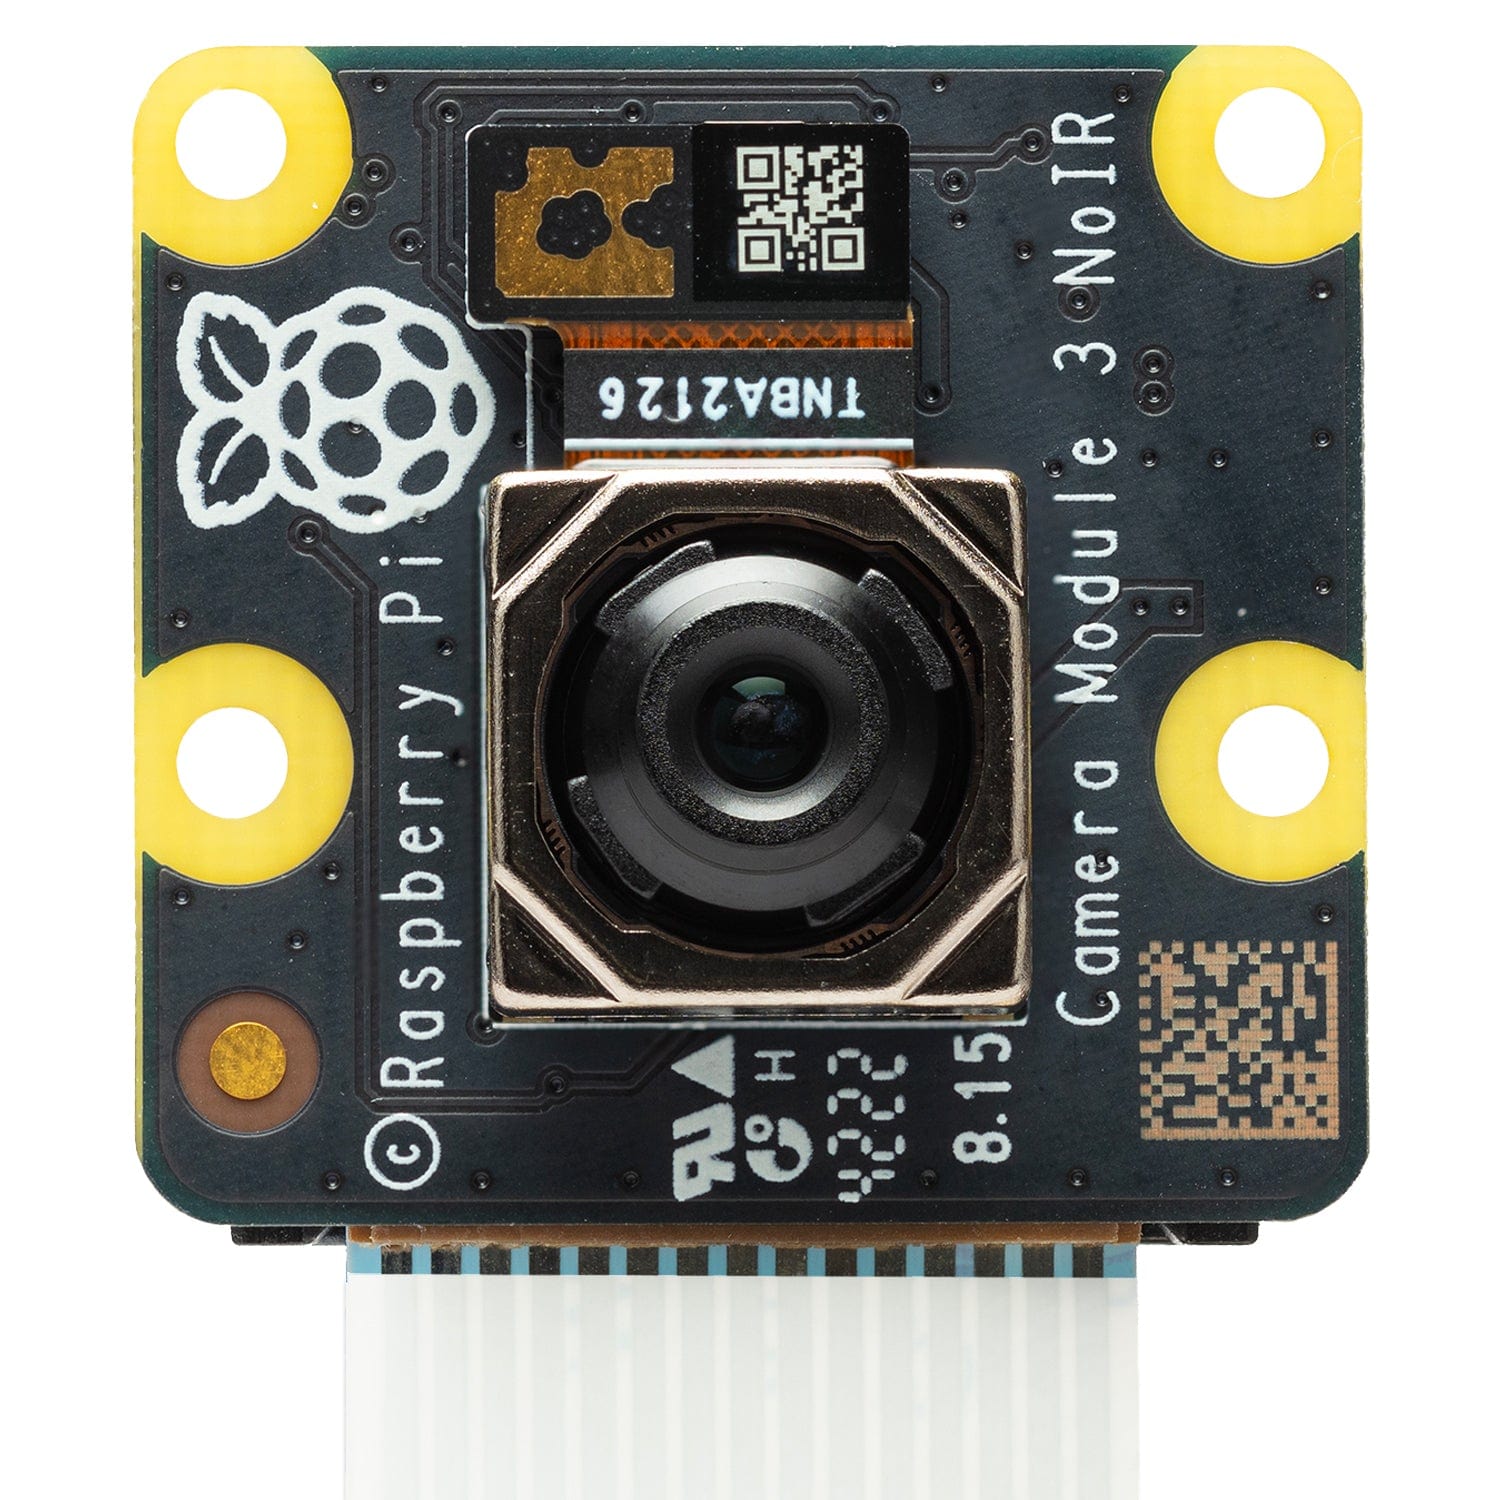
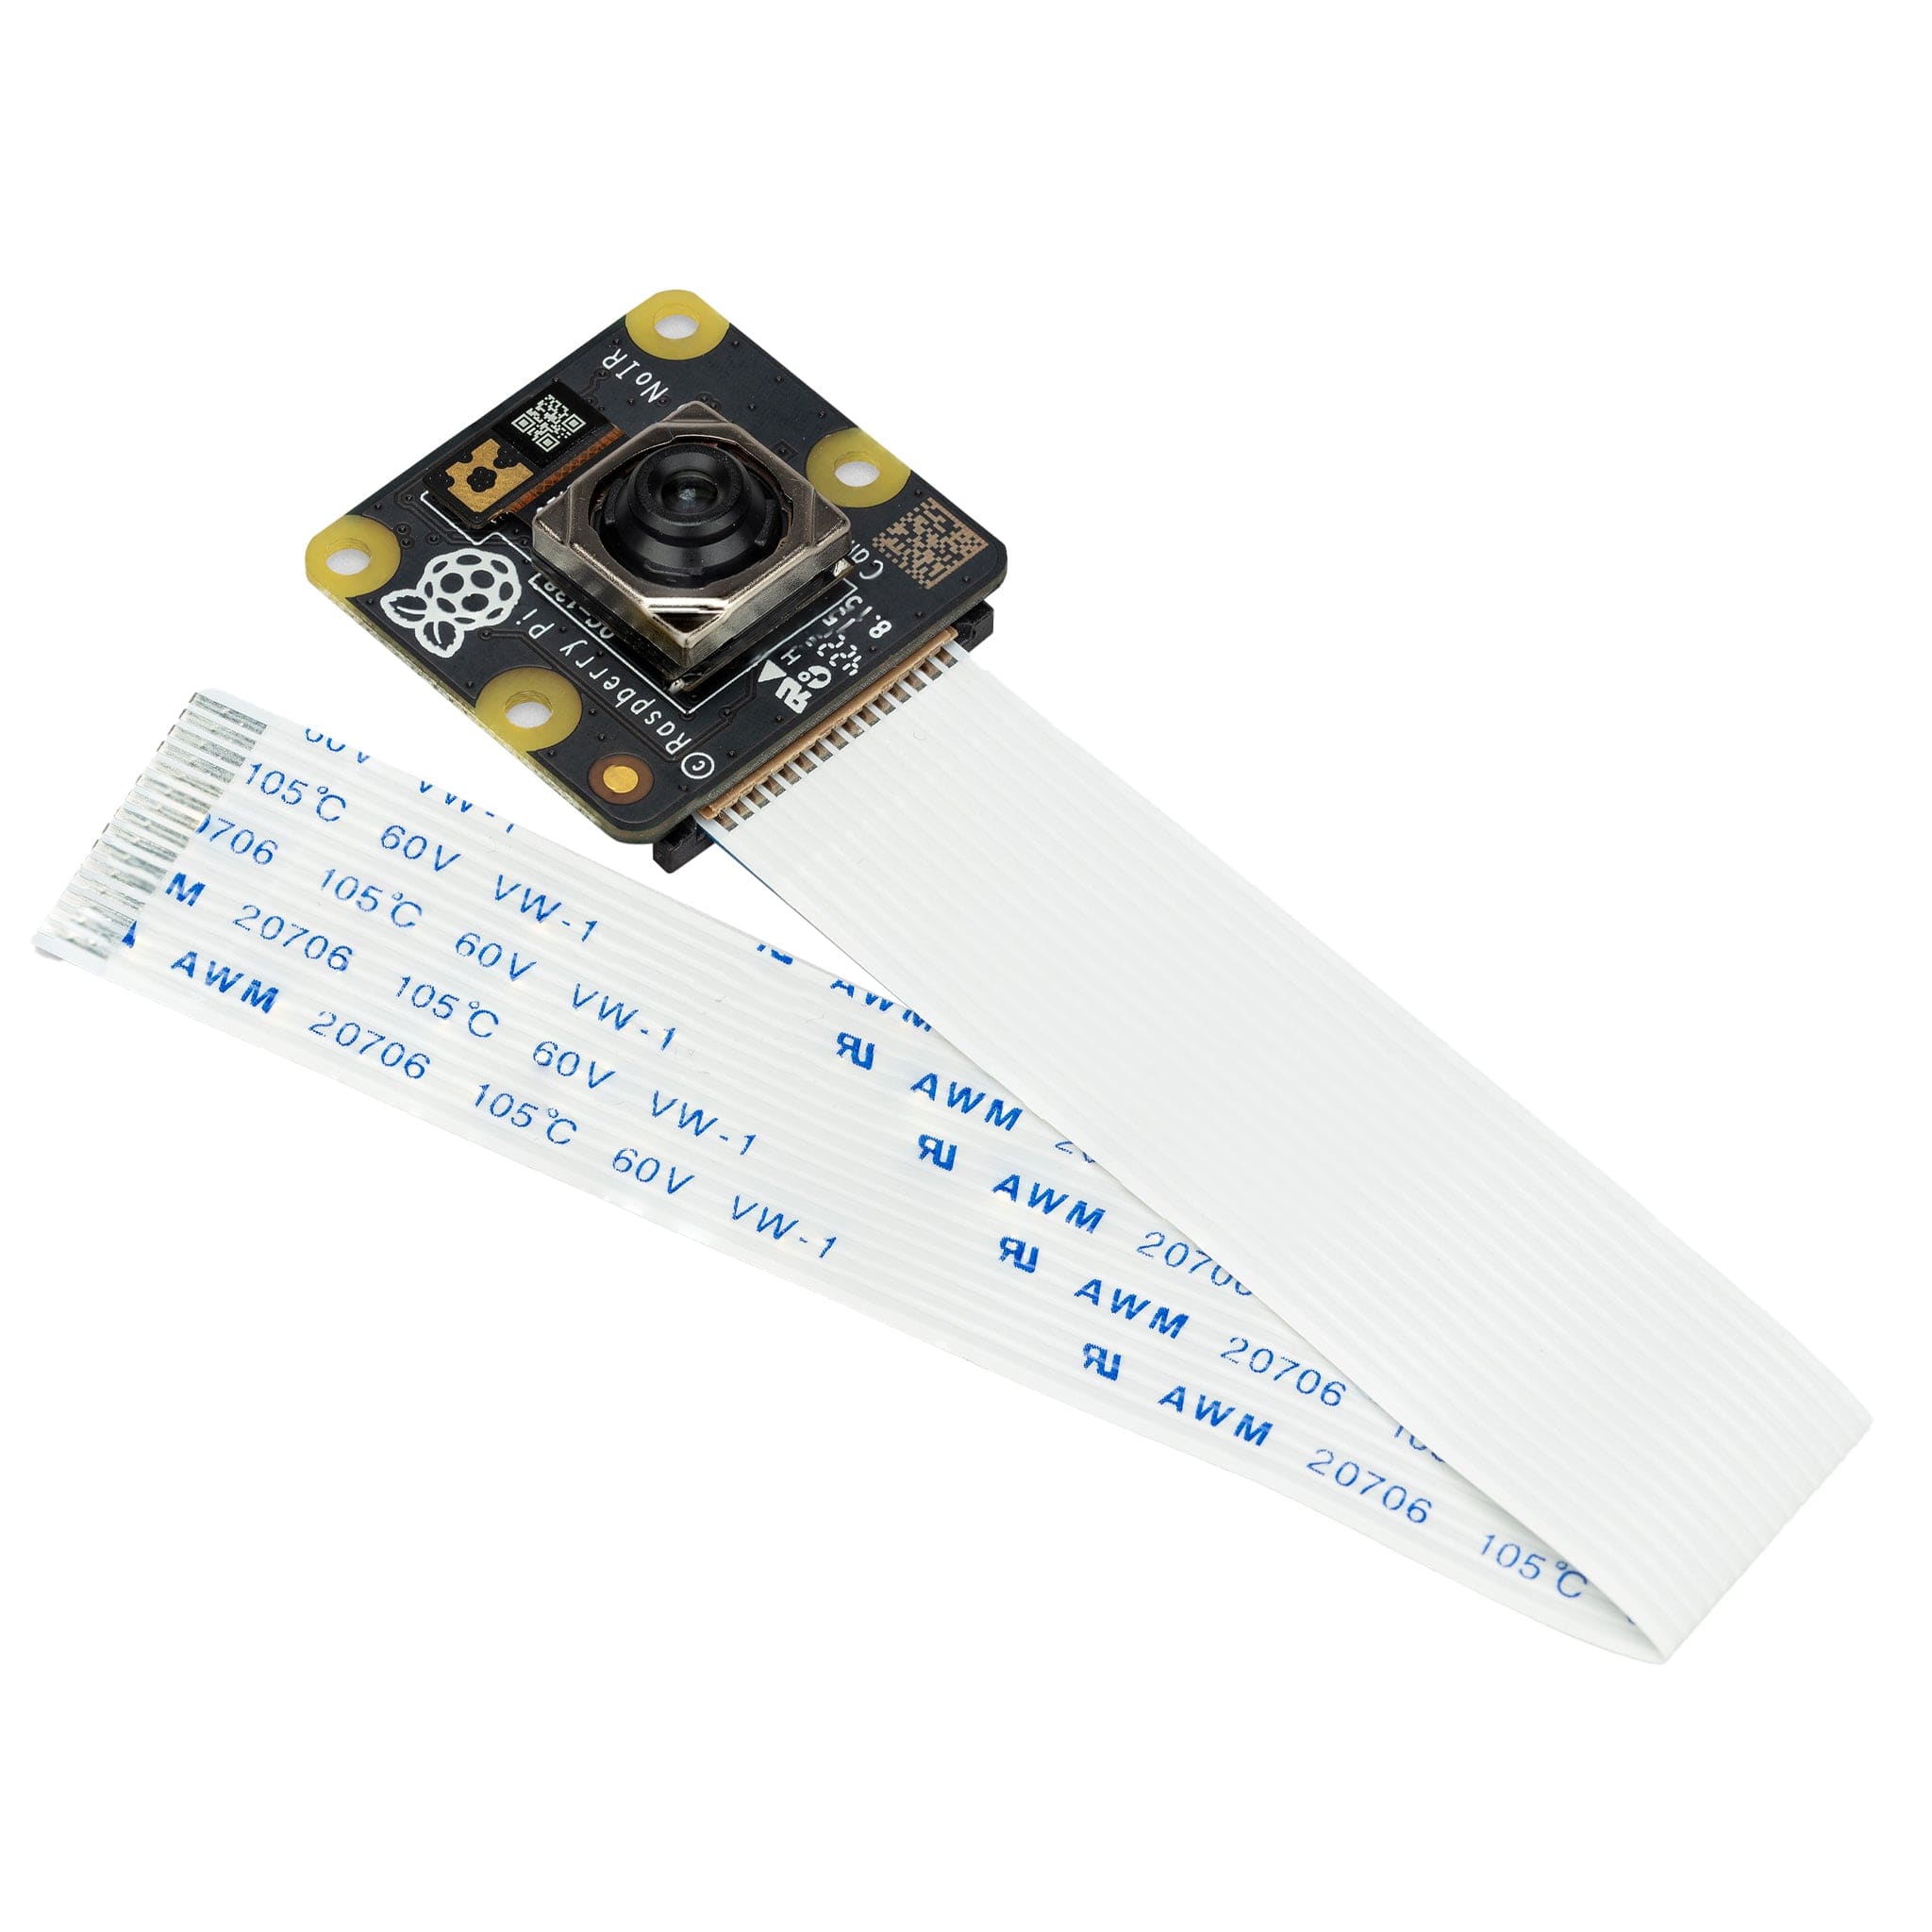
This tutorial shows the NoIR Camera Module (great for night photography projects). The standard Camera Module is green. They are installed and work in the same way.
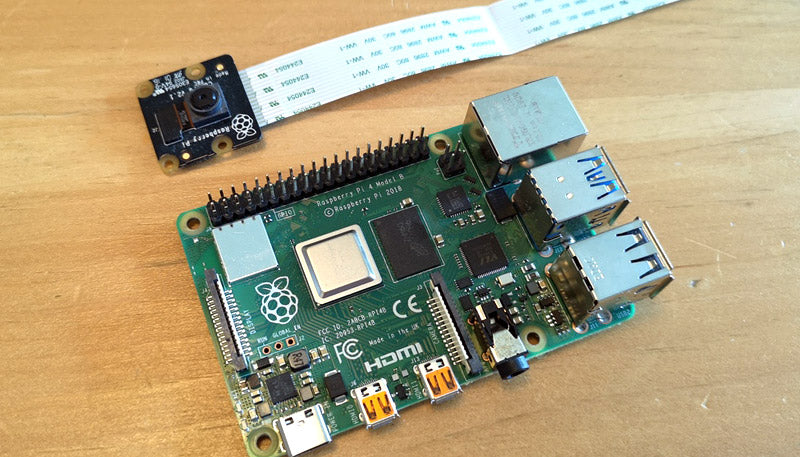
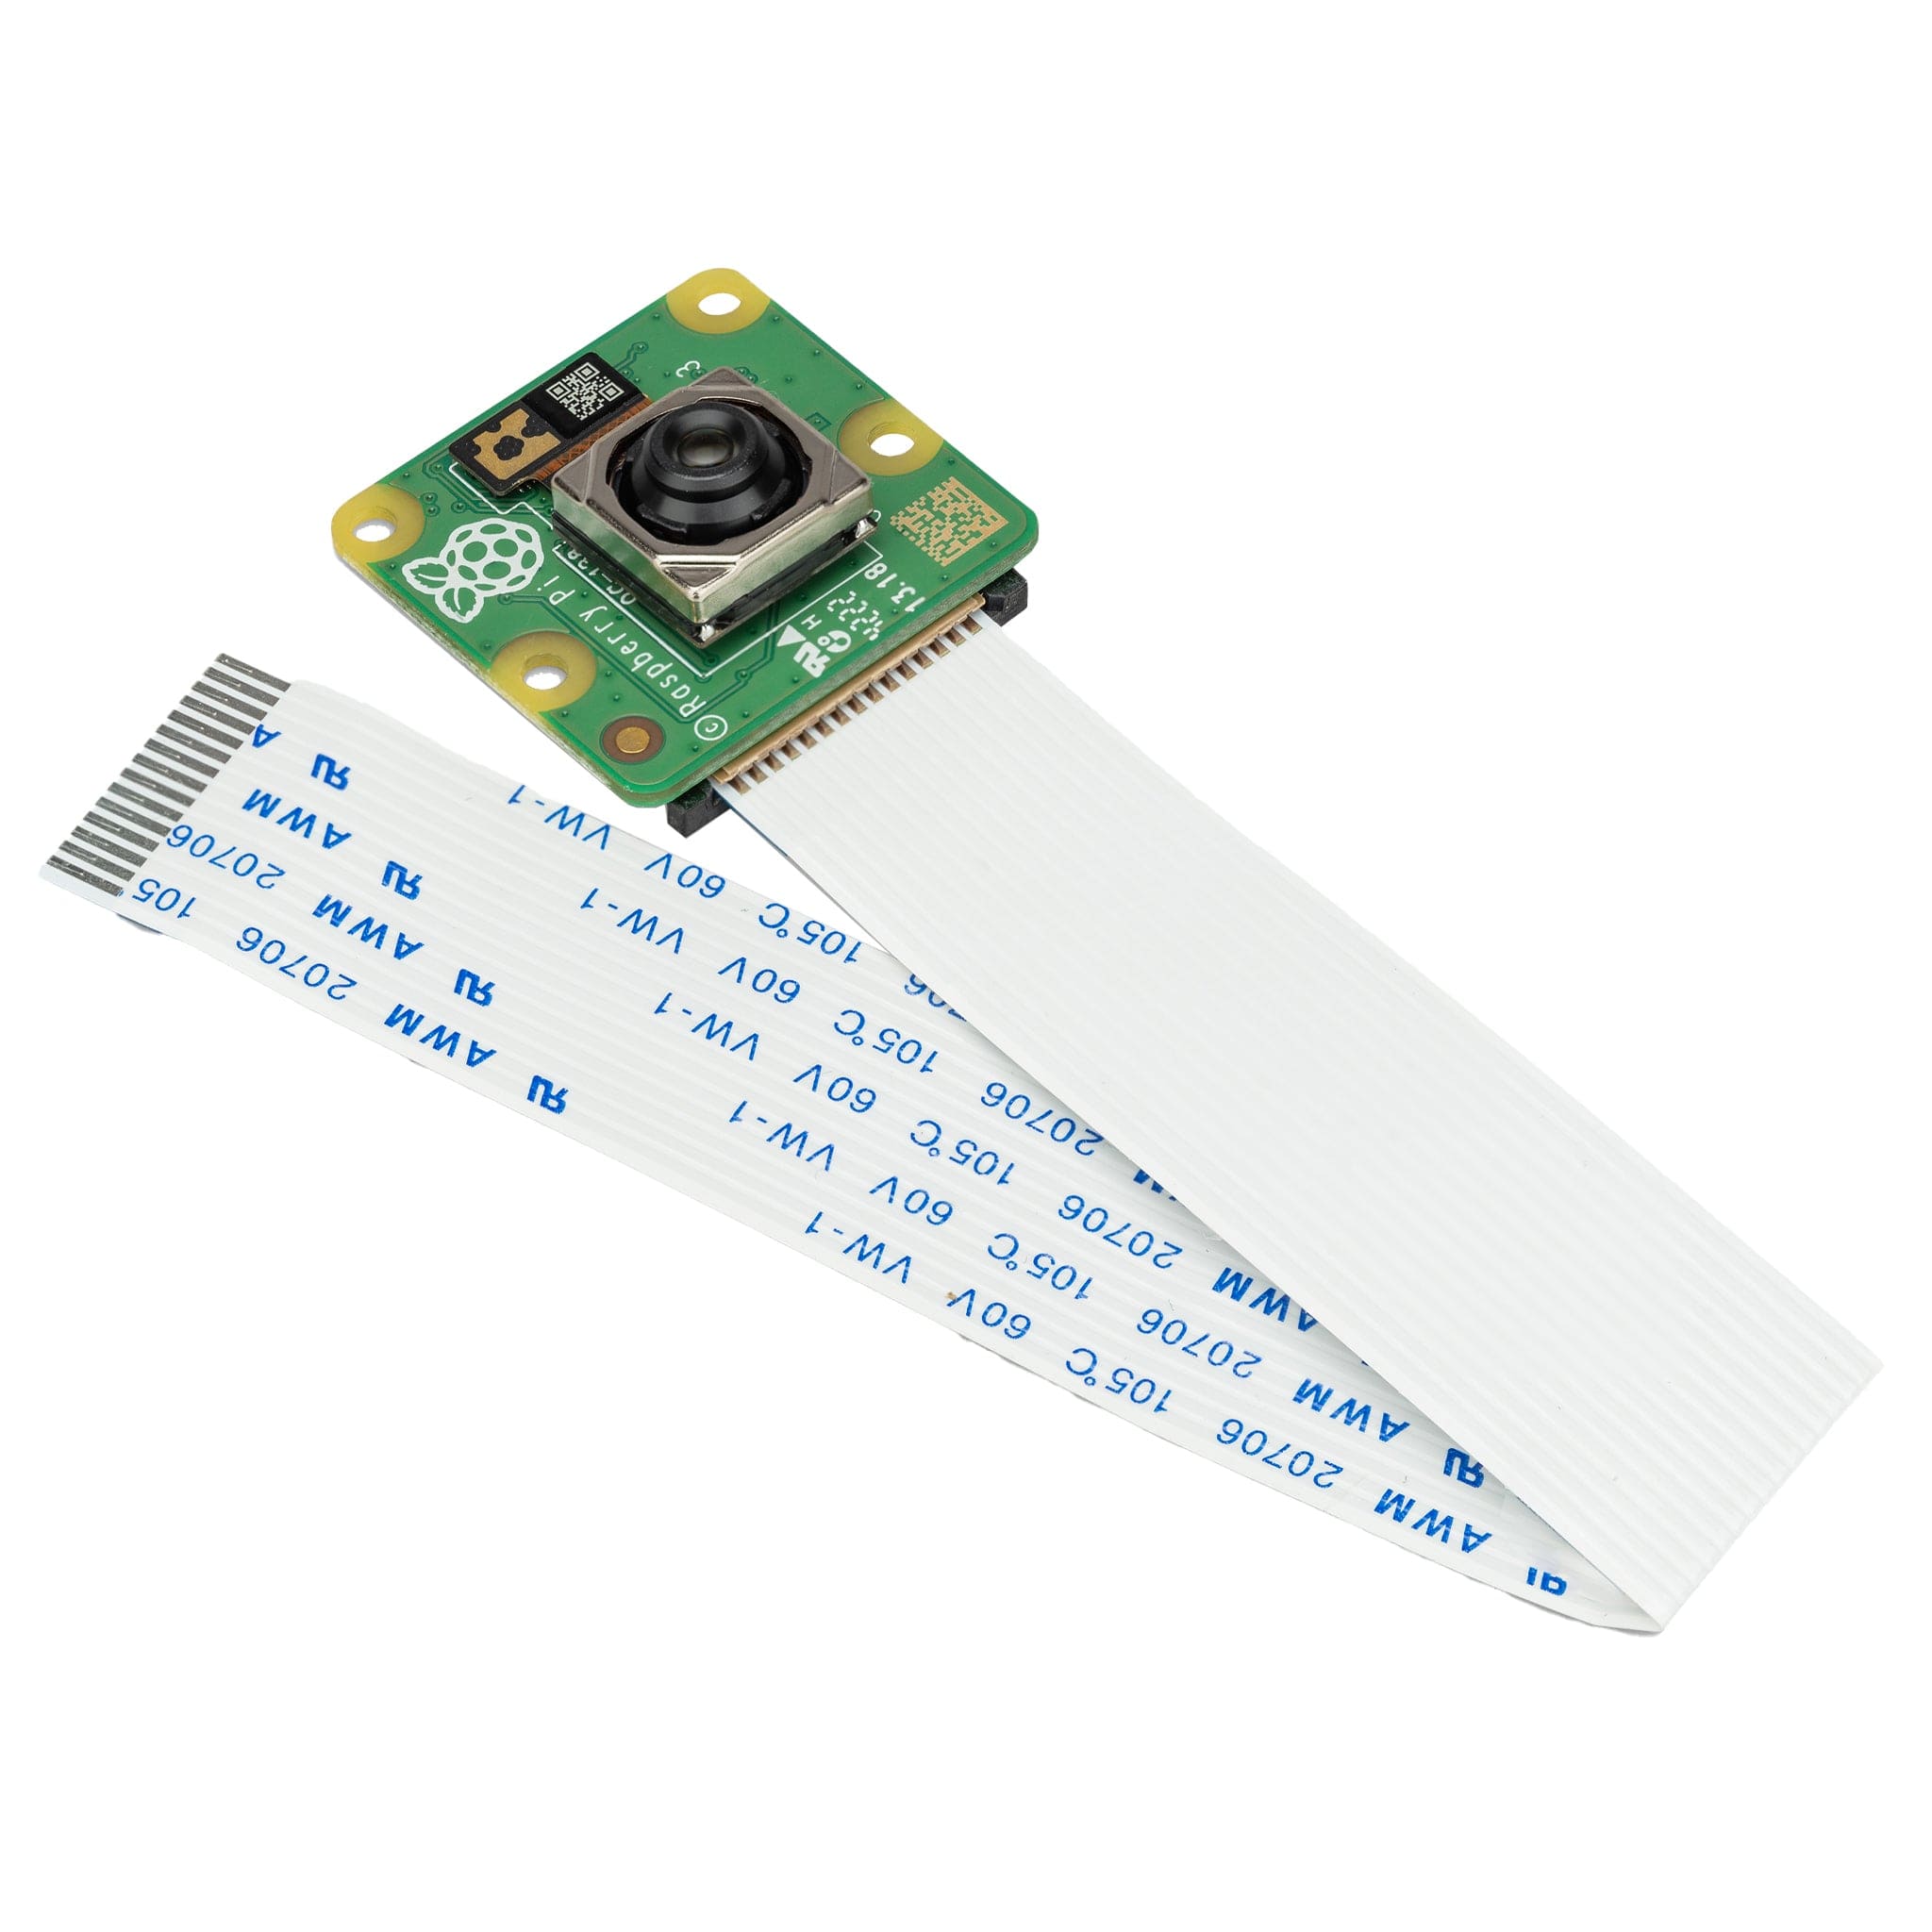
Install the Raspberry Pi Camera module by inserting the cable into the Raspberry Pi camera port. The cable slots into the connector situated between the USB and micro-HDMI ports, with the silver connectors facing the micro-HDMI ports.
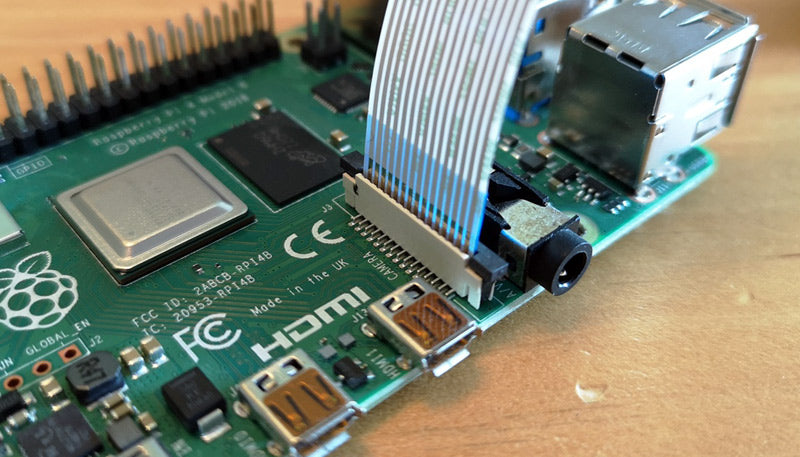
If in doubt, just make sure the blue part of the cable is facing the USB ports on the Raspberry Pi:

Now boot your Raspberry Pi (plug the power in and turn it on).
Always Update!
Once booted, update your Raspberry Pi by running the following commands in a terminal window:
sudo apt-get-updatesudo apt full-upgrade
Please note that from the latest 'Bullseye' release of Raspberry Pi OS, you no longer need to enable your camera within the Raspberry Pi configuration.
How to take a photos and videos with your Raspberry Pi Camera Module
With the latest 'Bullseye' release of Raspberry Pi OS we now use libcamera to take photos and videos. (If you're using an older version such as 'Buster', you'll need to use the older raspistill/raspivid).
Taking Photos
libcamera-jpeg is a command line application that allows you to capture images and videos with your camera module. Below is an example of this command in use.
To capture a simple image in jpeg format, type the following command into your terminal window:
libcamera-jpeg -o image.jpg
Here, 'image' is the name of your image that will be saved to your Raspberry Pi.
This is one of the simplest ways to take a picture and save the image. libcamera has many powerful options you can use - please read the official documentation to learn more.
Recording Video
libcamera-vid is a command line application that allows you to capture video with your camera module. Below is an example of this command in use.
To capture a 10 second video with your Raspberry Pi camera module, run the following command:
libcamera-vid -t 10000 -o video.h264
Here, 'video' is the name of your video and "10000" is the number of milliseconds we're telling it to record for (10 seconds). libcamera-vid has many powerful options you can use including raw image formats - please read the official documentation to learn more.
Camera Accessories!
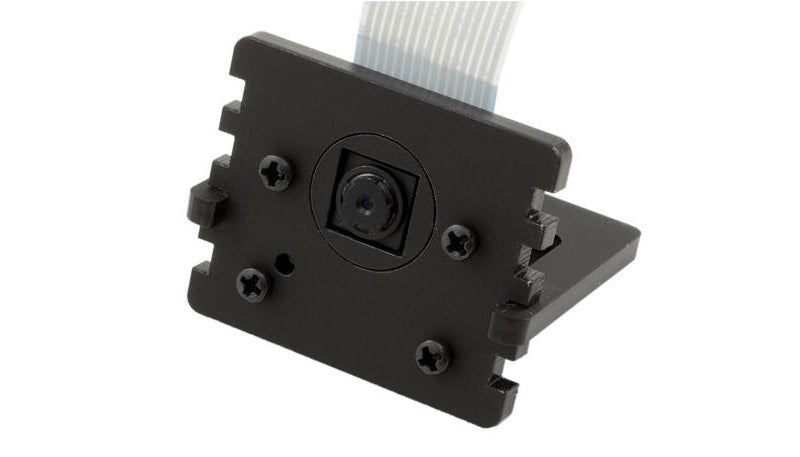
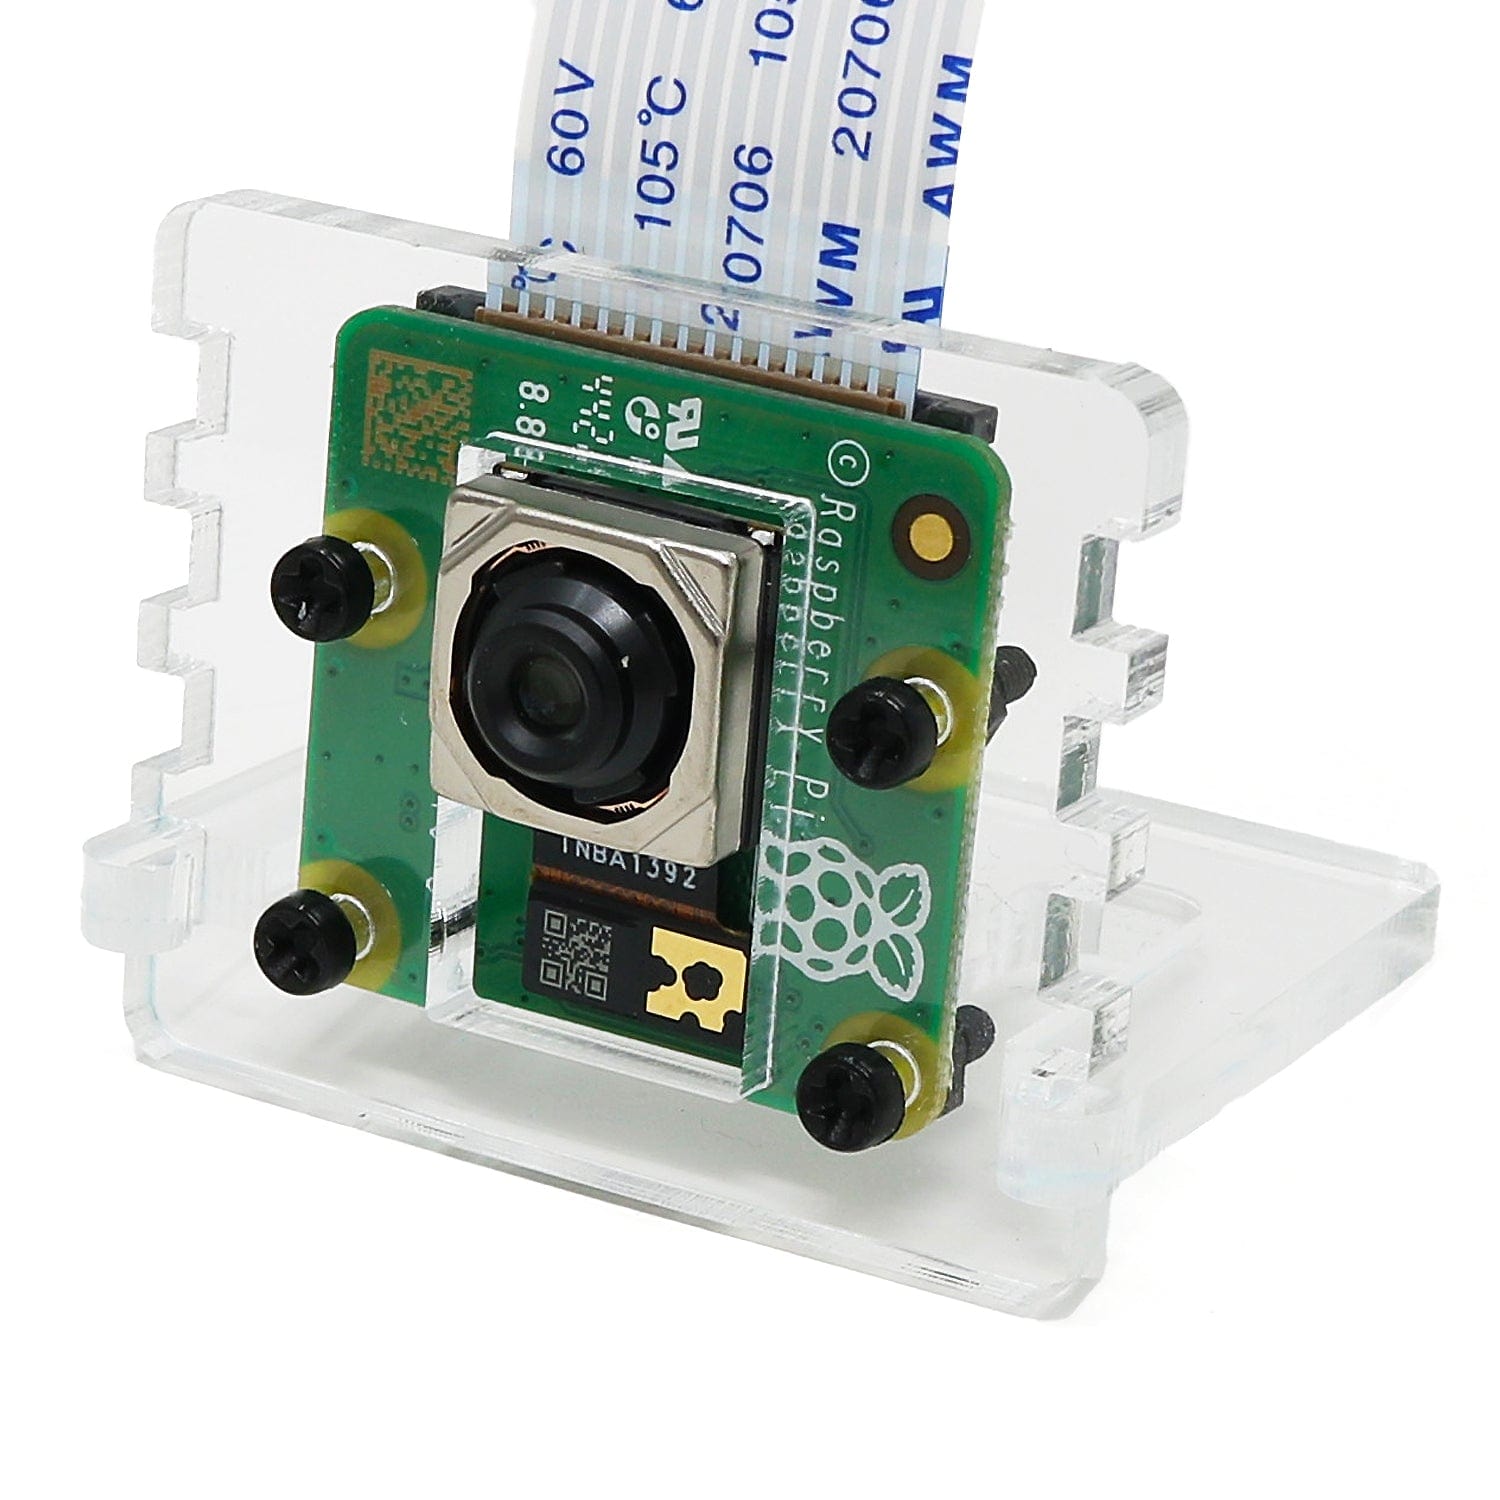
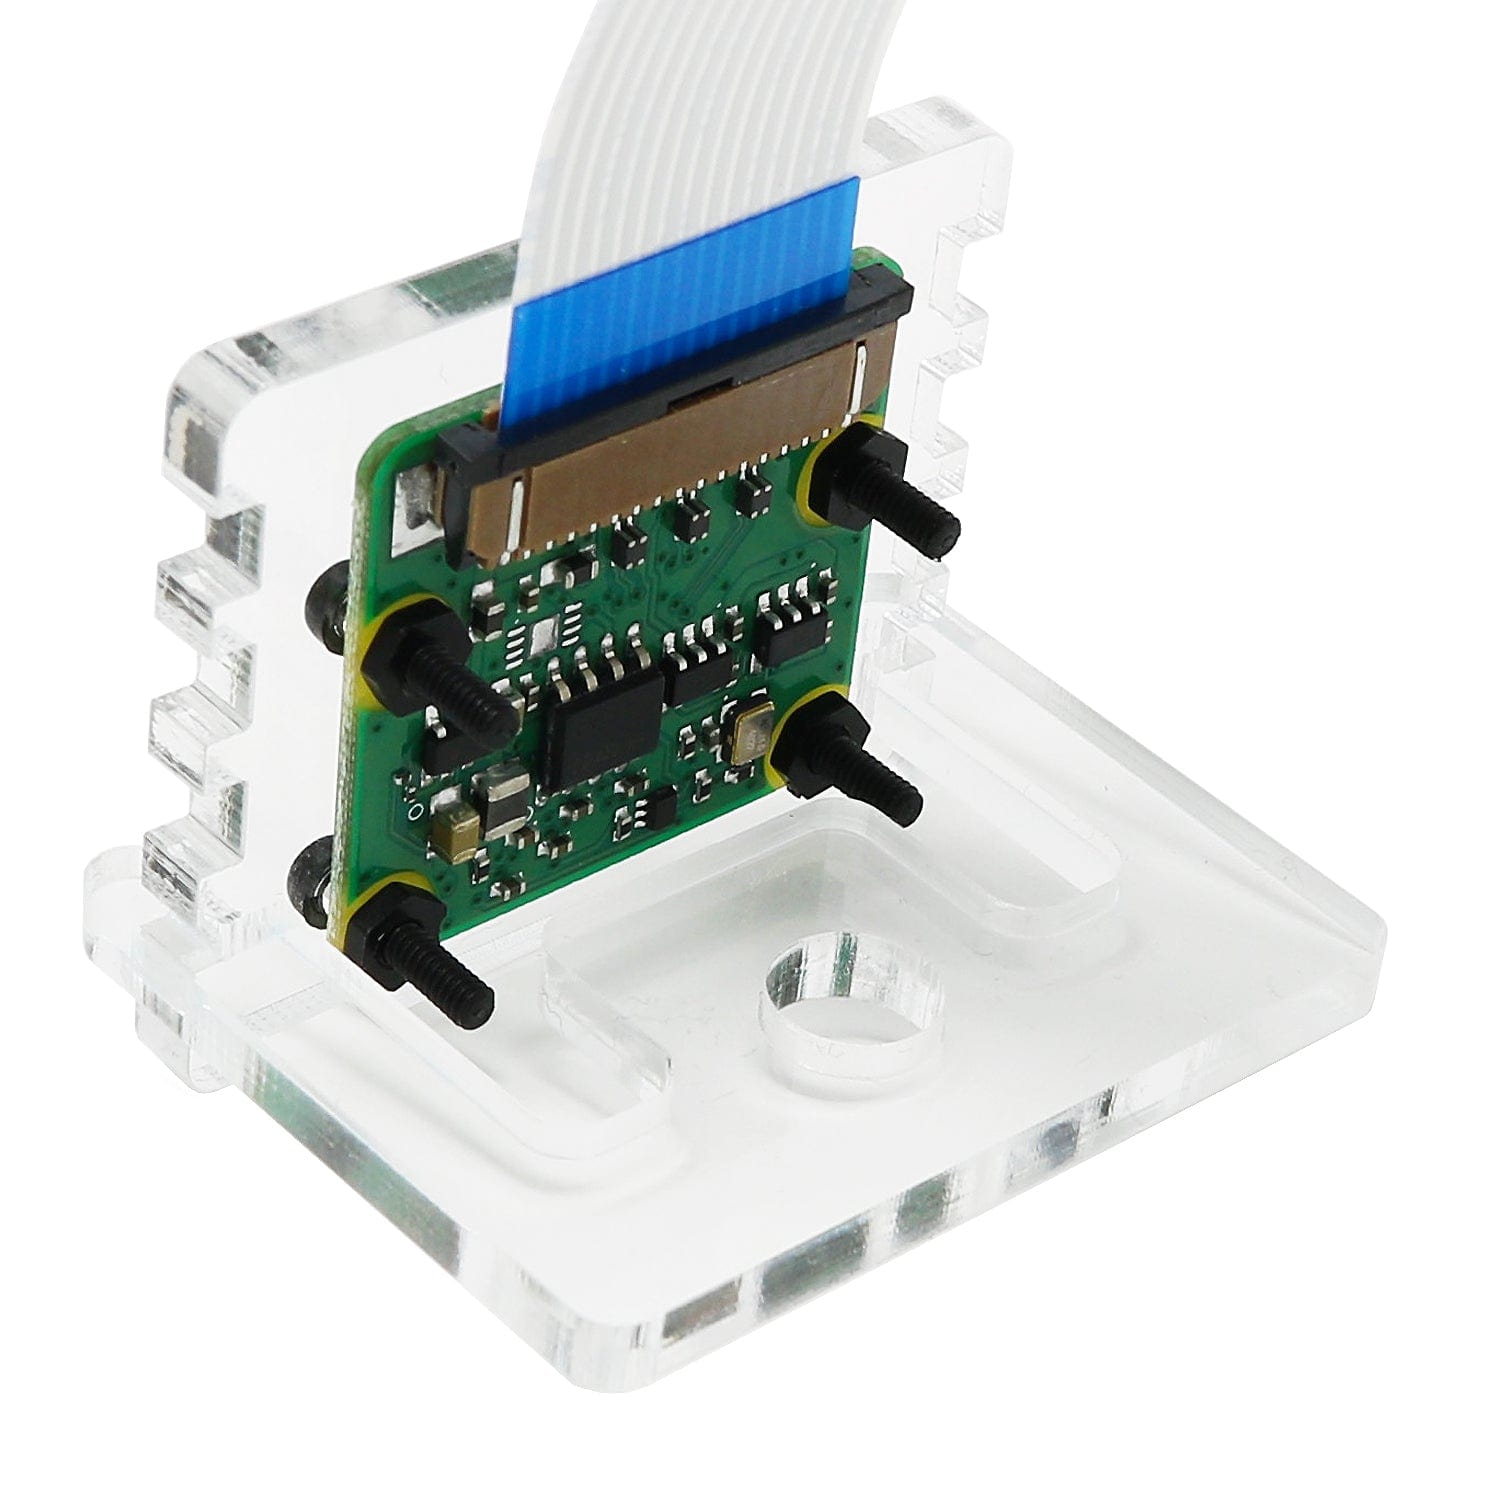
Need something to hold your camera module whilst you practice your code? Check out our Mini Camera Mount or our camera section of the store for more Camera Modules, mounts, tripods and accessories!

7 comments
bob
sudo apt install -y libcamera-apps
sudo apt install -y libcamera-apps
Reid
Note that on the Pi 4 there is no mention of activating the camera (I used V2.1) in rpi-config. It happens on install of the OS (bookwork) Also the command to get the camera to work is rpi-hello
Note that on the Pi 4 there is no mention of activating the camera (I used V2.1) in rpi-config. It happens on install of the OS (bookwork) Also the command to get the camera to work is rpi-hello
Shigeru Kato
Thank you!
Thank you!
pranaya
I want to use livefeed from pi camera using opencv how can i do that ?
I want to use livefeed from pi camera using opencv how can i do that ?
kam
yeah for anyone past this message jsyk u dont have to enable the camera in the latest os version so just ignore that, it kinda confused me for a bit. use “libcamera-hello” ( i might have spelt it wrong so just make sure) to check if its working
yeah for anyone past this message jsyk u dont have to enable the camera in the latest os version so just ignore that, it kinda confused me for a bit. use “libcamera-hello” ( i might have spelt it wrong so just make sure) to check if its working
random user
It seems that the option to enable to camera has been removed in the latest Pi OS because it is just enabled by default. So the examples should work without needing that as a step. (that is how it was for me)
It seems that the option to enable to camera has been removed in the latest Pi OS because it is just enabled by default. So the examples should work without needing that as a step. (that is how it was for me)
Nick
I have a rpi4b and camera. The rpi4 is new from yourselves along with the camera. I do not see the option camera in interfaces so cannot get the camera to register. I am running bullseye version id 11, I hope this is the correct latest option to use.
I am obviously doing something wrong. Please help. Thanks.