 Skip to content

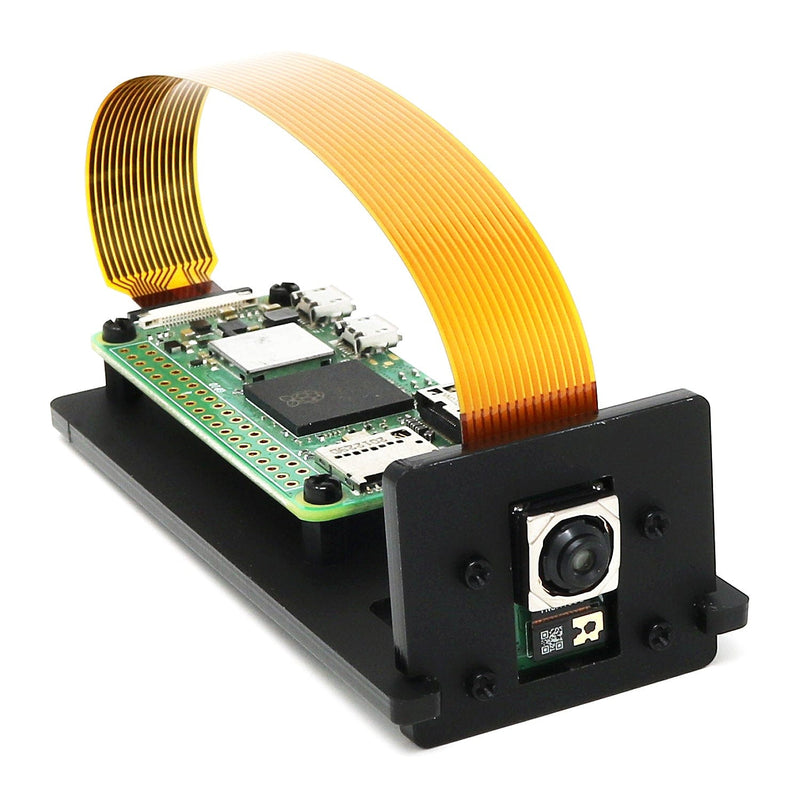
Pro Mini Camera Mount Assembly Guide
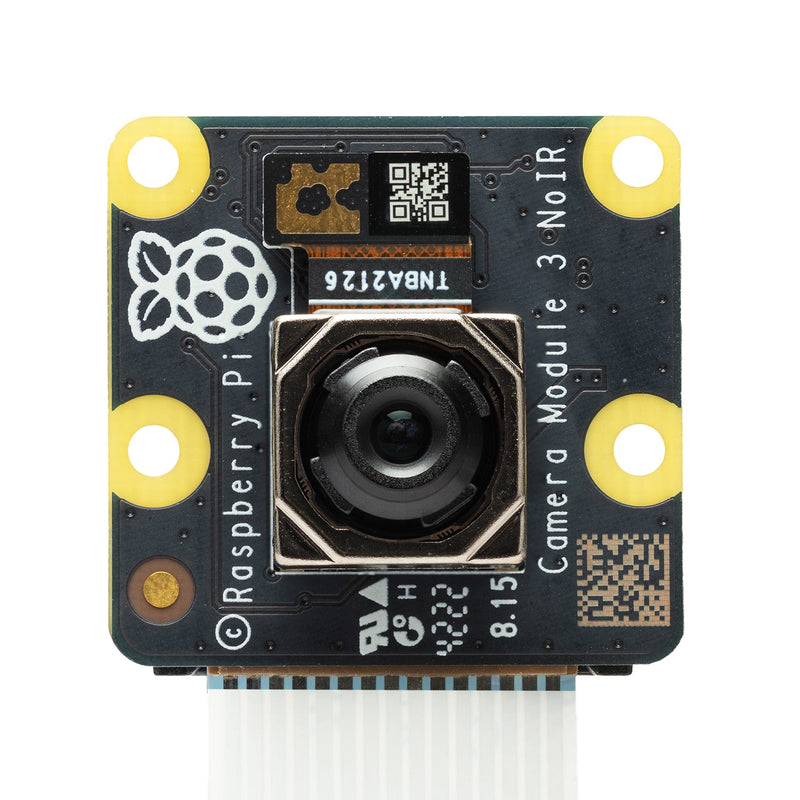
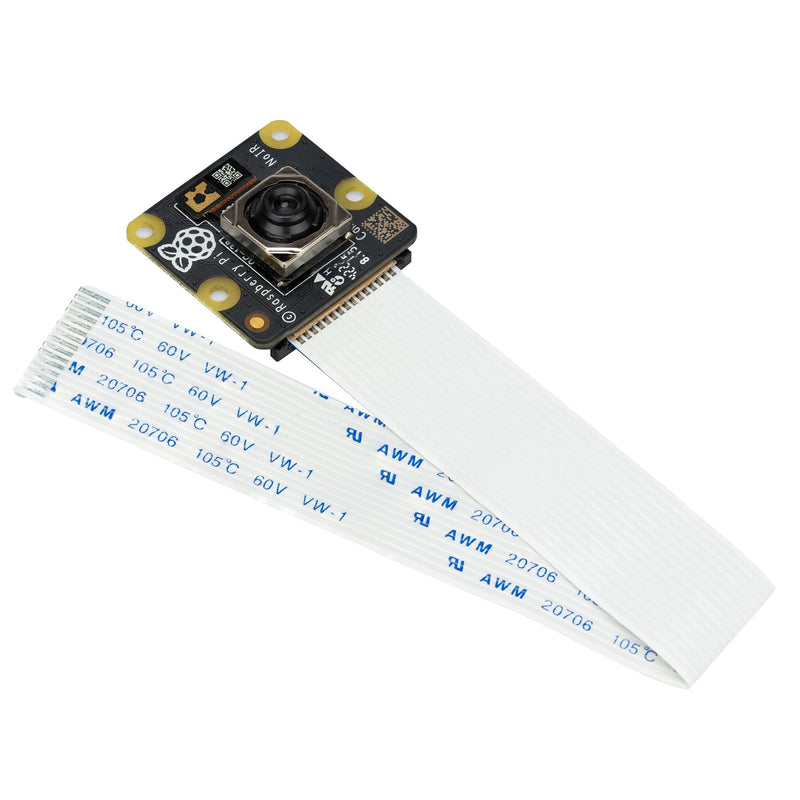
This guide will show you how to assemble the Pro Mini Camera Mount for Raspberry Pi Zero with your Camera Module 3.
All you'll need is a simple cross-head precision screwdriver, however we'd recommend the iFixit Mako Precision Bit Set as the nylon M2 nuts can be a little fiddly - the 4mm nut driver is perfect for turning these!
Step 1 – In your package, you should find 2 Perspex layers and a bag of fixings, peel the protective film off of both sides of each Perspex layer and clean off any dust.

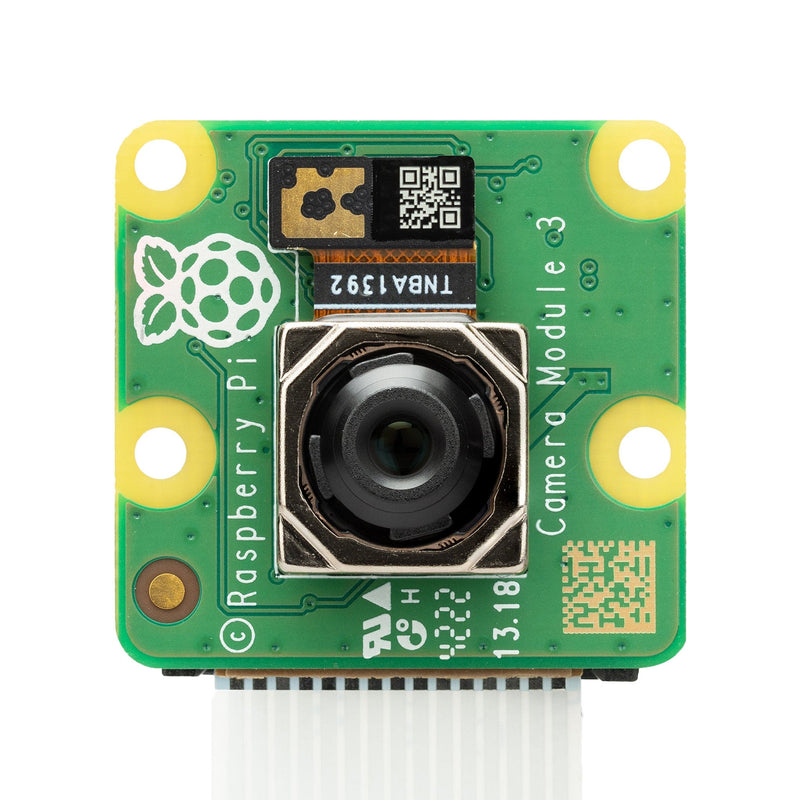
Step 2 – Place your camera module on to the smaller Perspex panel and secure it with the four thinner screws and smallest nuts:


Step 3 – You'll have eight larger M2.5 screws left in your fixing pack, secure the hex standoffs into place using the longest screws:

Step 4 – Add your Raspberry Pi Zero on top and secure with the remaining four (shortest) M2.5 screws:

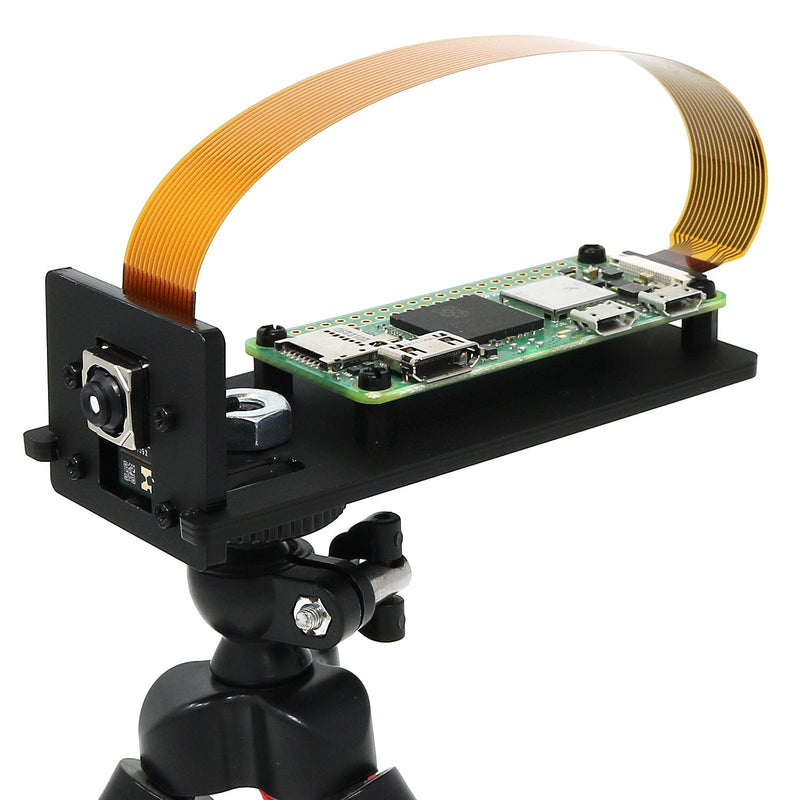
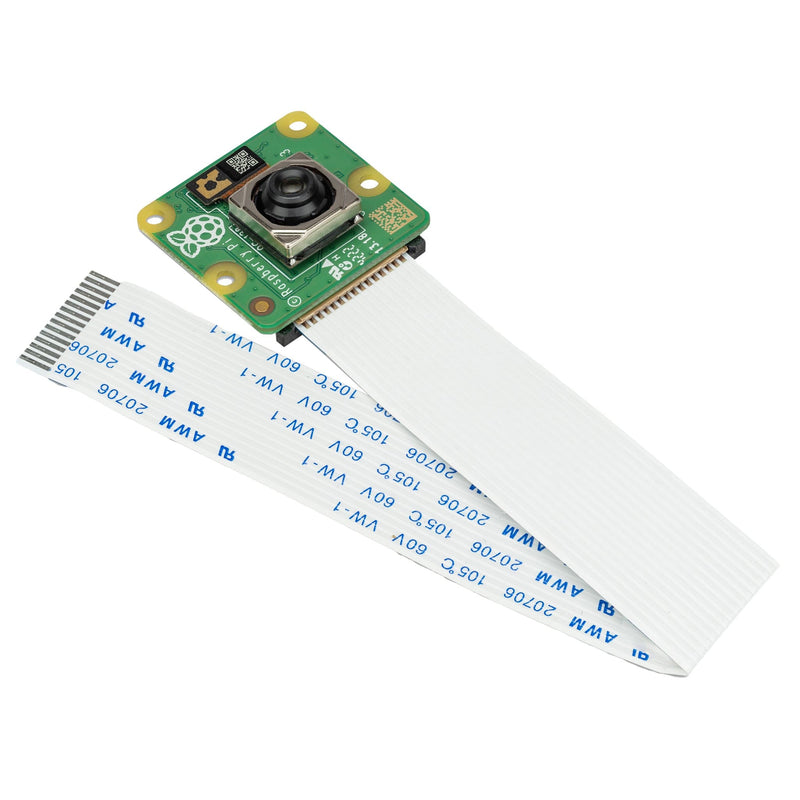
Step 5 – Finally, connect the two perspex parts (they push together), connect the Zero adapter camera ribbon cable to both your Raspberry Pi Zero and camera...and you're done! If you have a tripod, you can now secure the mount to it using a nut.

3 comments
Edd
Instructions could have been clearer tbh, what you receive is 13 non descript screws I can best describe as
4 Thin and long ones
5 Short and fat ones
4 regular ones
The instructions lay it out as if the thin ones are used on the base, but they are in fact for the camera mount, they are the longest screws in the pack.
The remaining 9 (1 spare I guess) have very short and regular lengths. Regular goes underneath and secures the hex spacer to the base. Very short goes on top, securing the pi to the hex spacer
Dont try and force them on as I did, else you’ll strip the screw head and make it impossible to remove in a way that doesn’t destroy the screw.
The Pi Hut
@Paul – Sorry, sounds like that may be a laser-cutting issue. Please send us a quick message via support.thepihut.com and we’ll help with that.
@Paul – Sorry, sounds like that may be a laser-cutting issue. Please send us a quick message via support.thepihut.com and we’ll help with that.
Paul
The hole on the smaller Perspex panel is far too small to fit the Pi Camera Module 3. It is not the same as the images shown in your assembly instructions.
The hole on the smaller Perspex panel is far too small to fit the Pi Camera Module 3. It is not the same as the images shown in your assembly instructions.