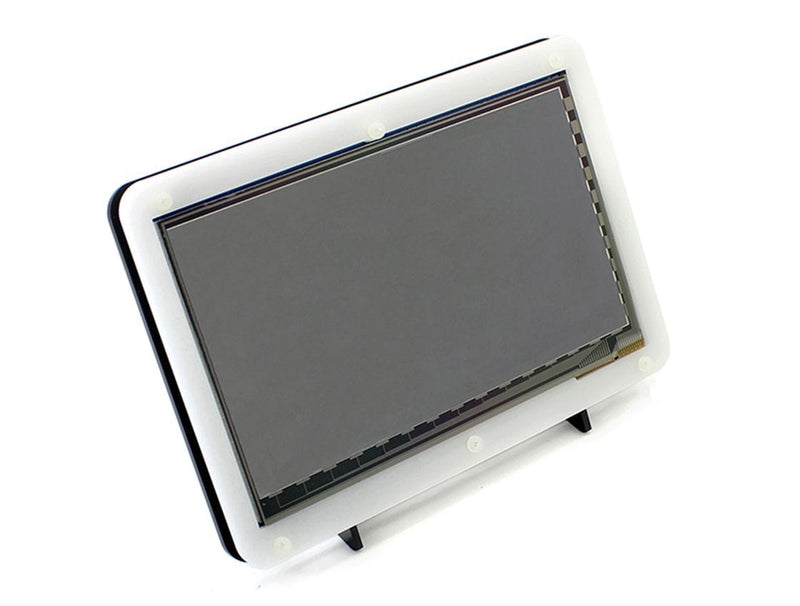
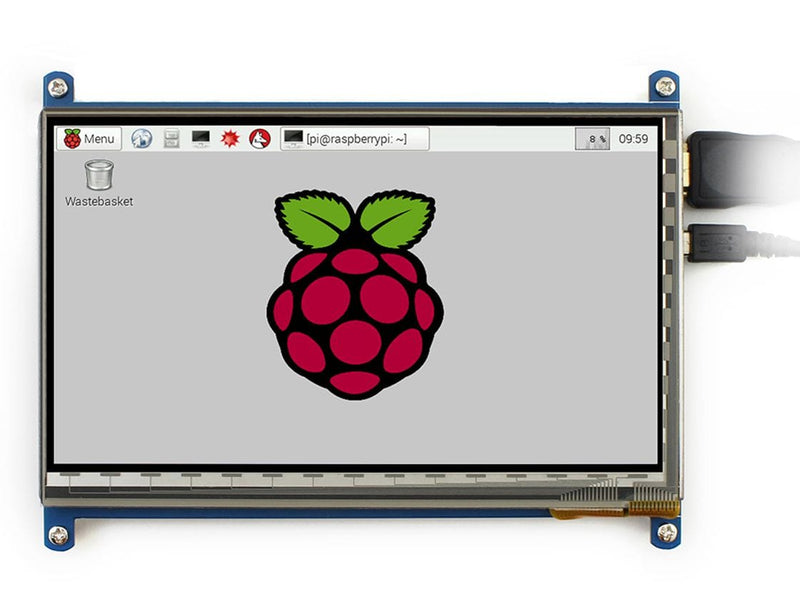
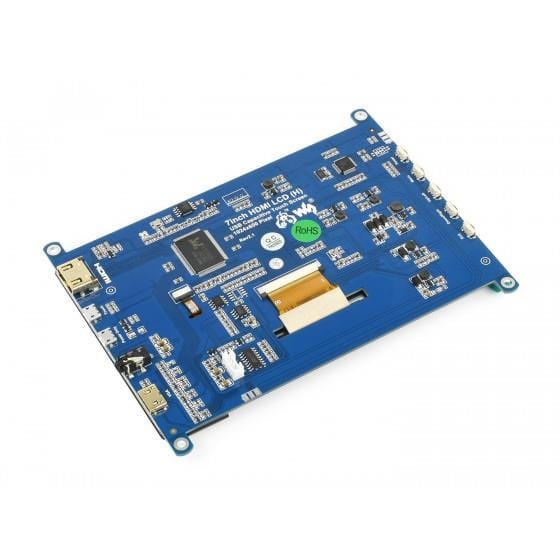
7" IPS Capacitive HDMI Touch Screen LCD (1024×600)
Price:
Sale price
£58.30
Stock:
 Skip to content
Login / Signup
Cart
Your cart is empty
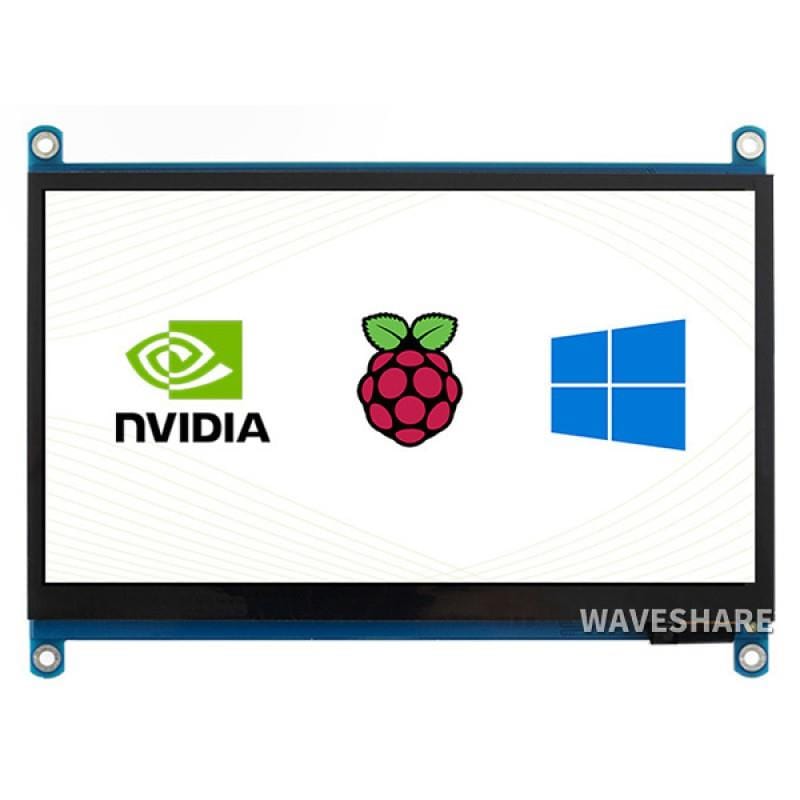
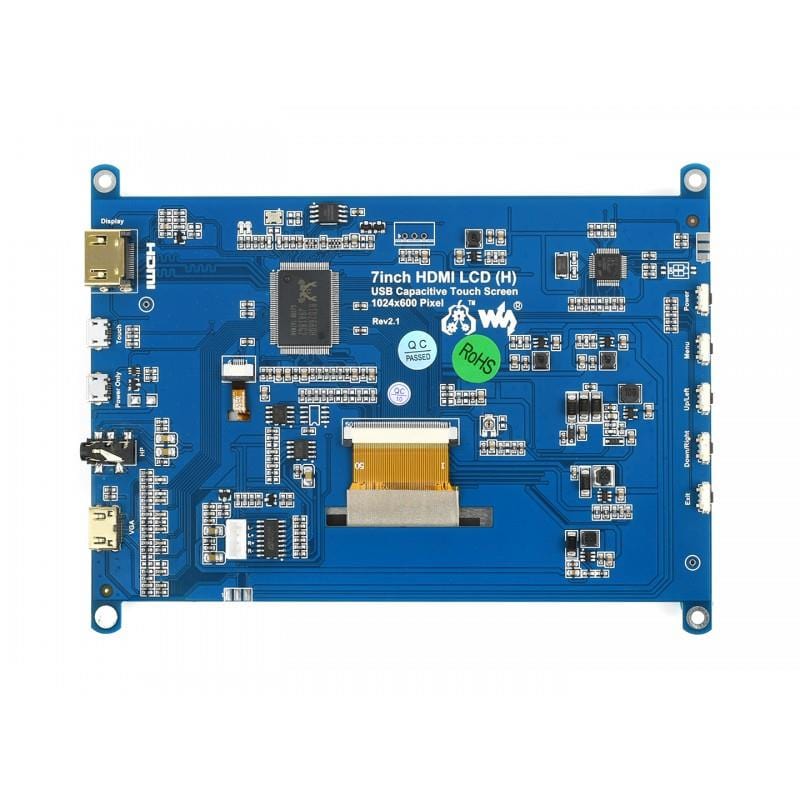
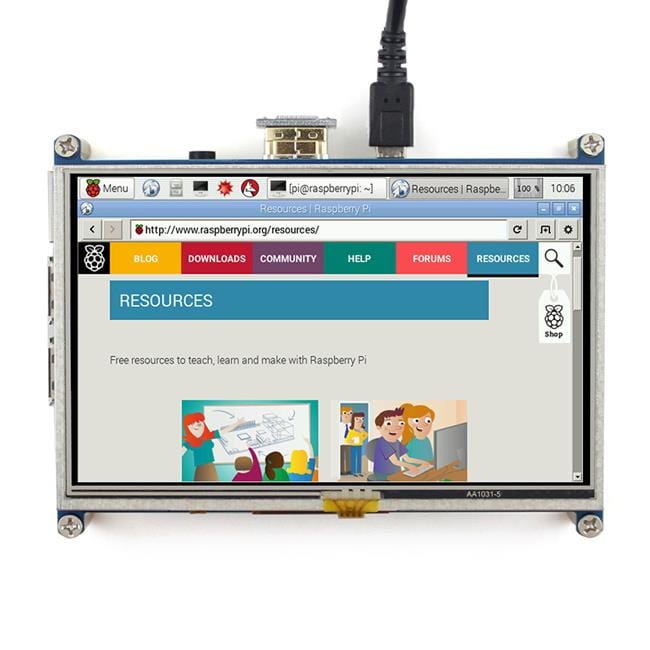
This is an IPS 7" Capacitive Touch Screen LCD, featuring an HDMI interface allowing it to be used on various systems, from the Raspberry Pi to a Windows PC!
The screen resolution is 1024x600 and includes a toughened glass capacitive touch panel with 6H hardness.
The screen mounting points make it the perfect option for a custom enclosure such as a retro gaming arcade build.
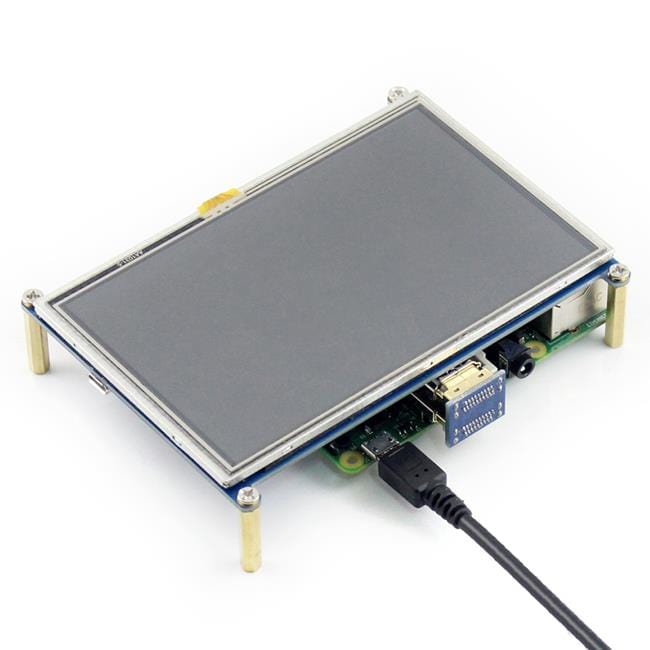
Great for the Raspberry Pi 4
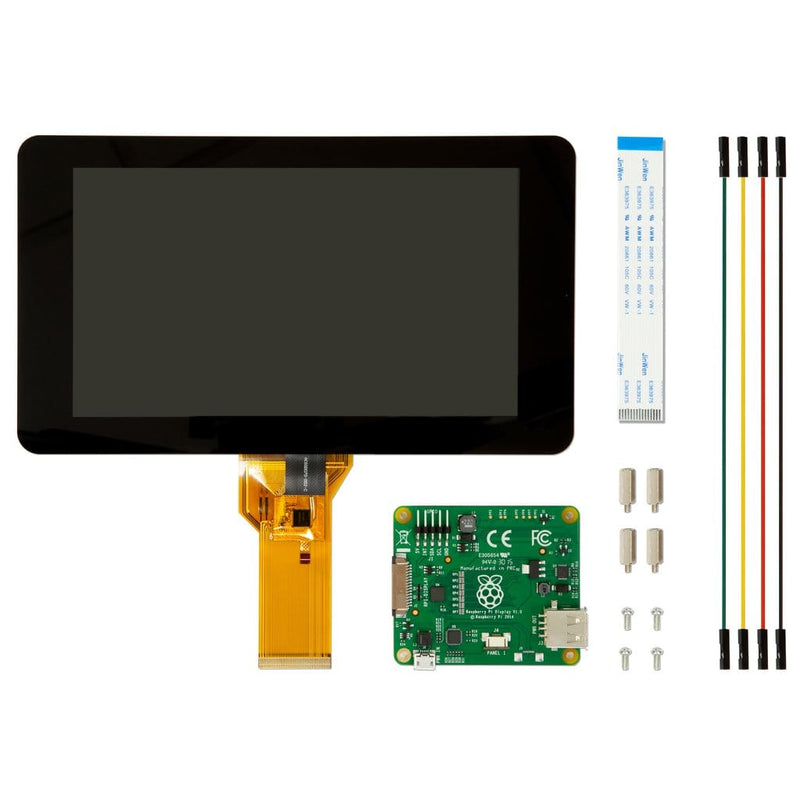
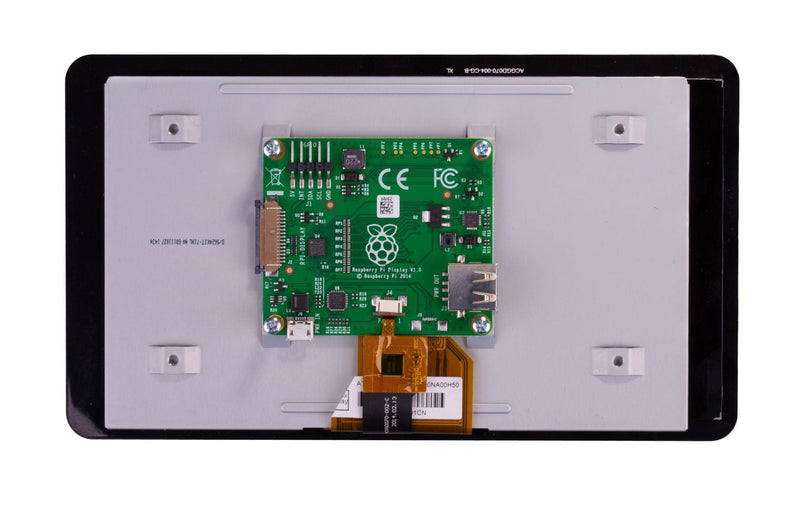
A micro-HDMI adapter, HDMI cable, USB screen power cable and fixings are included for using with the Raspberry Pi 4. When using with a Raspberry Pi, the Pi's USB port provides power for the screen, meaning just a single power supply is required (we recommend the official Raspberry Pi power supply).
The screen can also be used with the Raspberry Pi 3/3B+. When using with a Pi Zero, you will need to use a mini-HDMI adapter.
Features
User Guide and Wiki
Raspberry Pi Setup
When working with Raspberry Pi, you should set the resolution of the LCD by yourself, or else the LCD screen will not work. For more detail information, please read the following section.
Download the Raspberry Pi OS image from the Raspberry Pi web site. Write the image to a micro-SD card and append the following lines to the config.txt file which is located in the root of your card:
max_usb_current=1 hdmi_force_hotplug=1 config_hdmi_boost=10 hdmi_group=2 hdmi_mode=87 hdmi_cvt 1024 600 60 6 0 0 0
If you use the LCD with Raspberry Pi 4B, you need to remove line dtoverlay=vc4-fkms-V3D from config.txt file
You must make sure that there are no spaces on either side of the equal sign.
Connect the Touch interface of LCD to USB port of Raspberry Pi, then connect HDMI interface of LCD to HDMI port of Raspberry Pi. Save and connect the micro-SD card to your Pi then power up.
Note:
Your payment information is processed securely. We do not store credit card details nor have access to your credit card information.