Skip to content
How to assemble the PicoCon Motor Controller
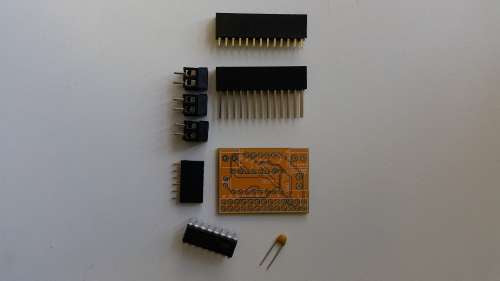
A simple guide on how to assemble the PicoCon Motor Controller. Great for Raspberry Pi robots! 1. Lay out all of your components, make sure you're not missing anything
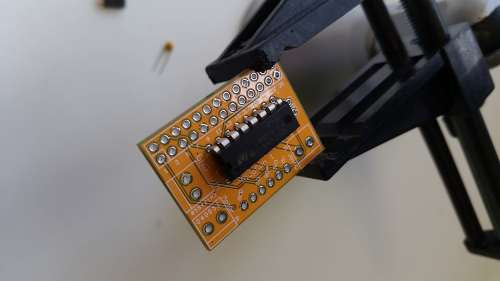
2. Solder the main IC chip - This is the chip in the center of the board. Make sure you line the side with the bump with the bump on the PCB. Do NOT spend too long with the soldering iron held against a pin as it may damage the chip. 2-3 seconds at most.
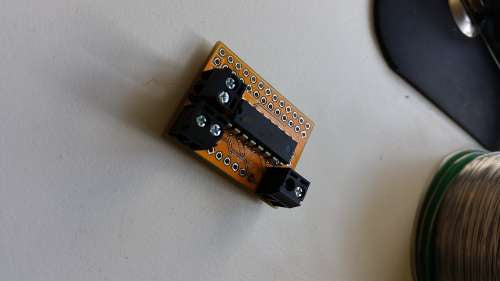
3. Next up, place the three screw terminal blocks into the PCB, again making sure to follow the guide on the PCB. Solder into place.
4. Place and solder the 6-pin I2C breakout connector (Very useful if you want to plug in the IP Display so you know the IP address of your robot. 5. Solder the GPIO header to the reverse side of the PCB - This is very important! (use the diagram below if you need to)

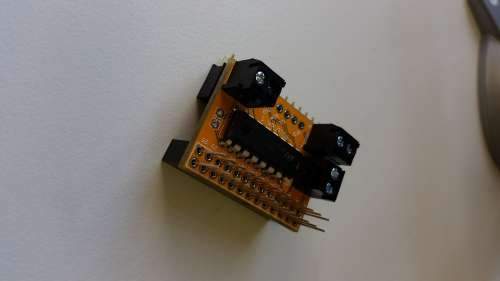
6. Lastly, solder the small capacitor - it doesn't matter which way around this goes. Voila! Your PicoCon motor controller board is ready to go! Start building your Raspberry Pi Robot!